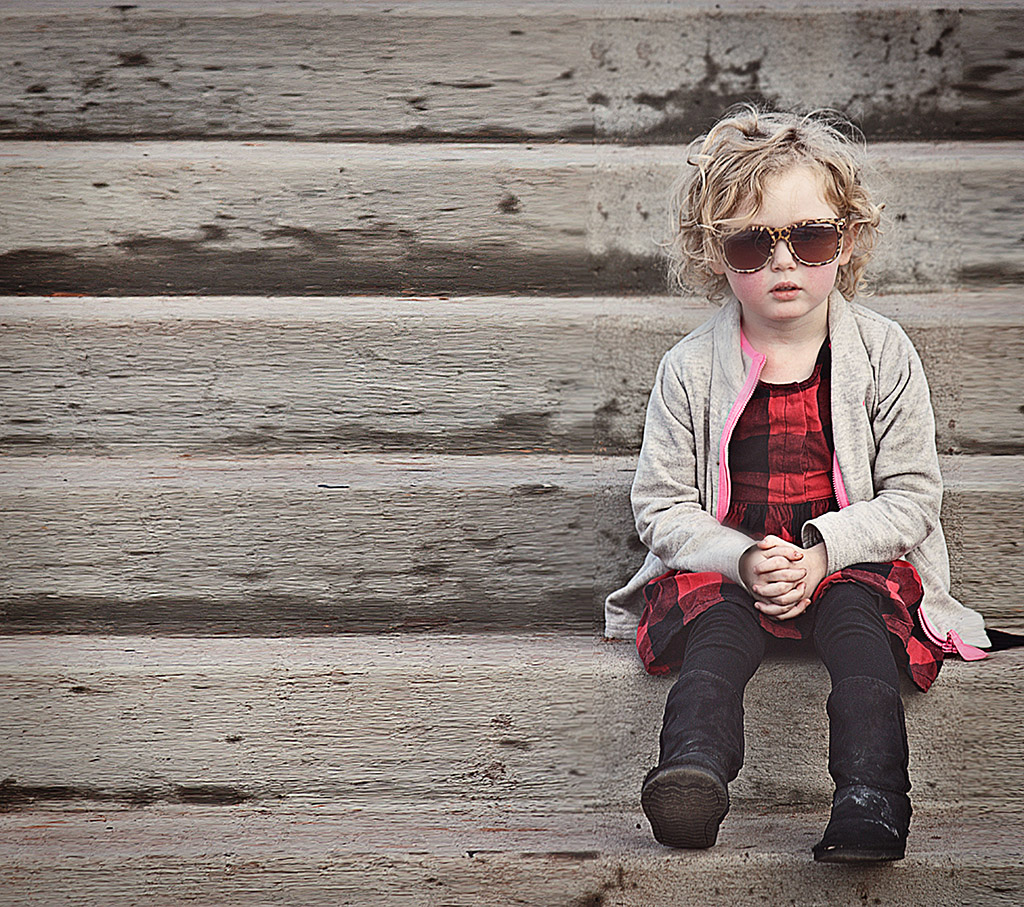
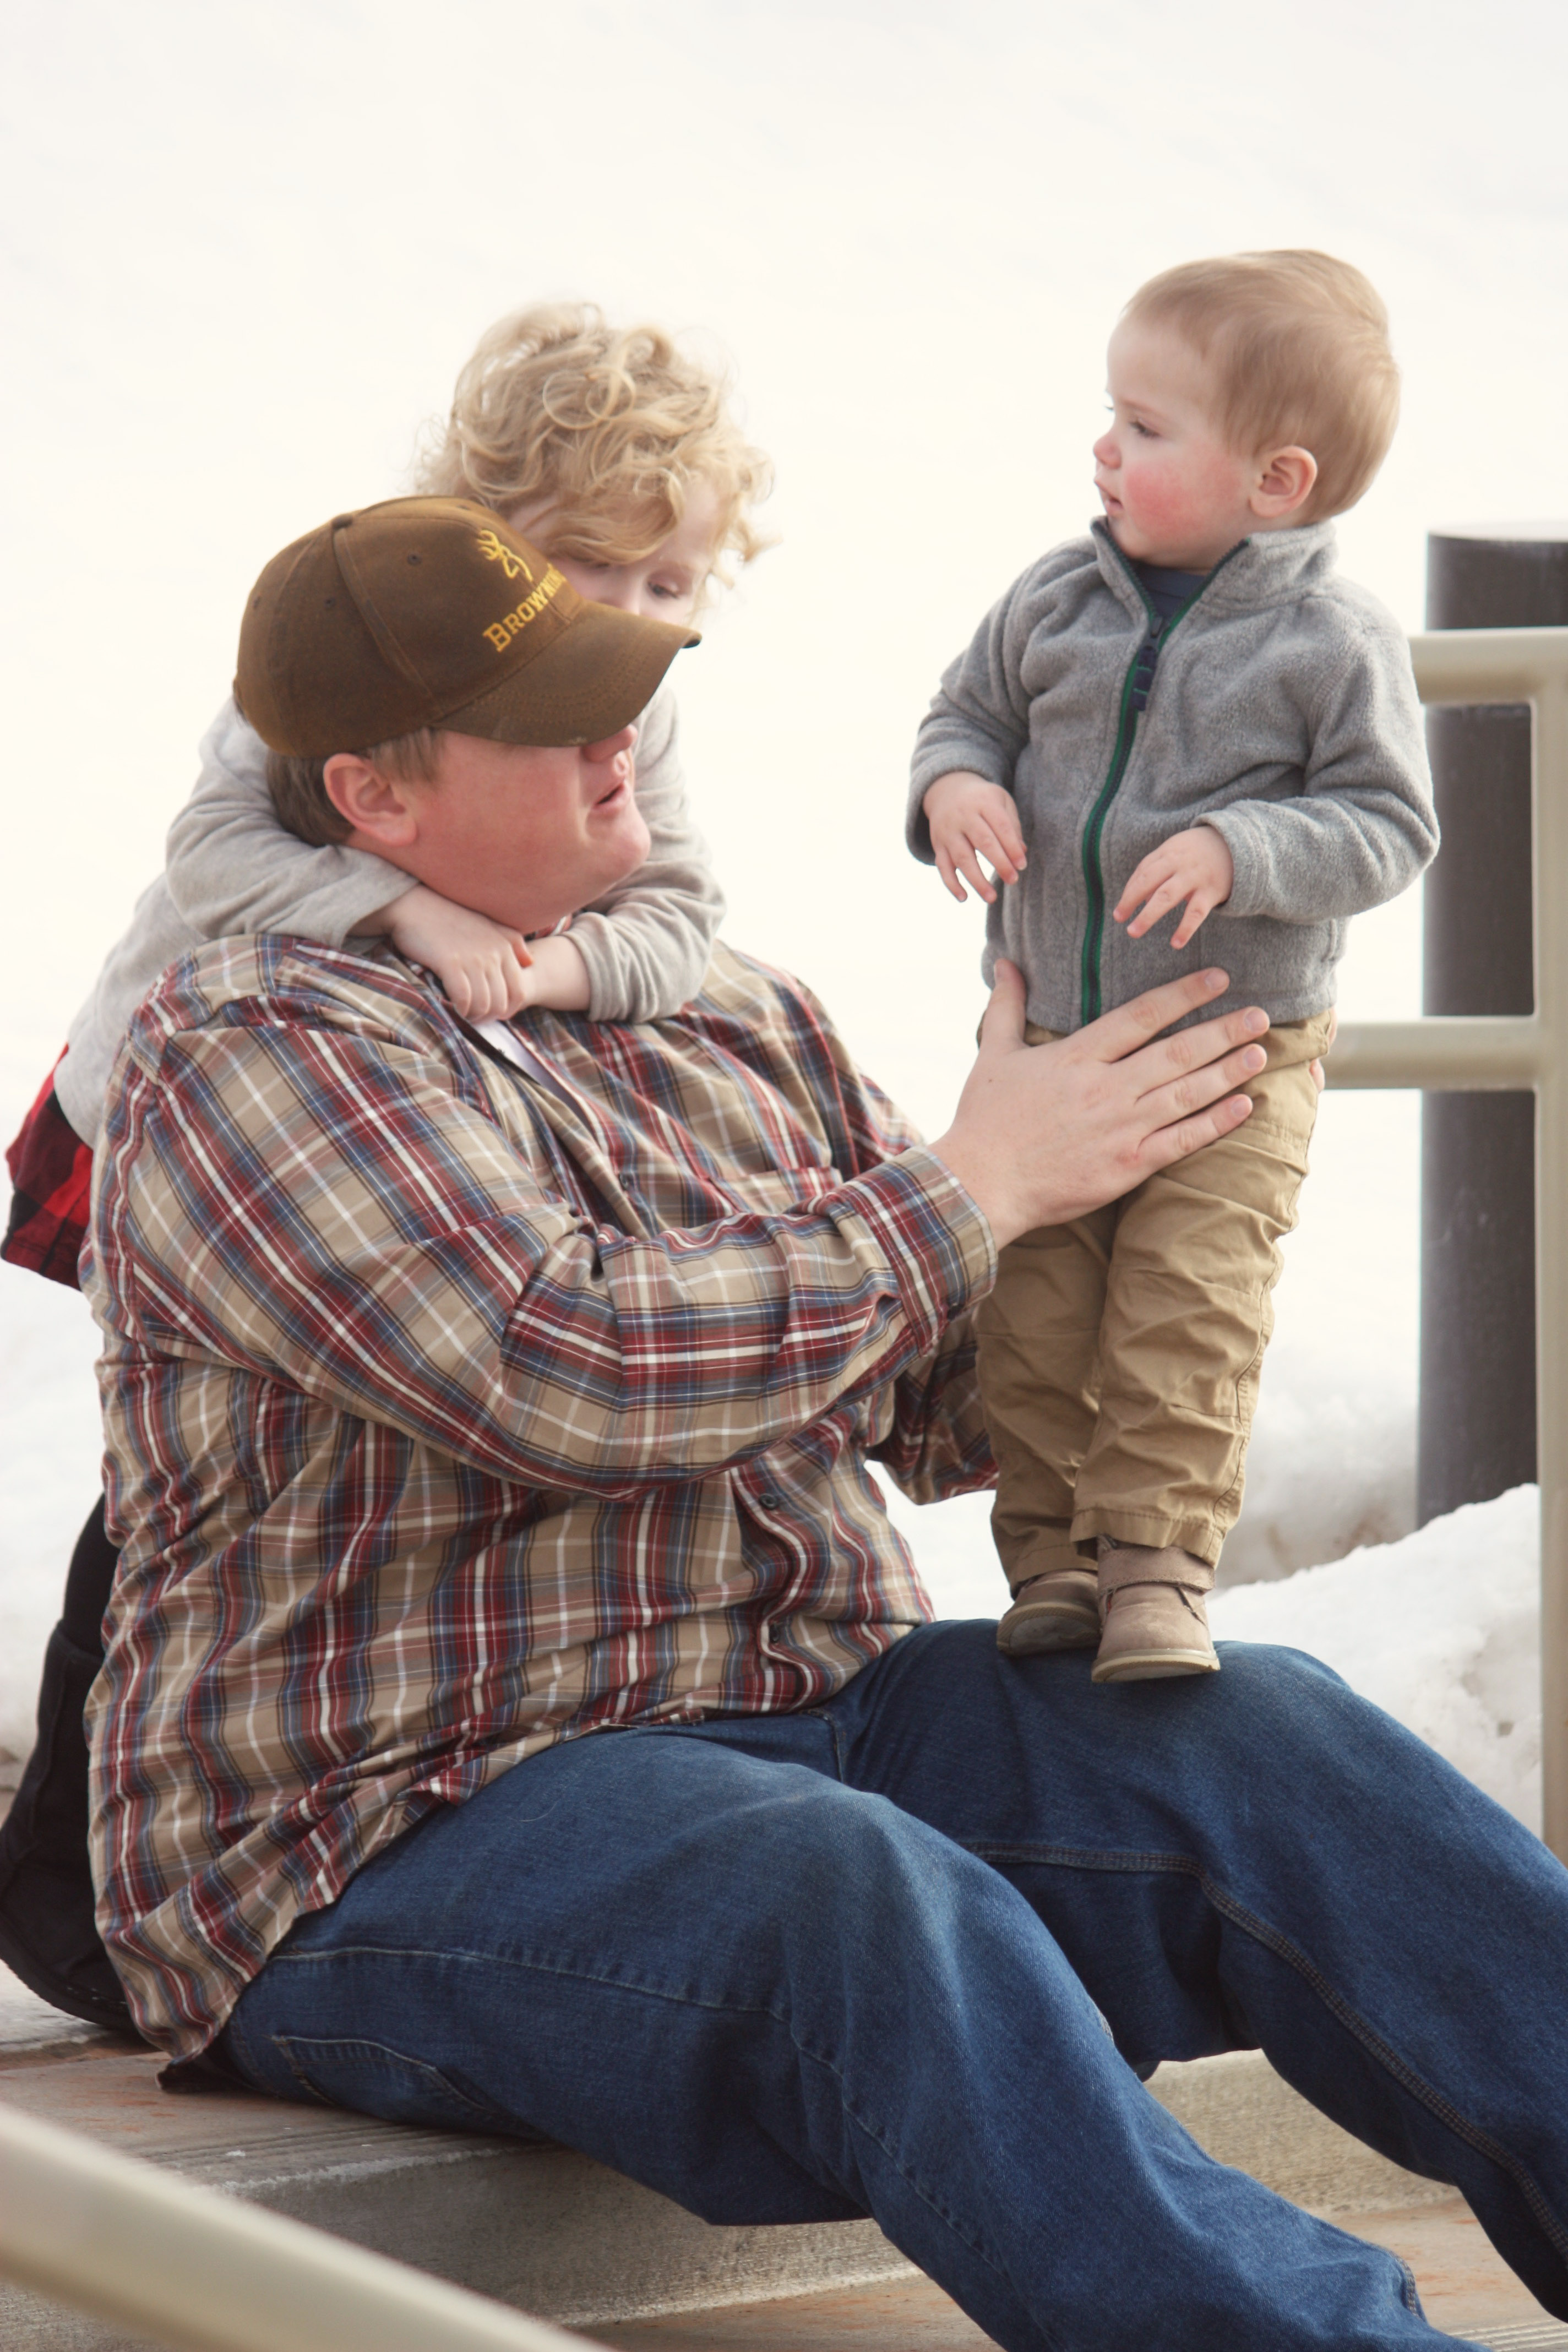
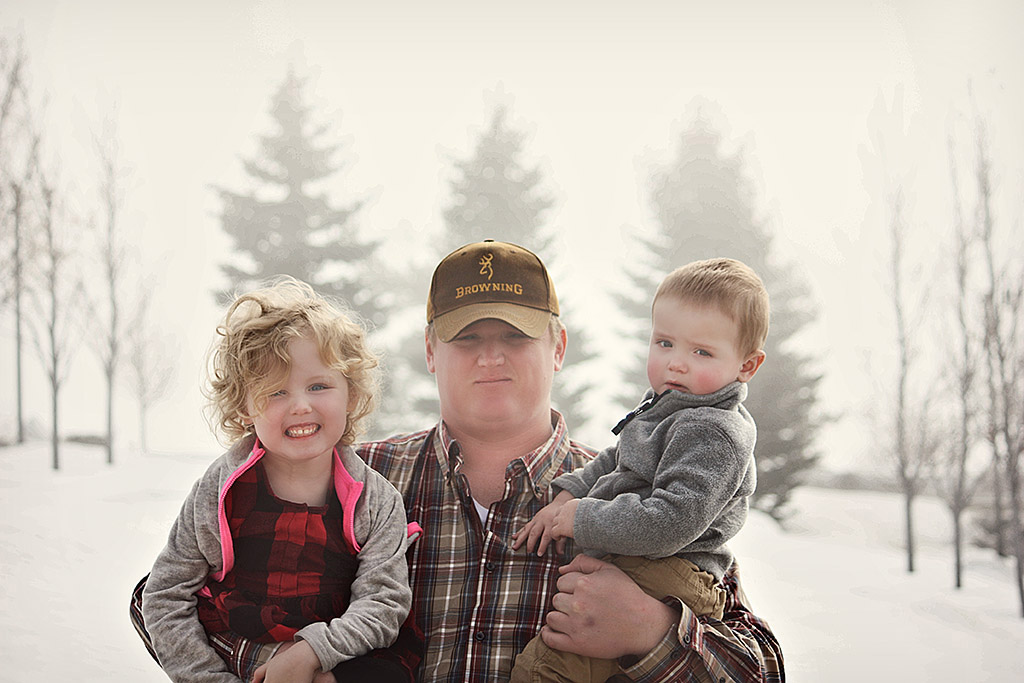
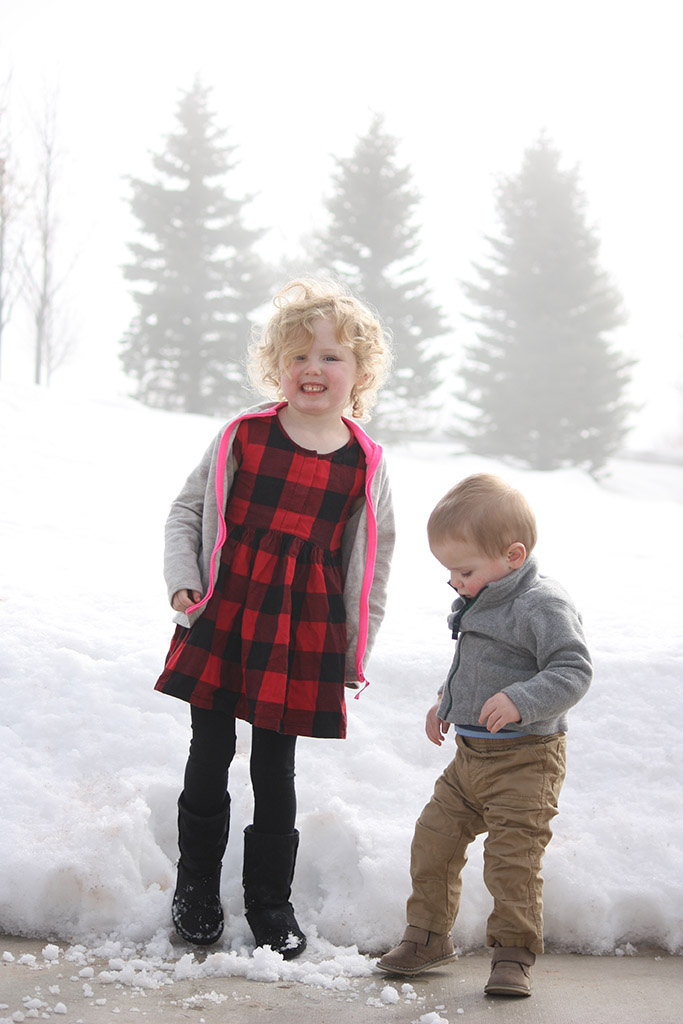
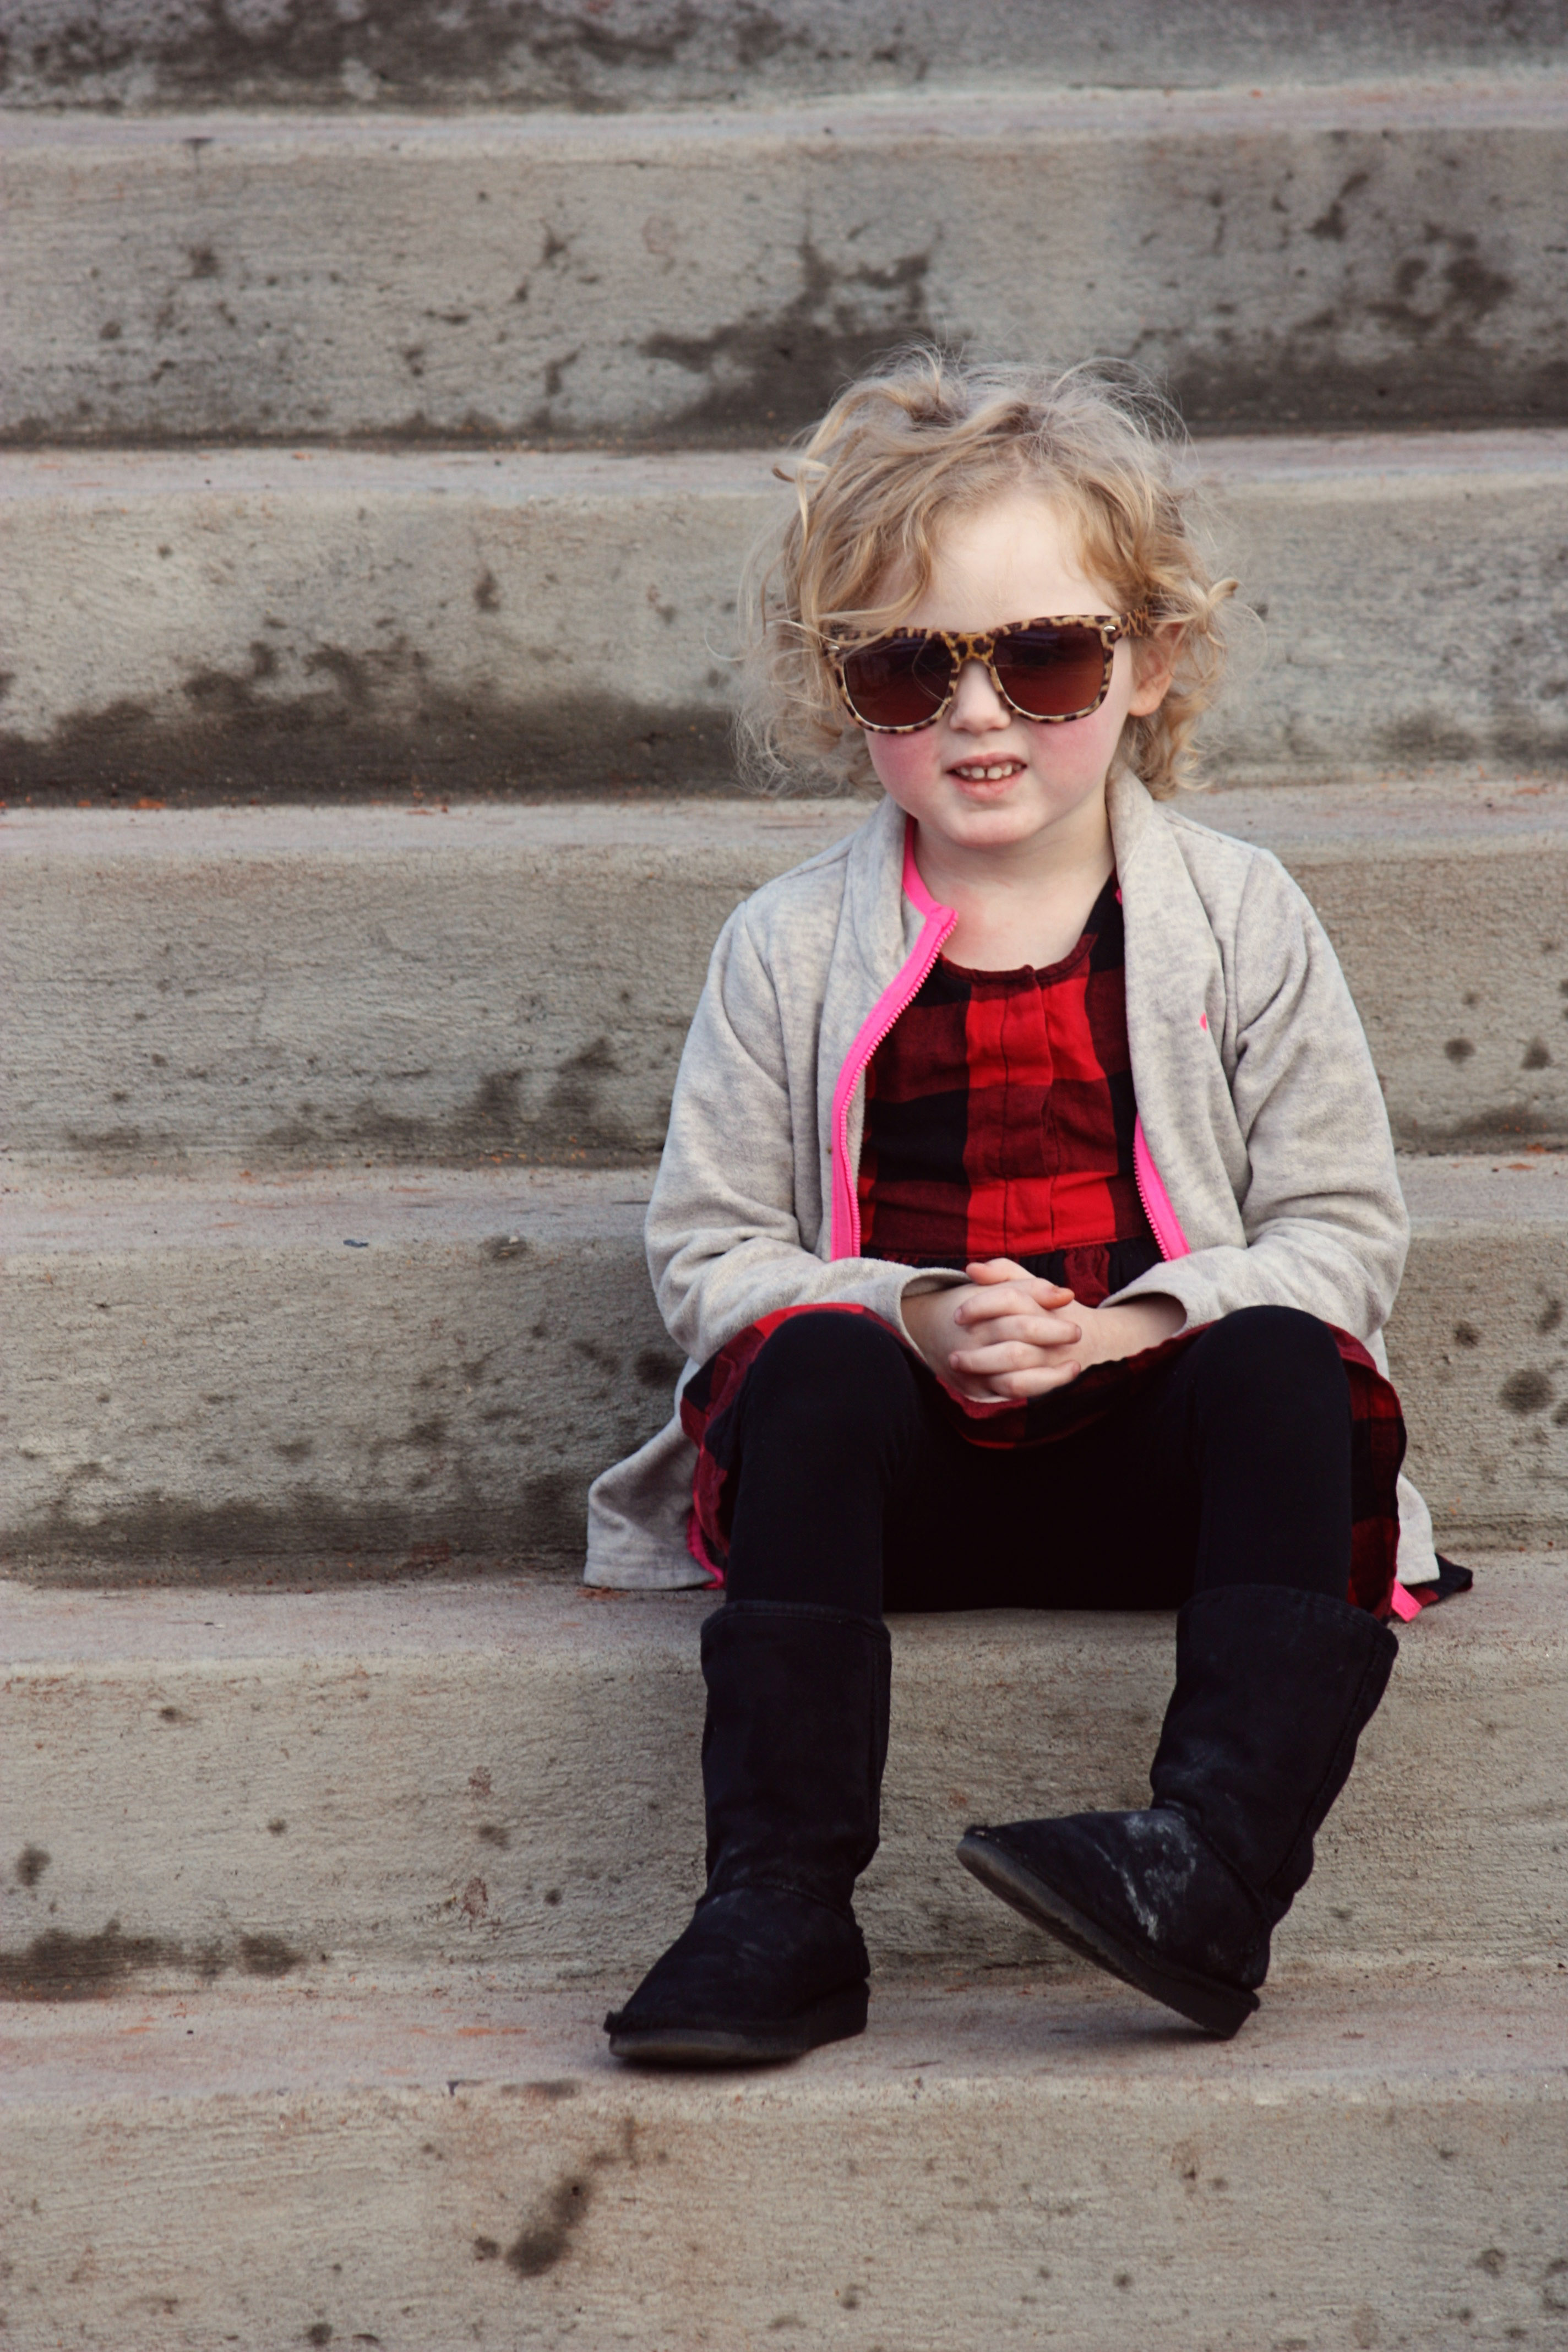
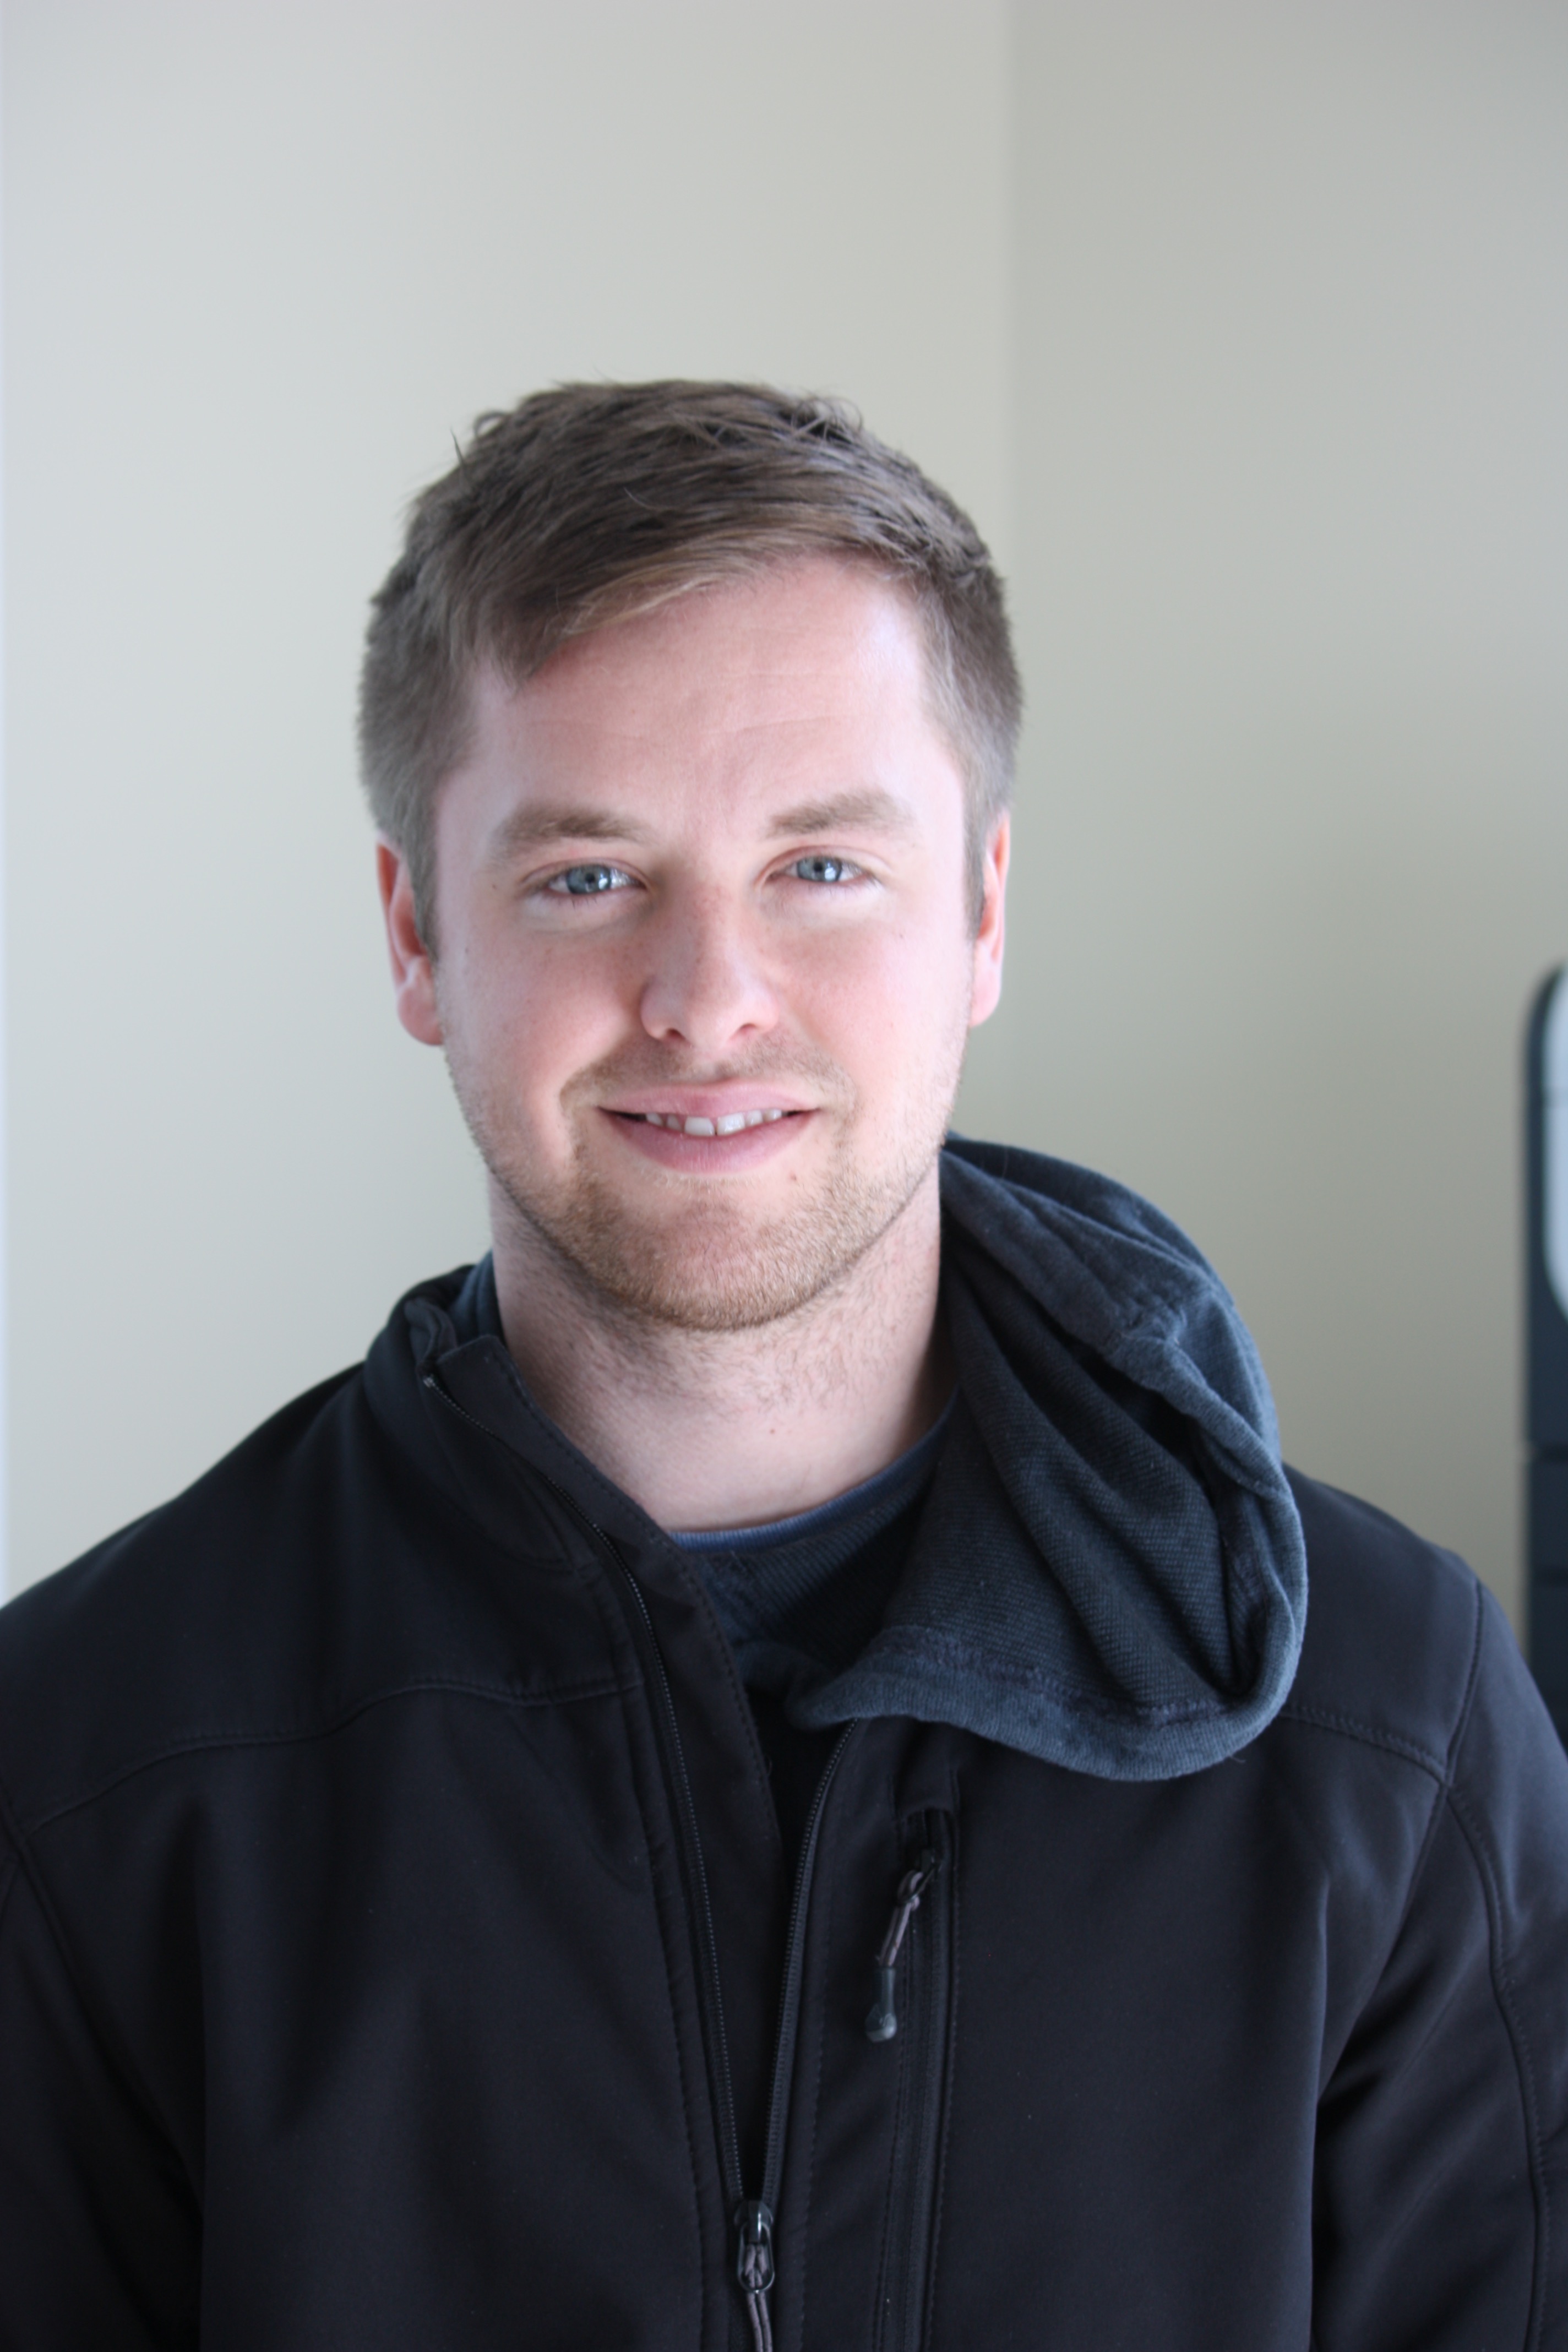
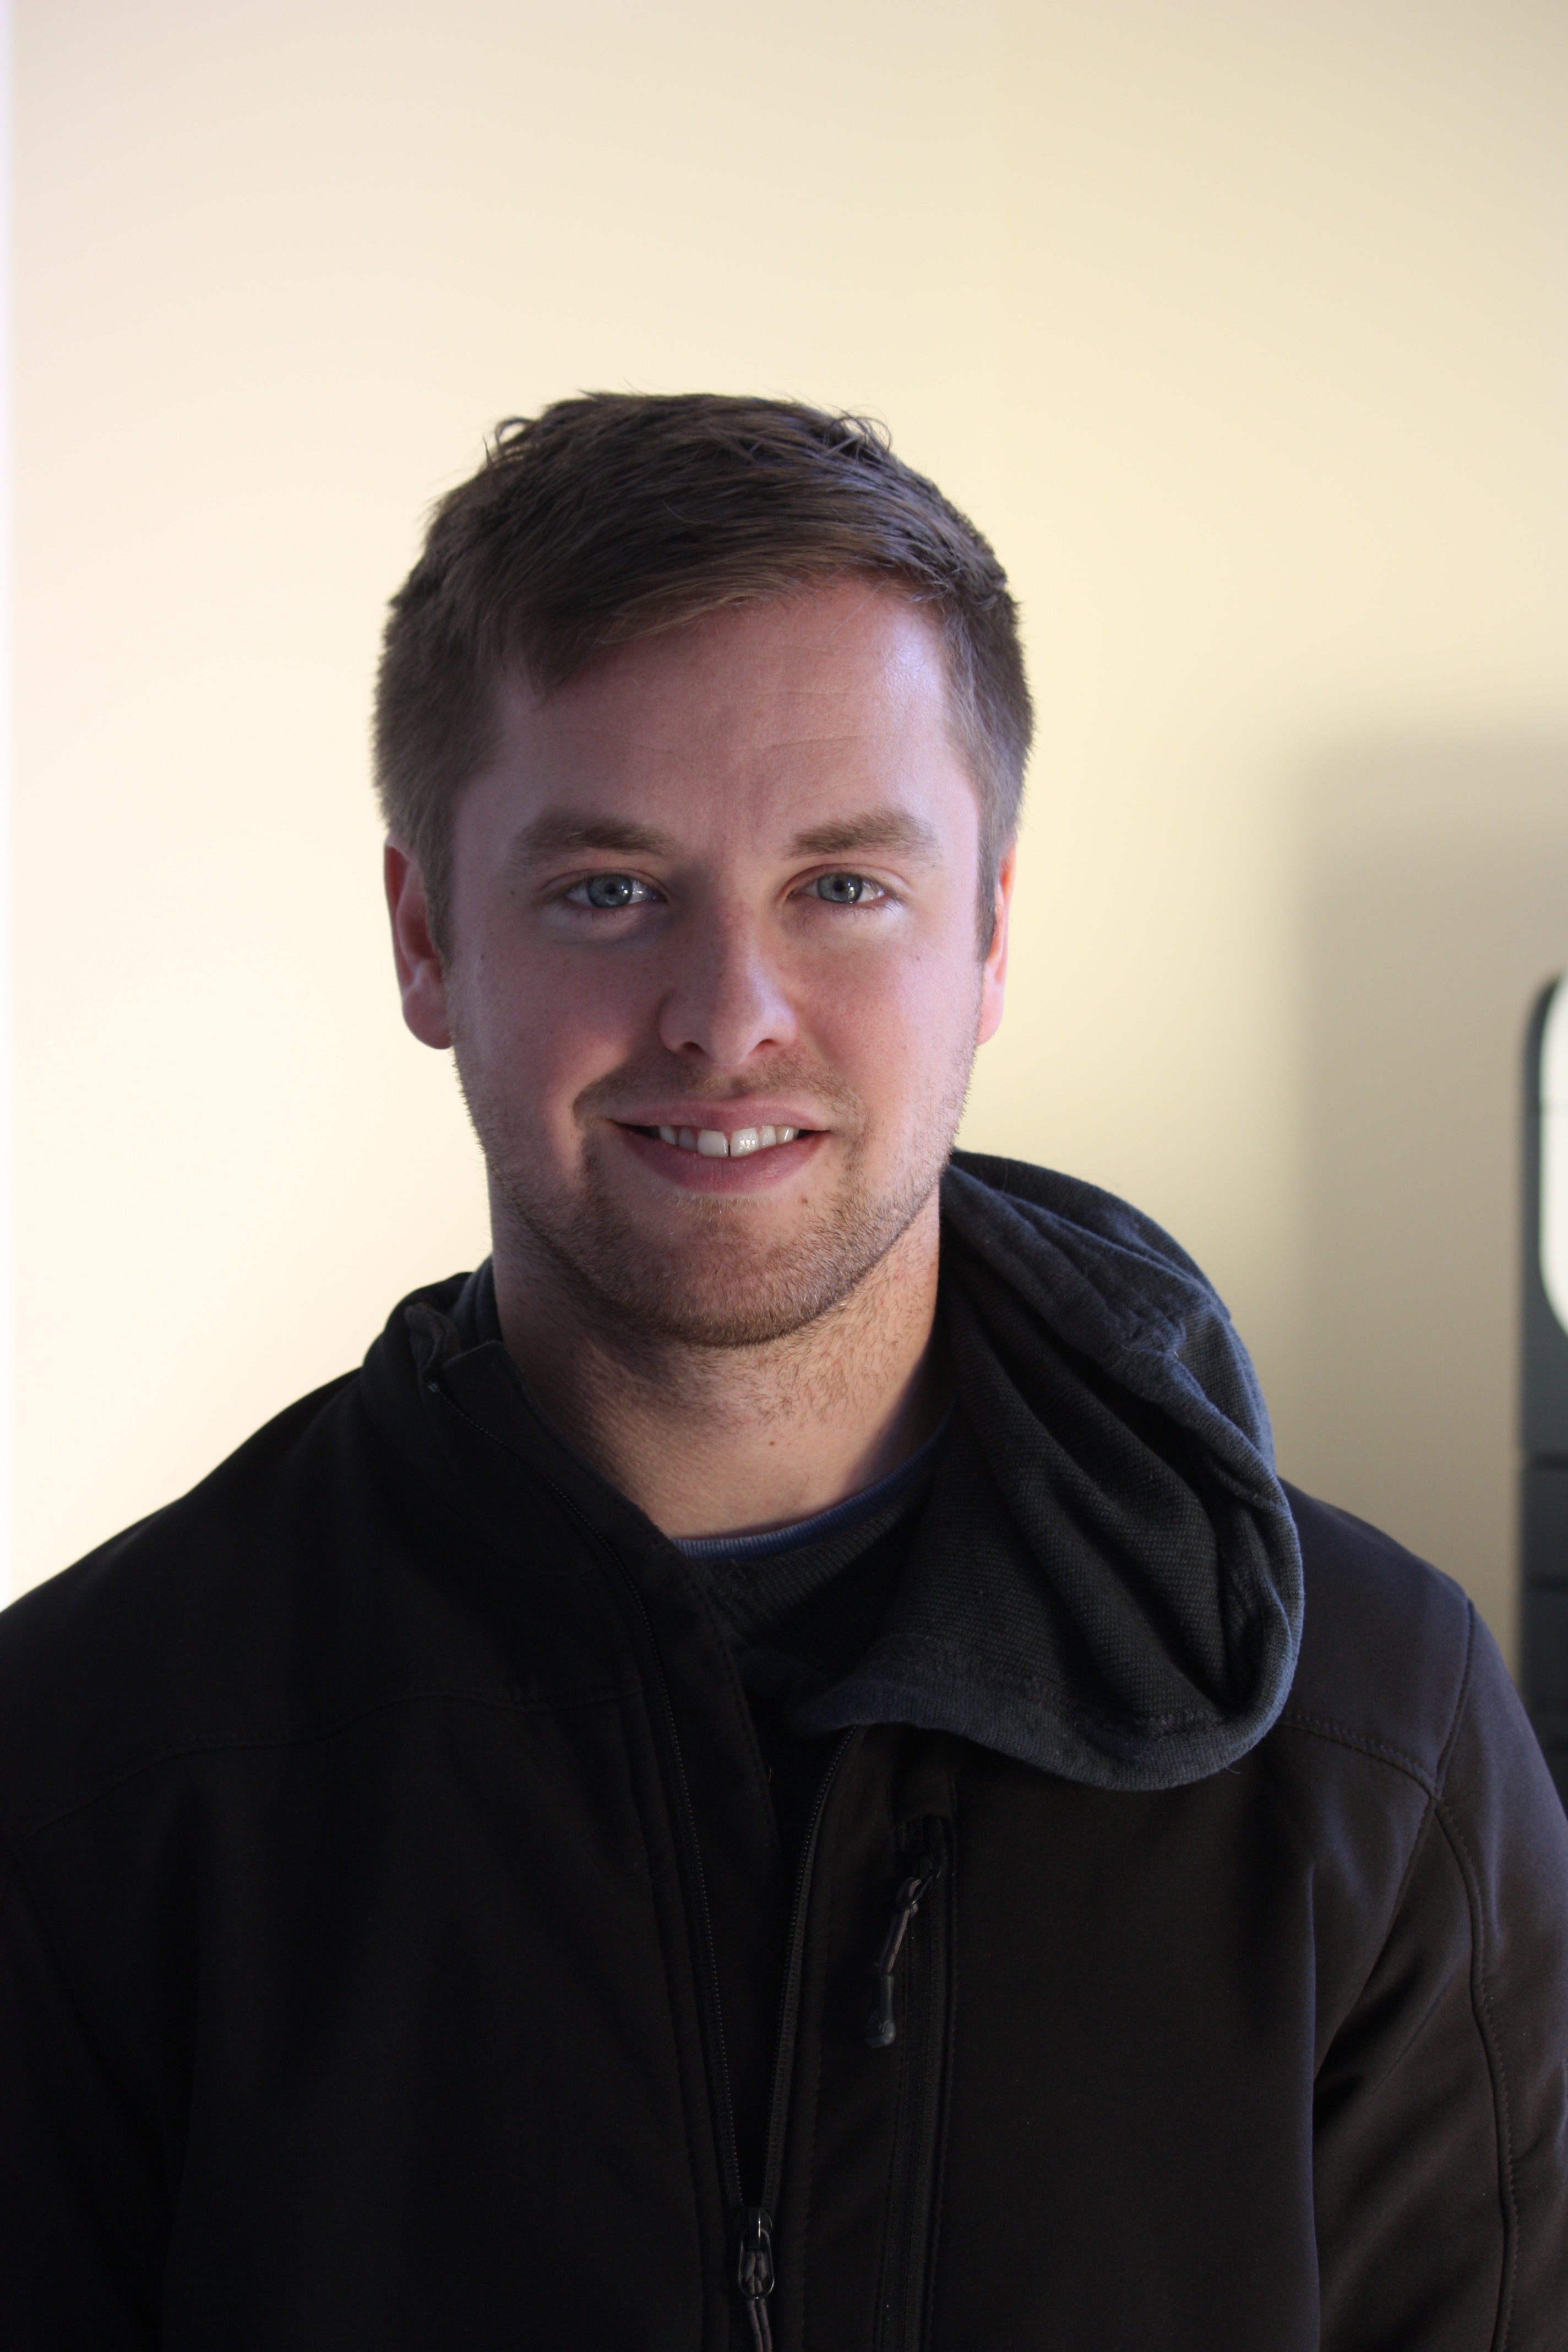
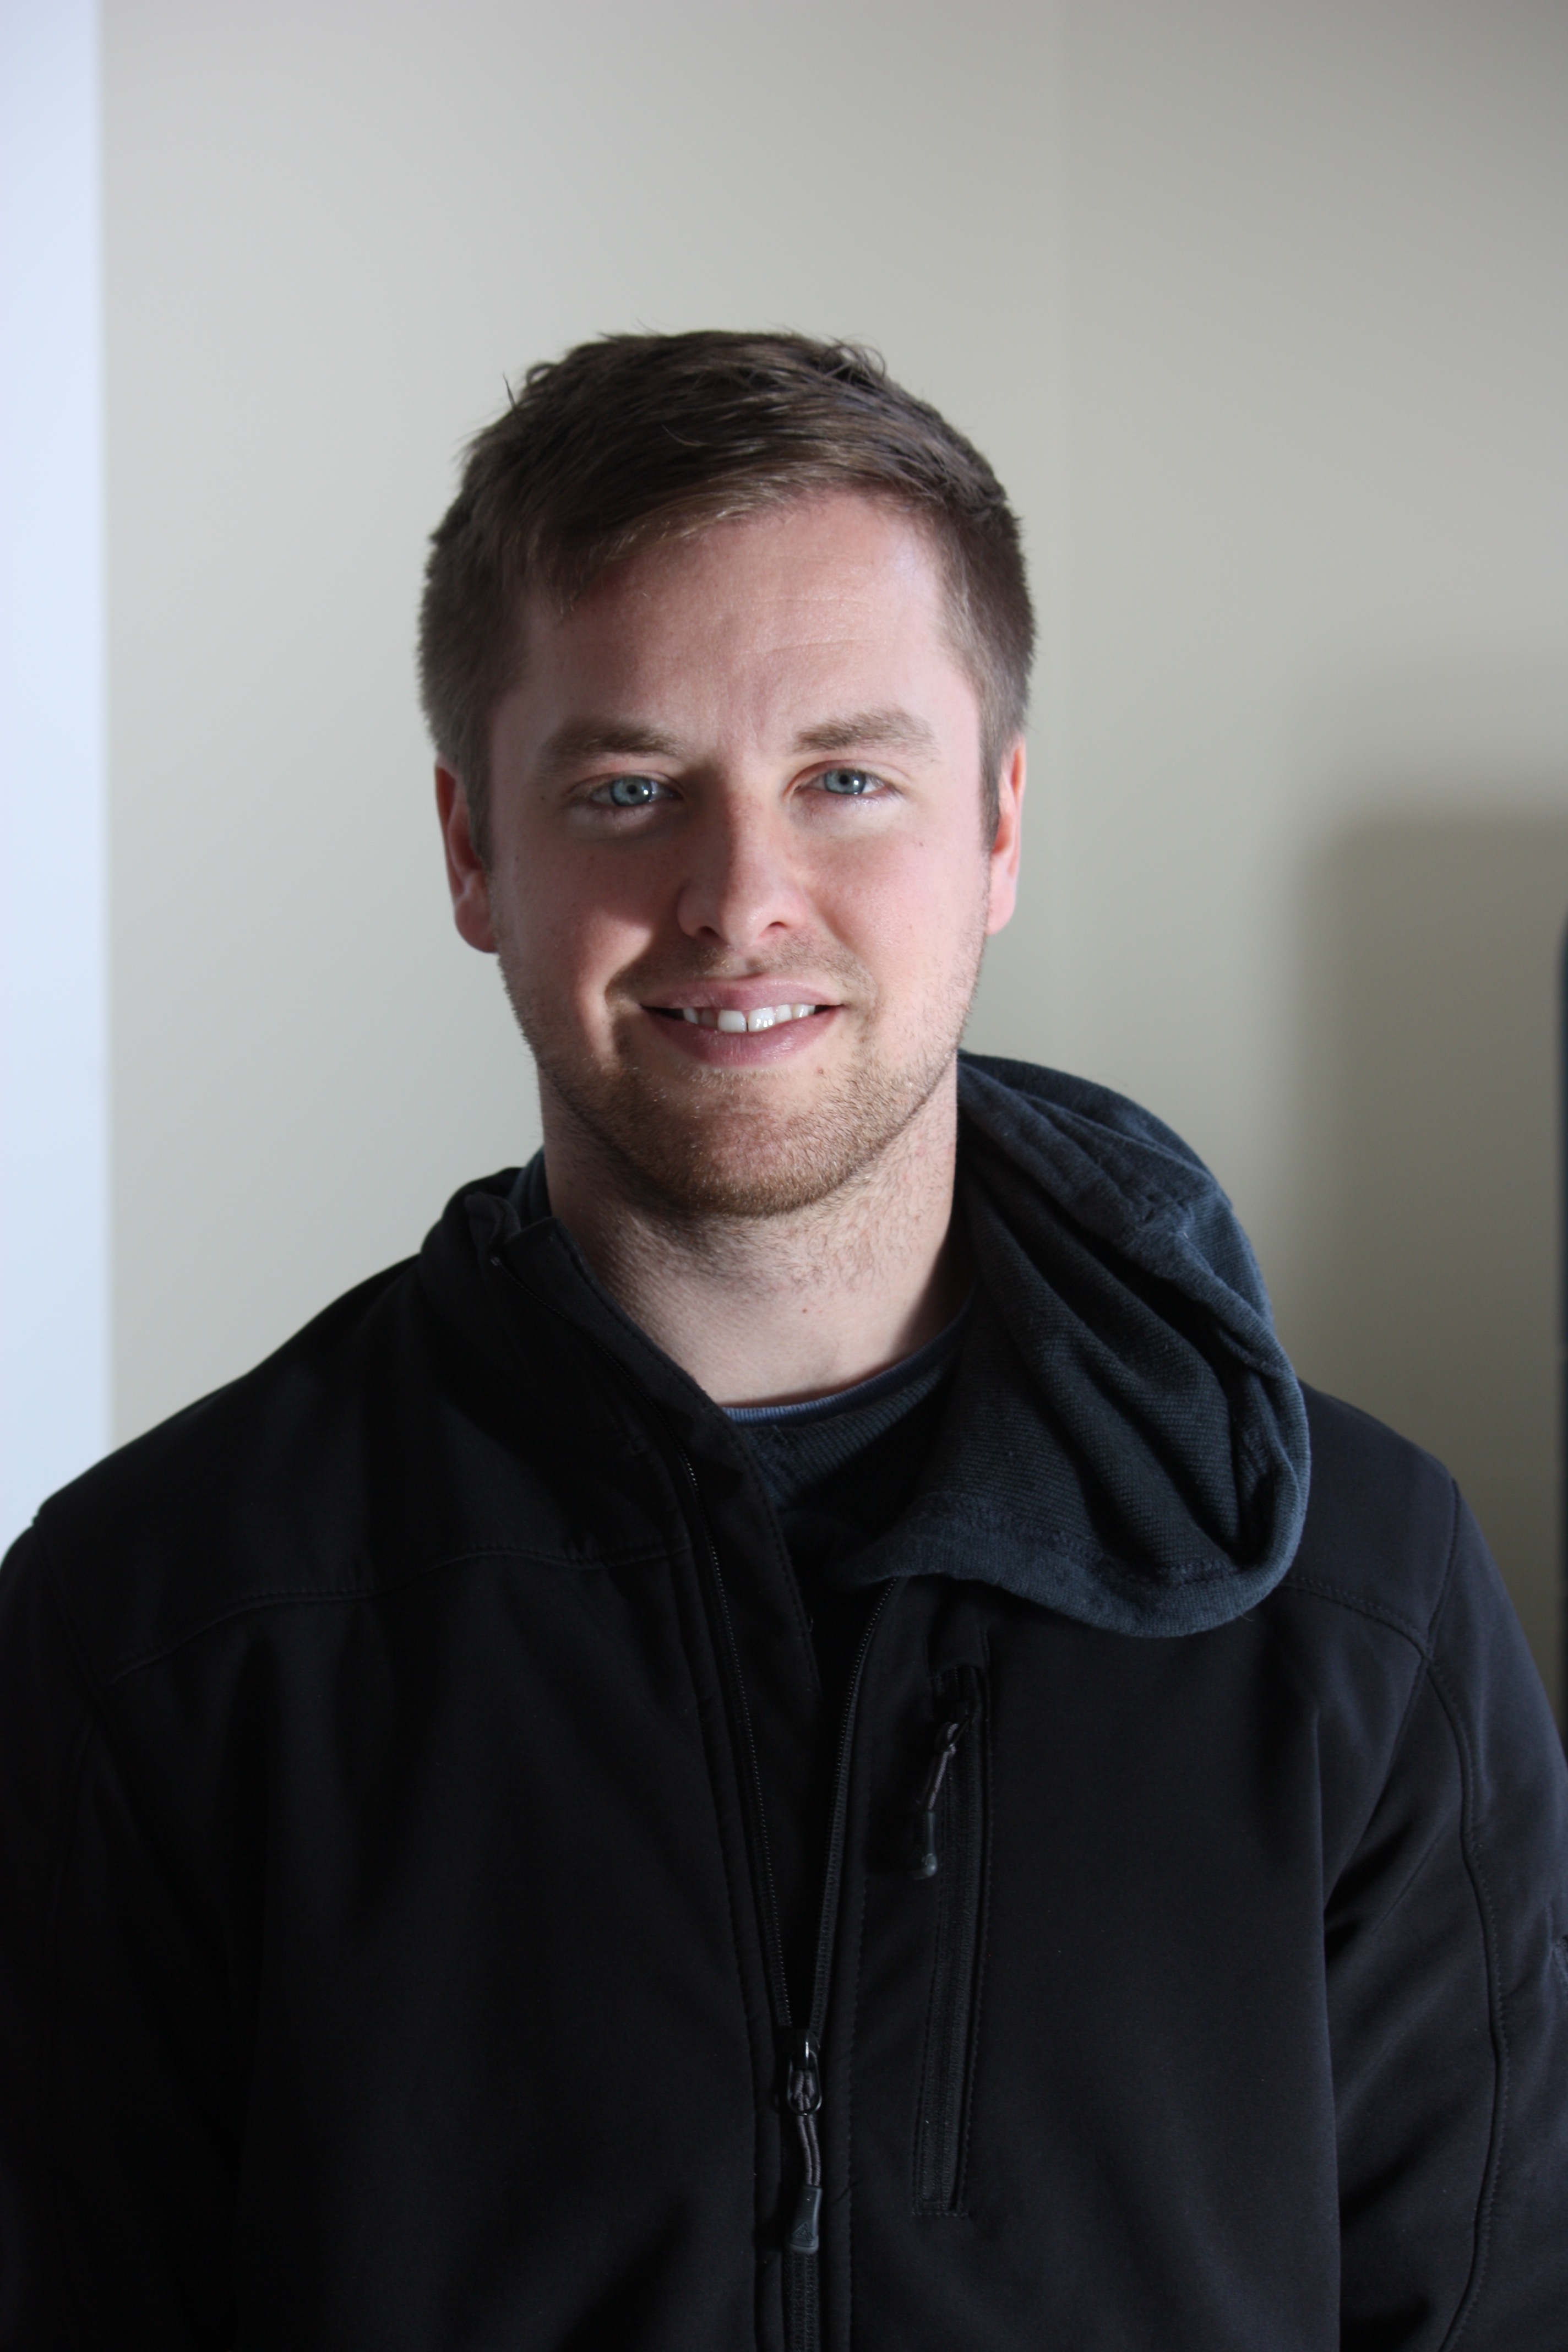
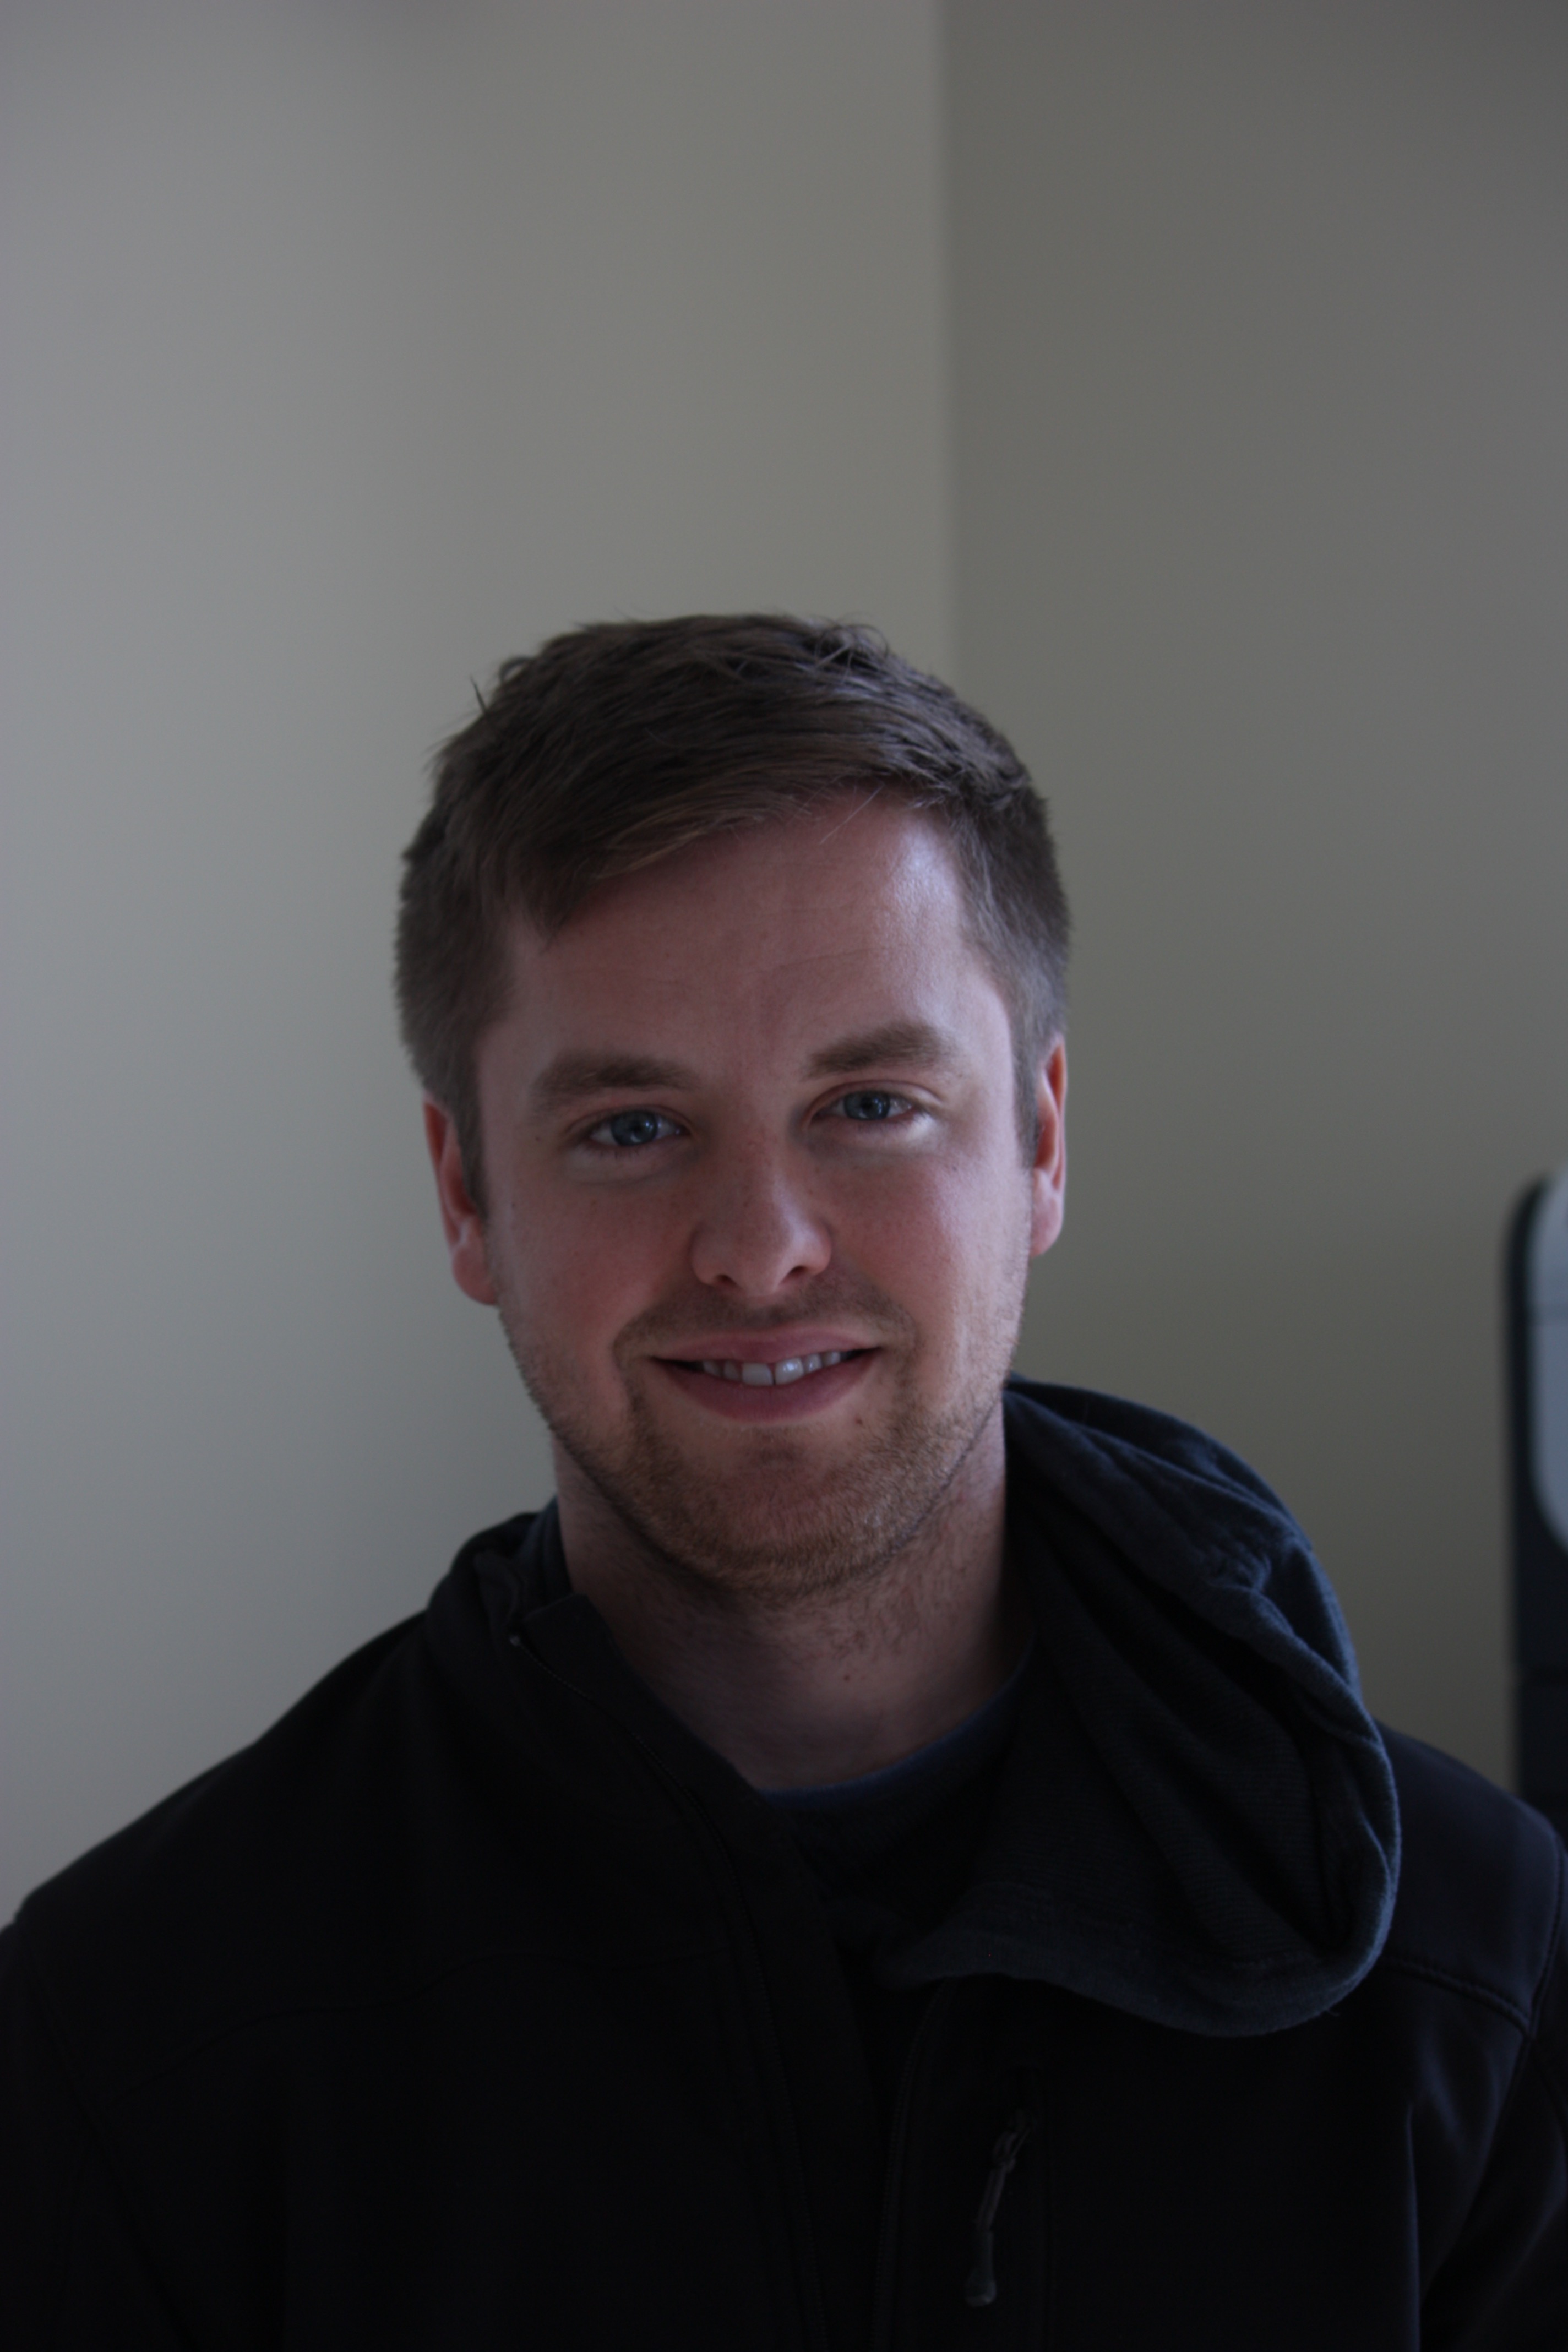
For this project I had my family model for me so I could work on improving my portrait shots. I must say taking portraits of children is hard work, I posed them so many times and by the time I could snap my photo they had moved, I had to work quickly. My husband was also less than thrilled that I made him be in some of the shots. I had originally intended to photograph my best friends family, but our schedules didn’t line up in time to complete this project. I think that I have learned some great lessons though that I can apply to our session in the next few weeks.
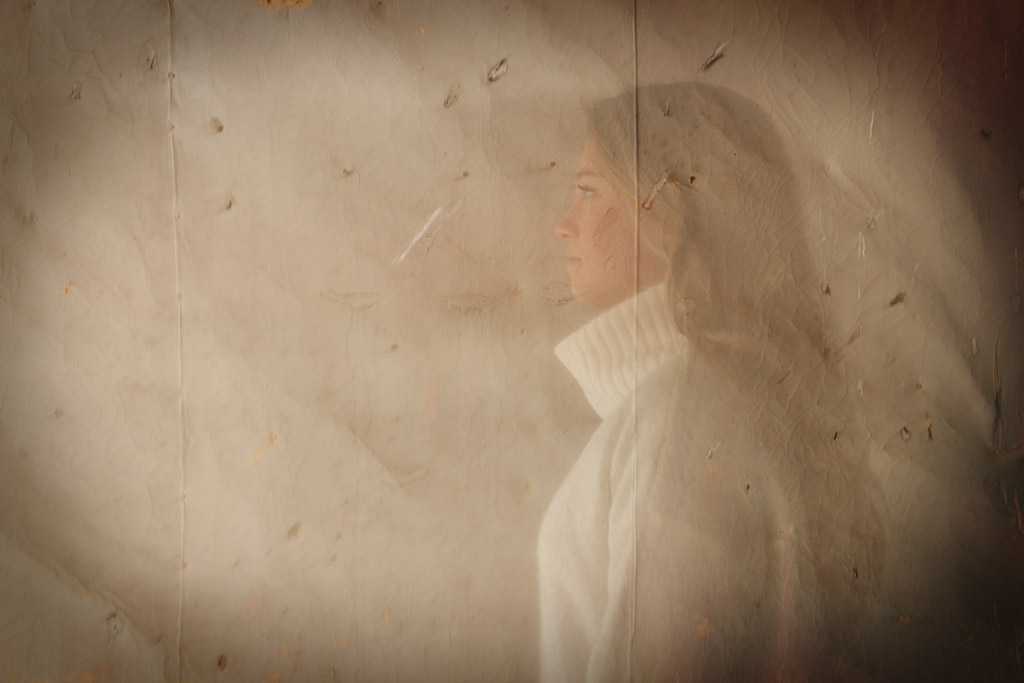
I loved this day for my portraits because it was foggy and I have never taken photos in fog so to see the smoky faded background in the images I instantly fell in love with the look and will definitely cherish these photos forever. I planned to try and use some reflectors but I think the fog helped light my subjects very well and worked out great as I didn’t have an extra hand.
Portraits:


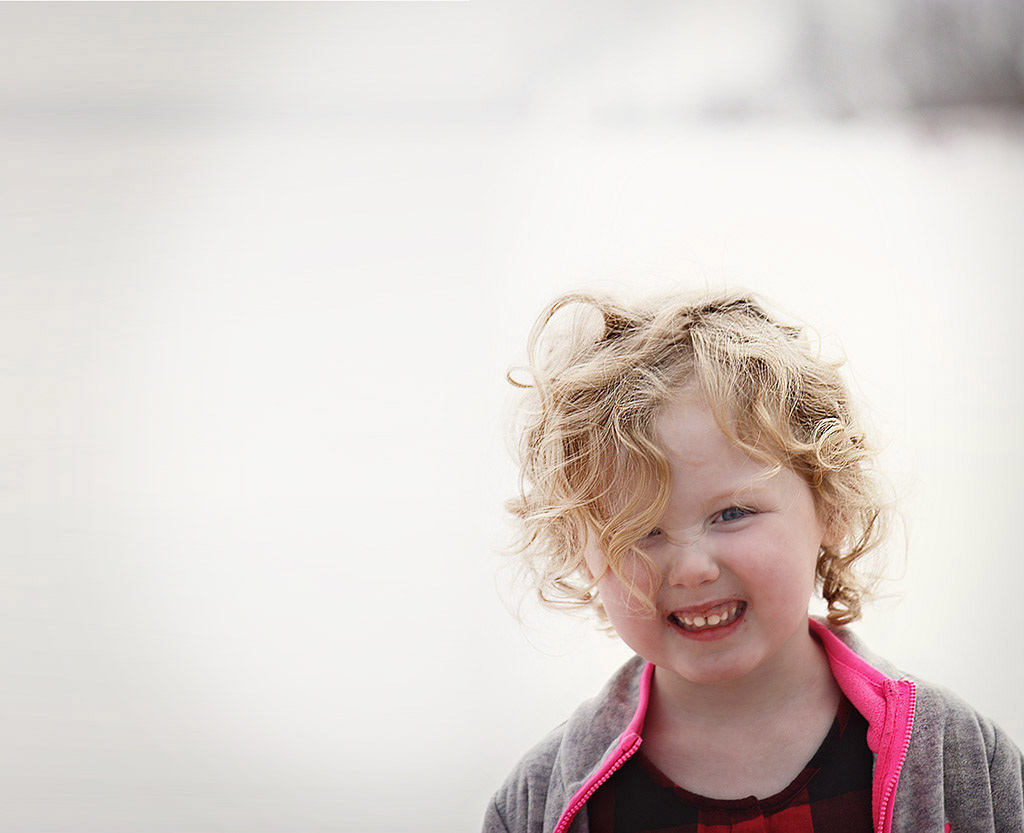
Portrait Edits:
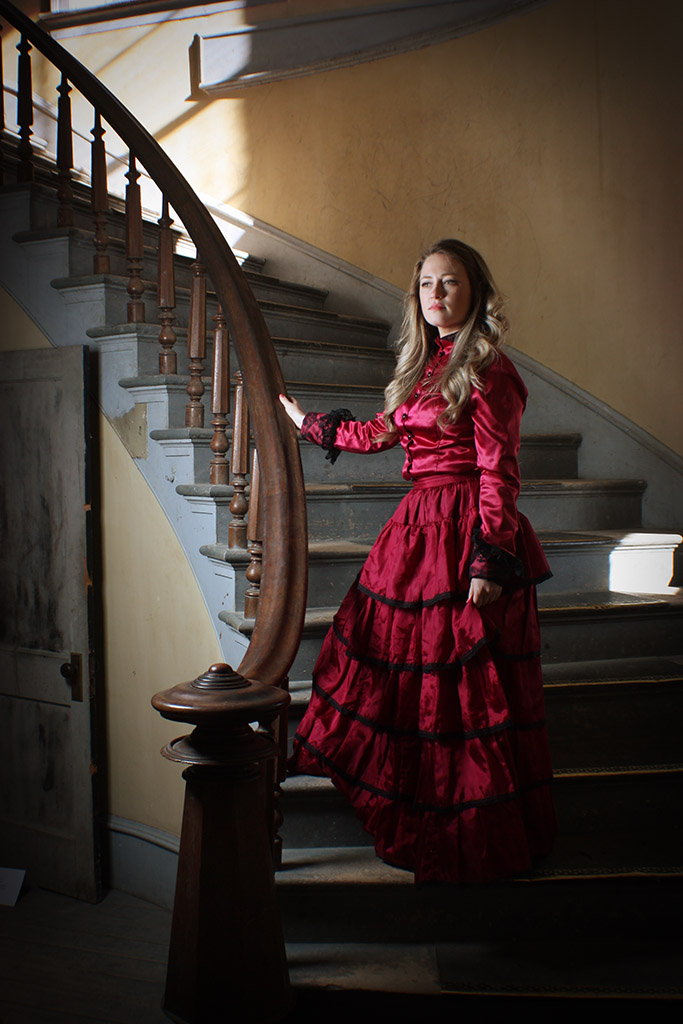
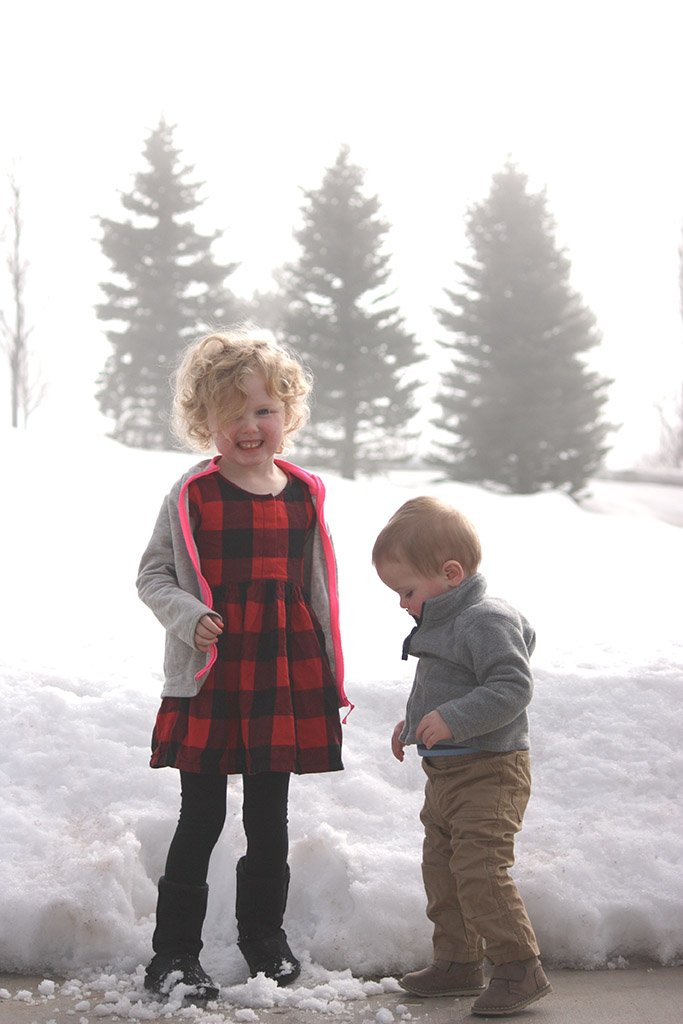
On this photo I edited the overall color to make the fog stand out a bit more, then I edited their faces to make them smoother and brighten her teeth and eyes to make them pop a bit more.


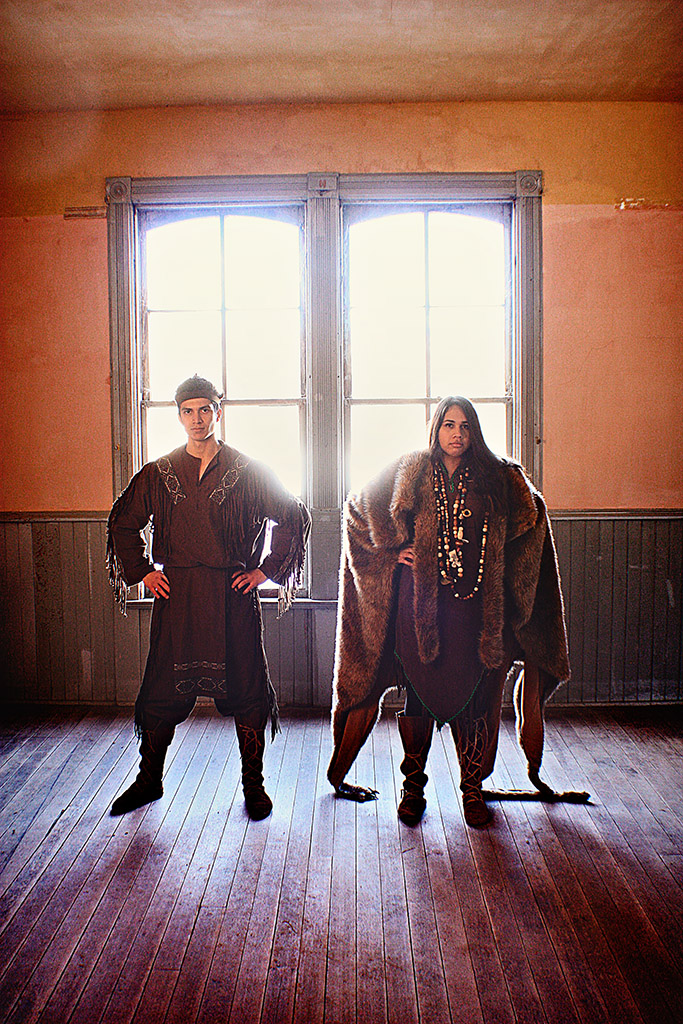
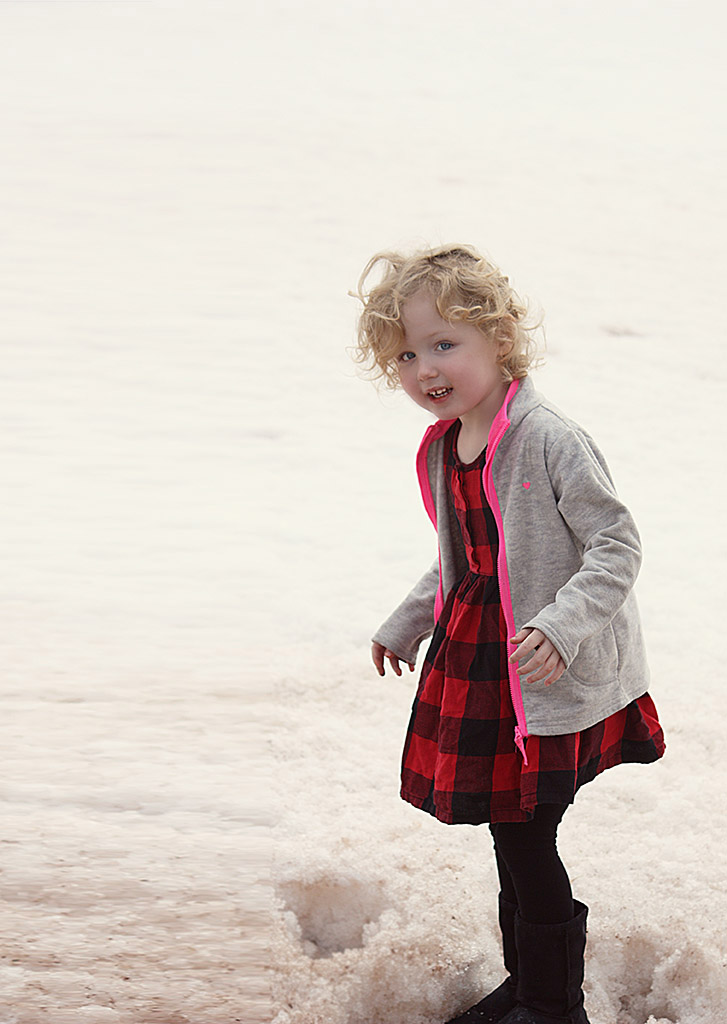
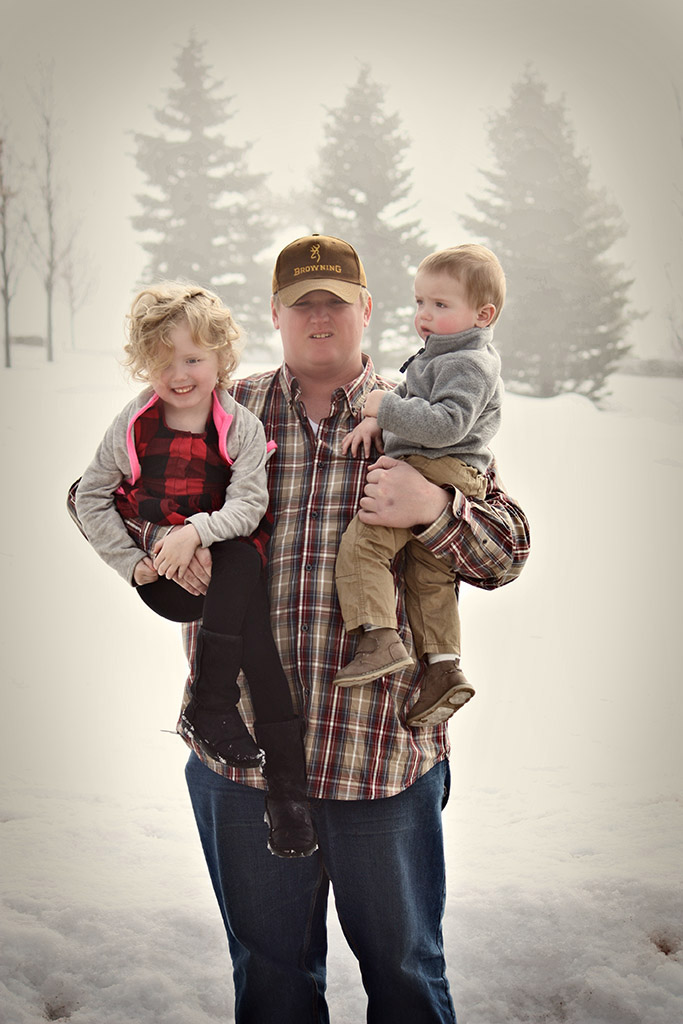
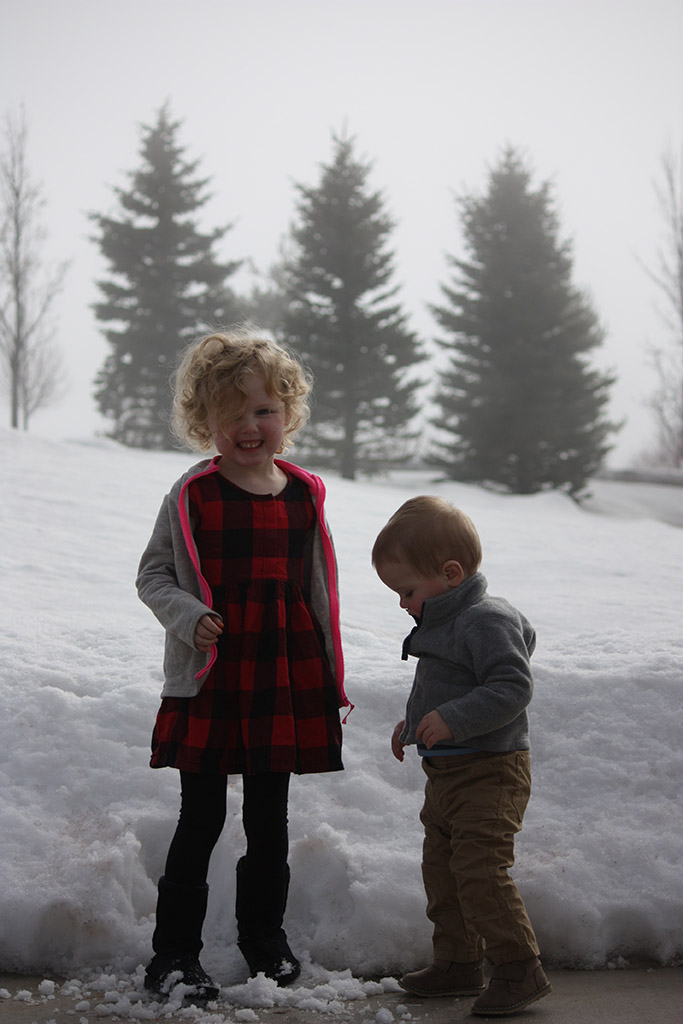
For this image I loved the look of it but the original was too dark so I matched the coloring from another image, I love how simple and easy it was to use this tool and make the image similar in coloring to the source image.


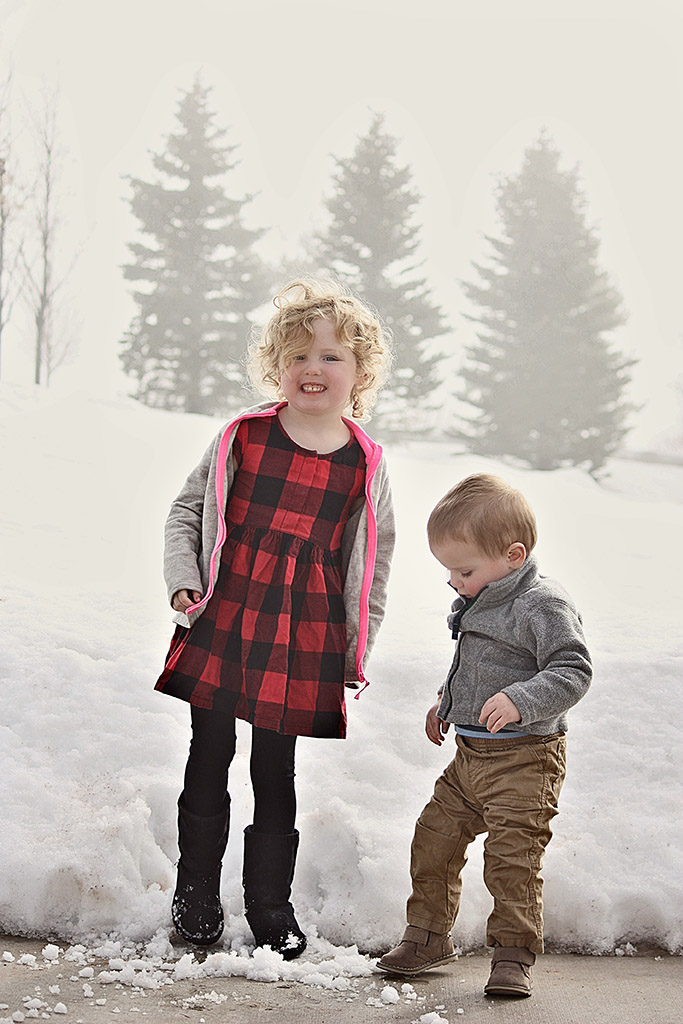
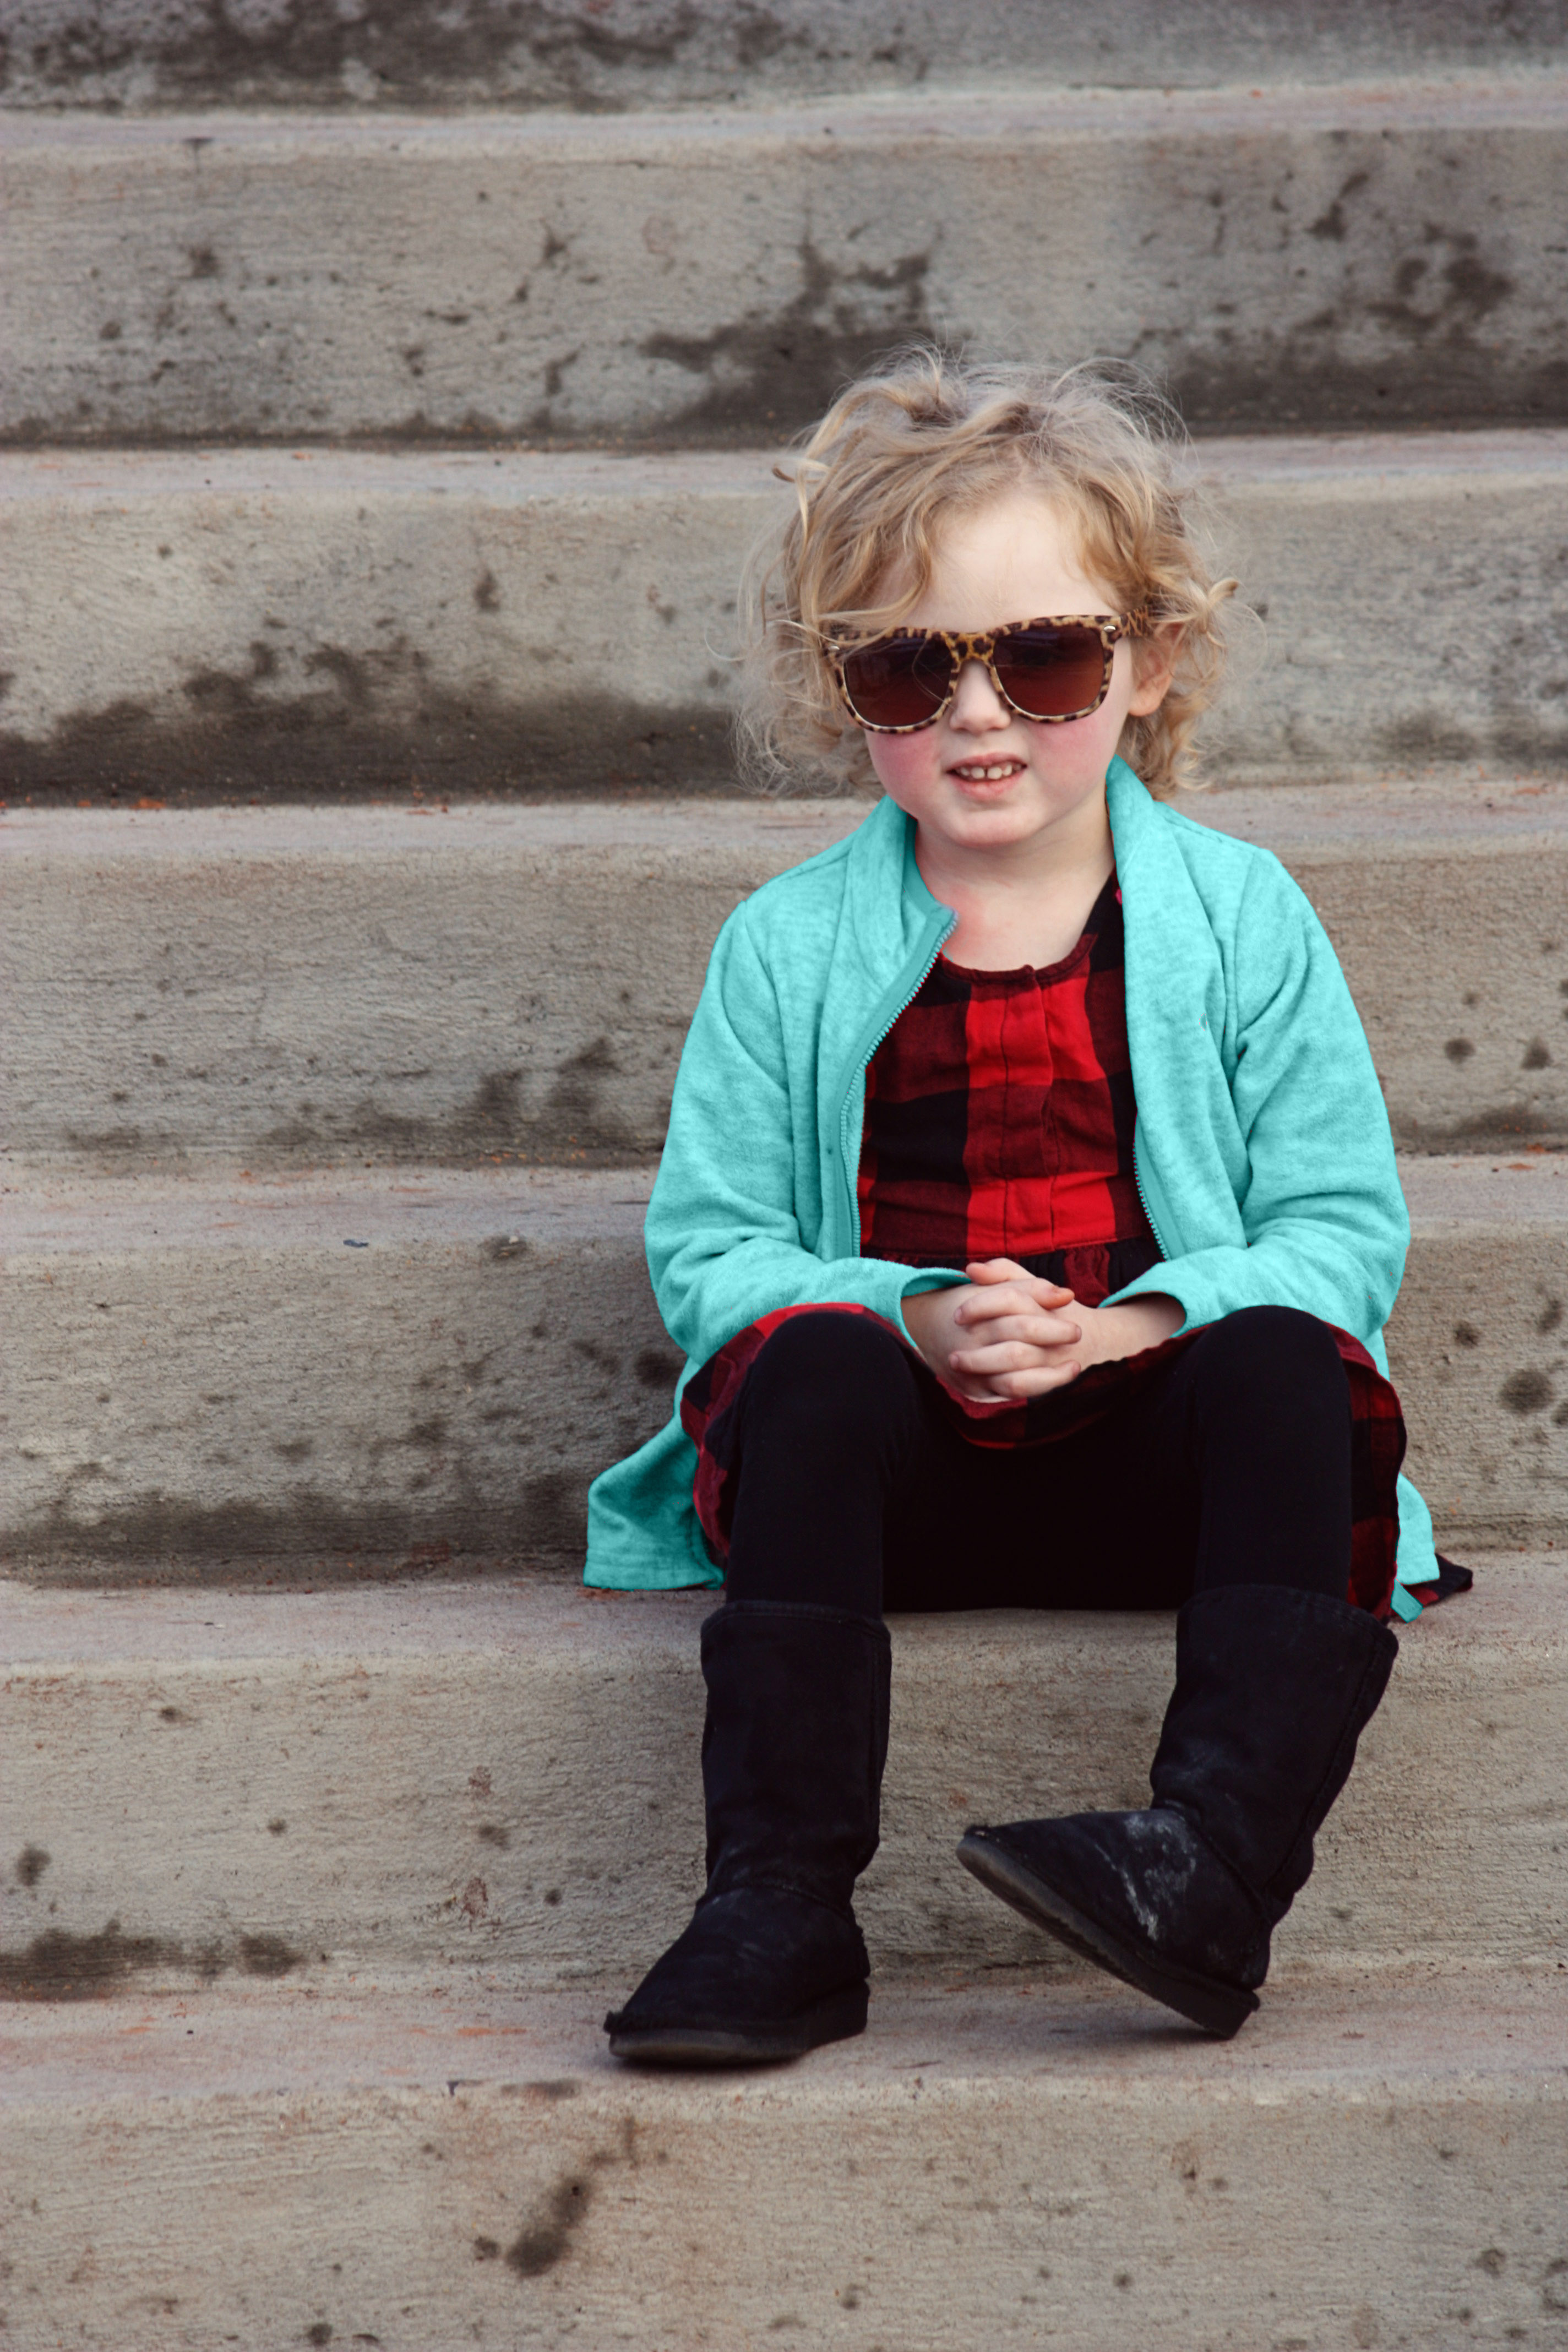
For this image I changed the color of her coat to be a bright blue with a blue trim instead of the original gray with pink trim using the color replacement tool in photoshop.