Hello, my name is Jalene Stradling and I am a Web Design and Development major. I am wife to my handsome husband (Nate) of almost 6 years and a mom to our 4 beautiful children, 2 of which we get the pleasure to raise here on earth! Paetyn is our oldest and she is 4, Nate is our youngest and he is 1. They are our pride and joy. We are originally from Arizona and moved to Idaho 2 years ago because my husband wanted better hunting!
About a year ago we both decided to go back to school. This is hard with our children and no family close, but we make it work. I originally graduated from the LDS Business College in Salt Lake about 8 years ago with 2 associates in Accounting and Business. I took a photography/photoshop class while I was there and I loved it and hope to improve my skills this semester.
Below is some examples of my past photos that I have taken and edited in photoshop. I have gotten in a bad habit of just using my cell phone camera, but hope that this semester I will take more pictures with my dslr to truly capture all the beauty around me.
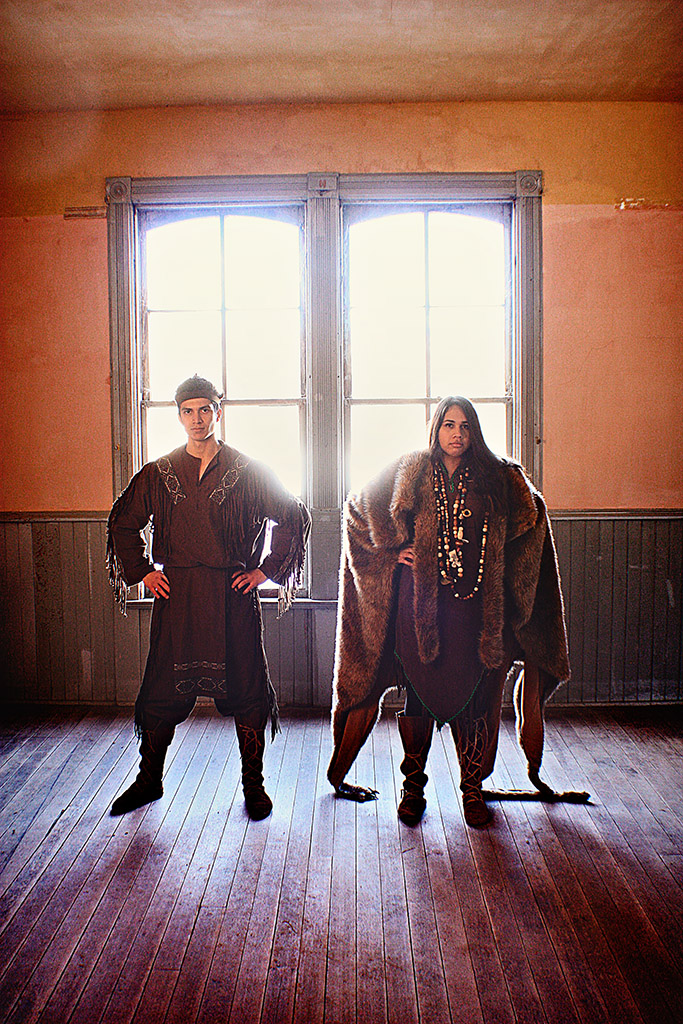
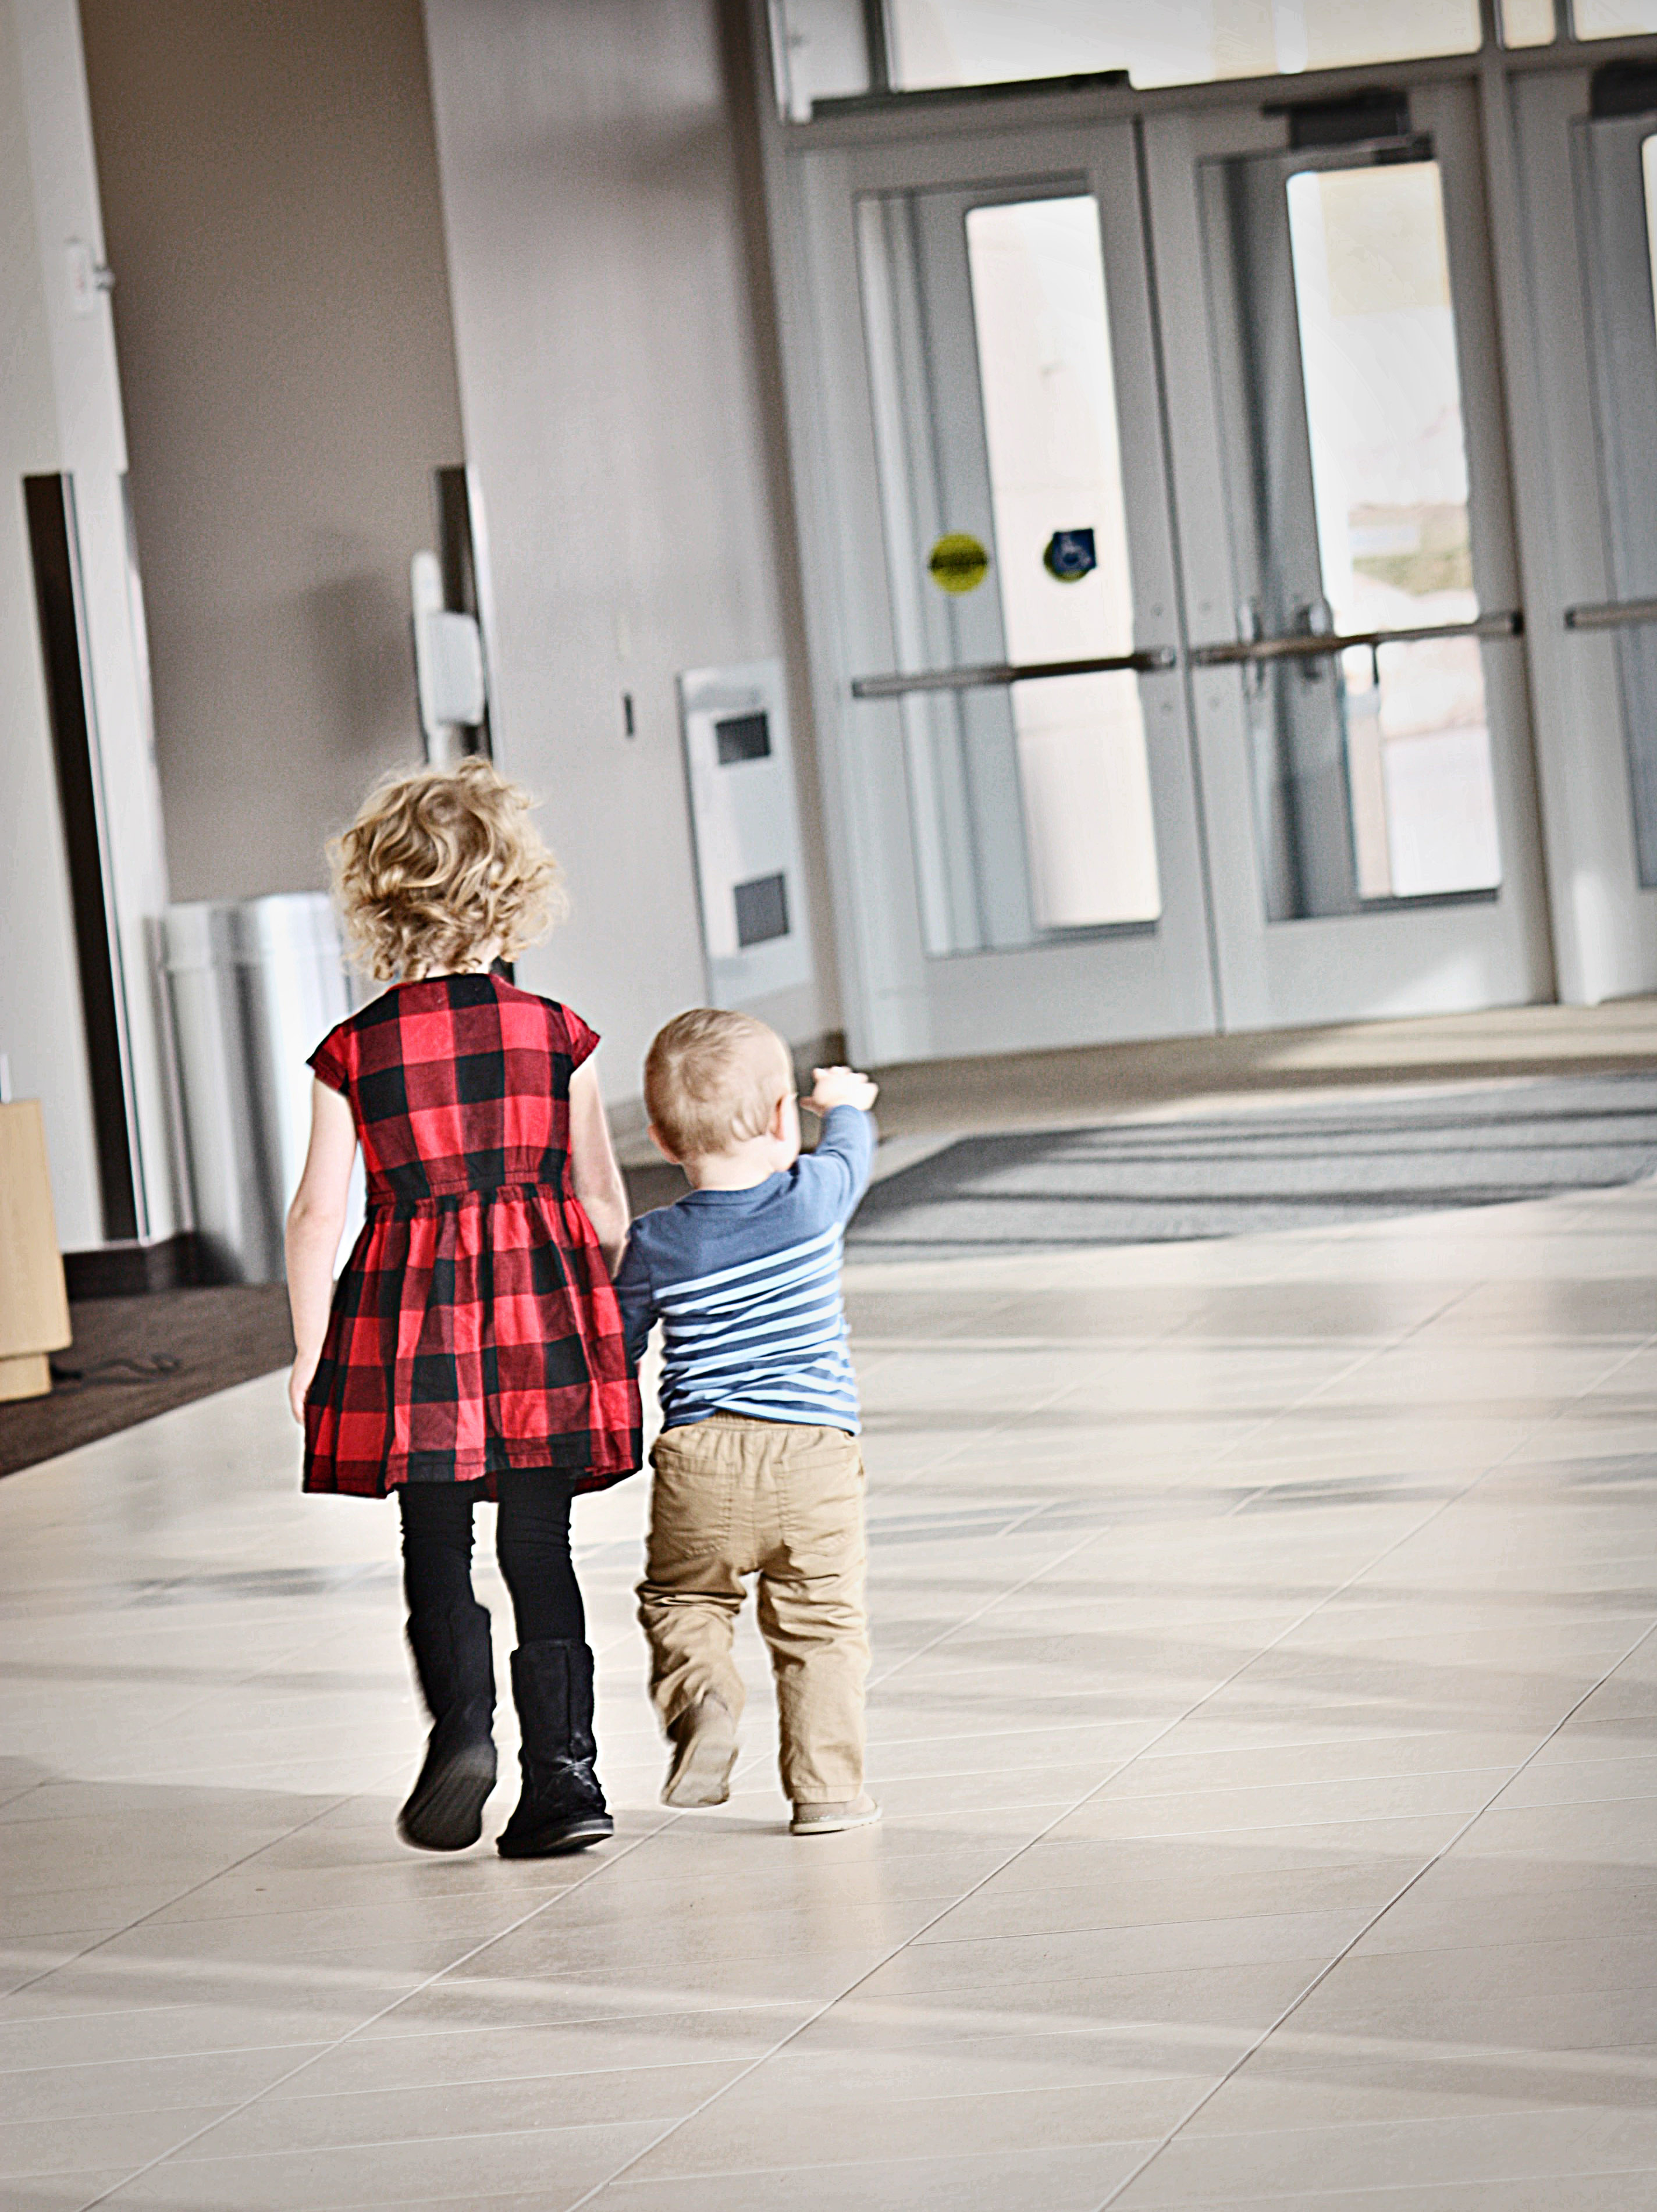
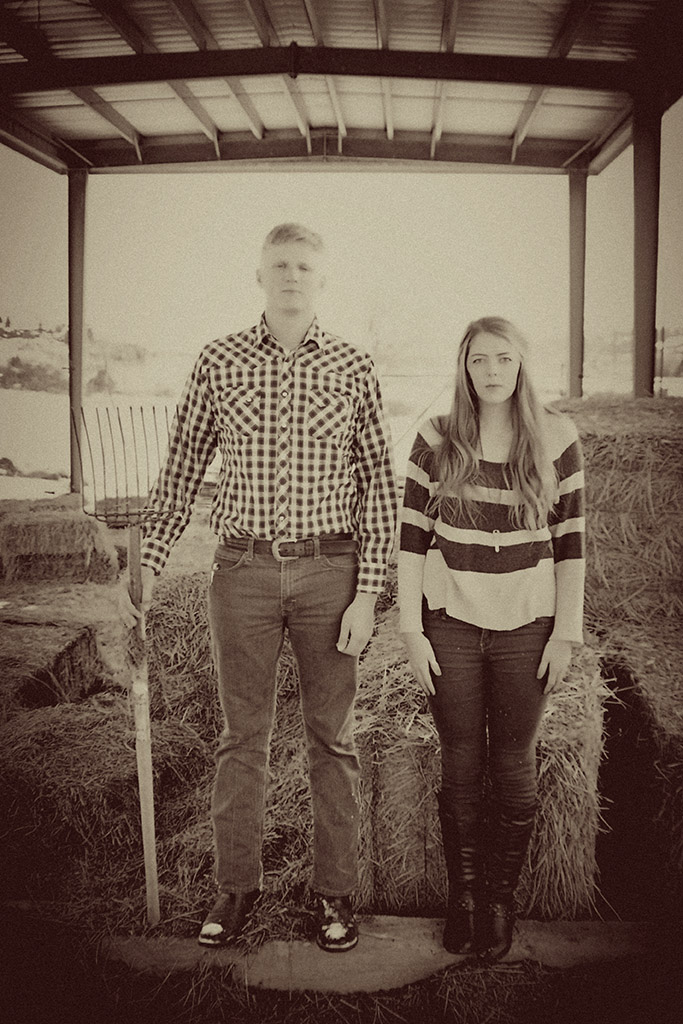
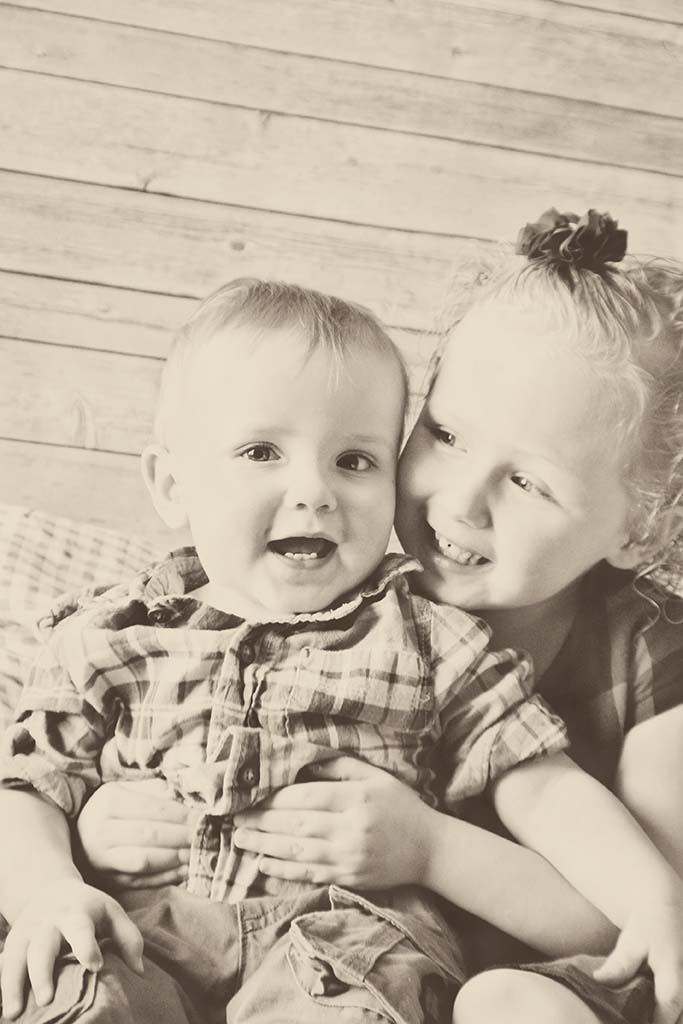
This image is one of my favorites of my kids and all I did was add a sepia action to the image and adjust it to how I wanted it to look.

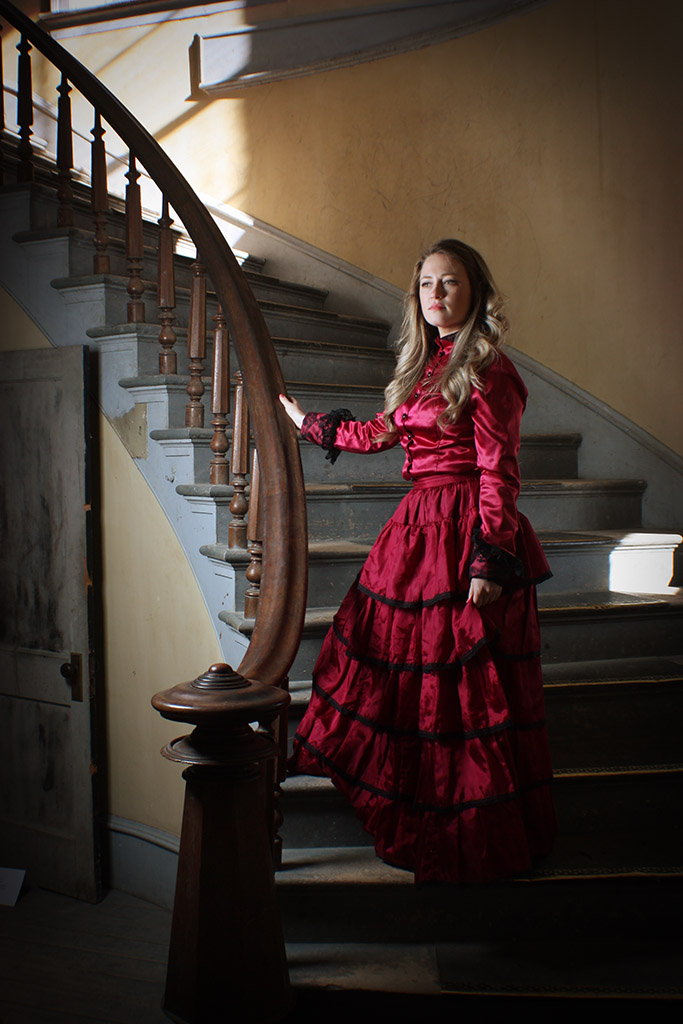
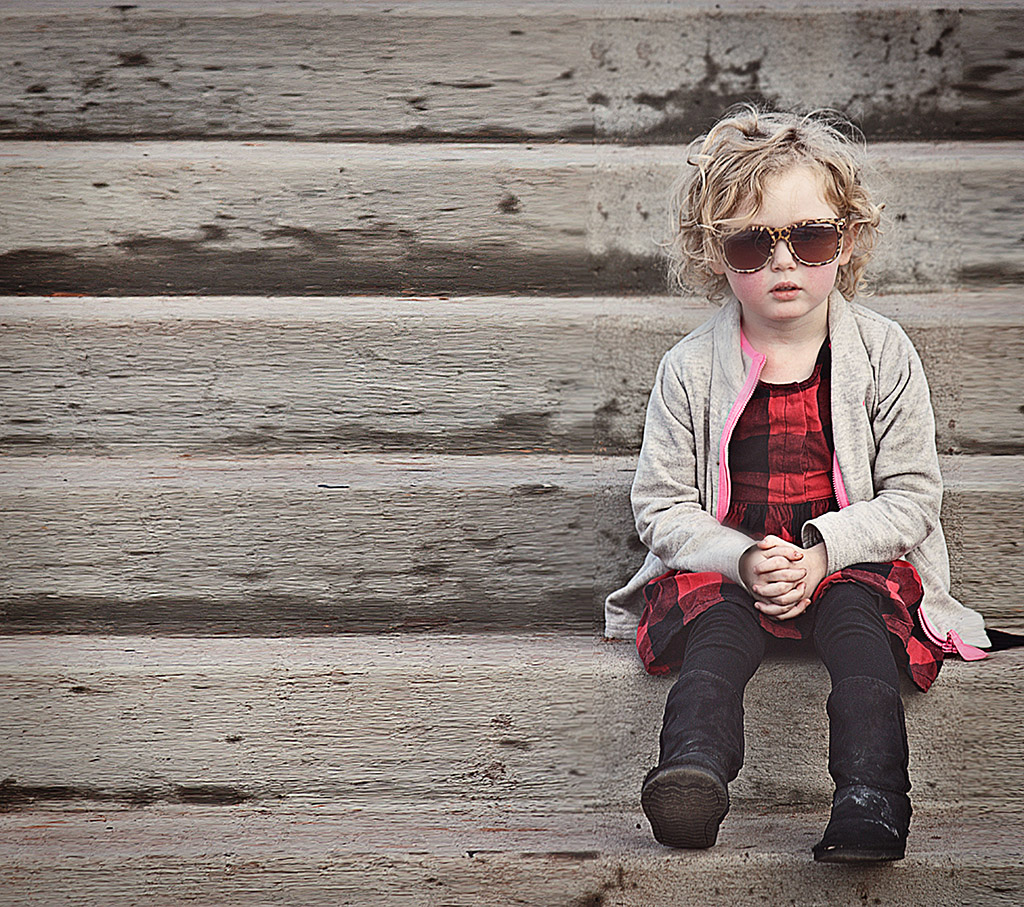
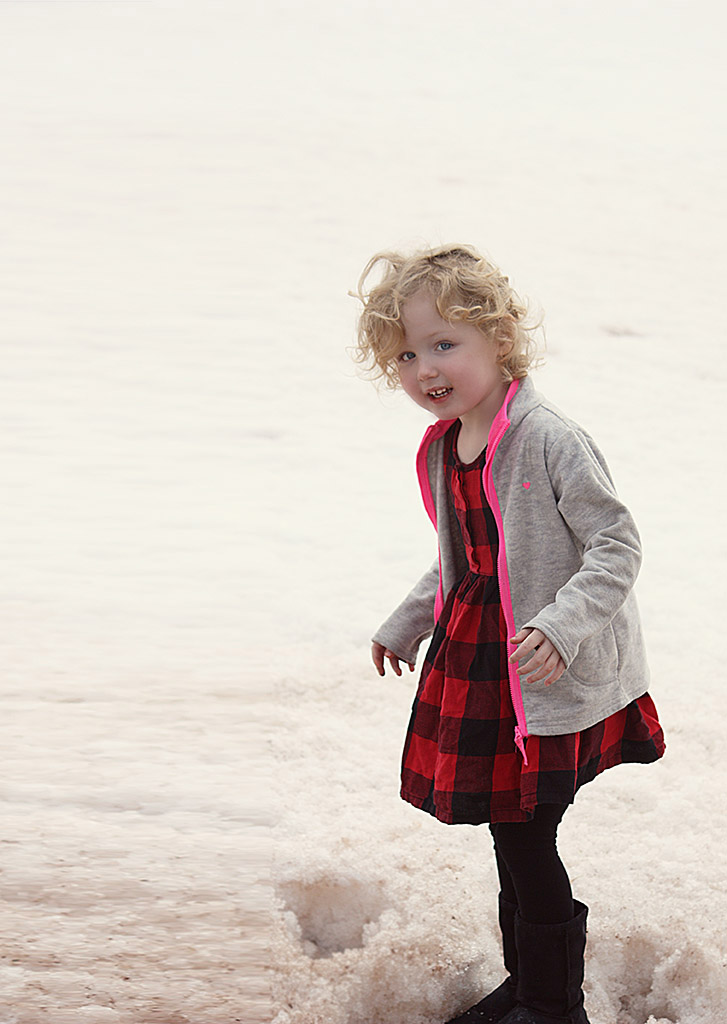
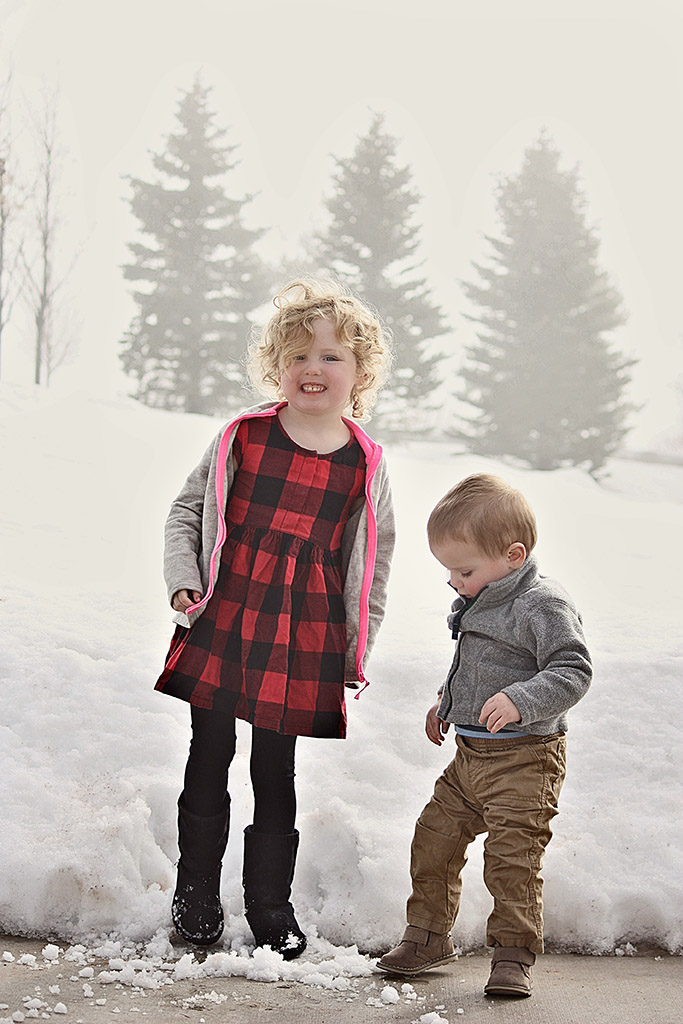
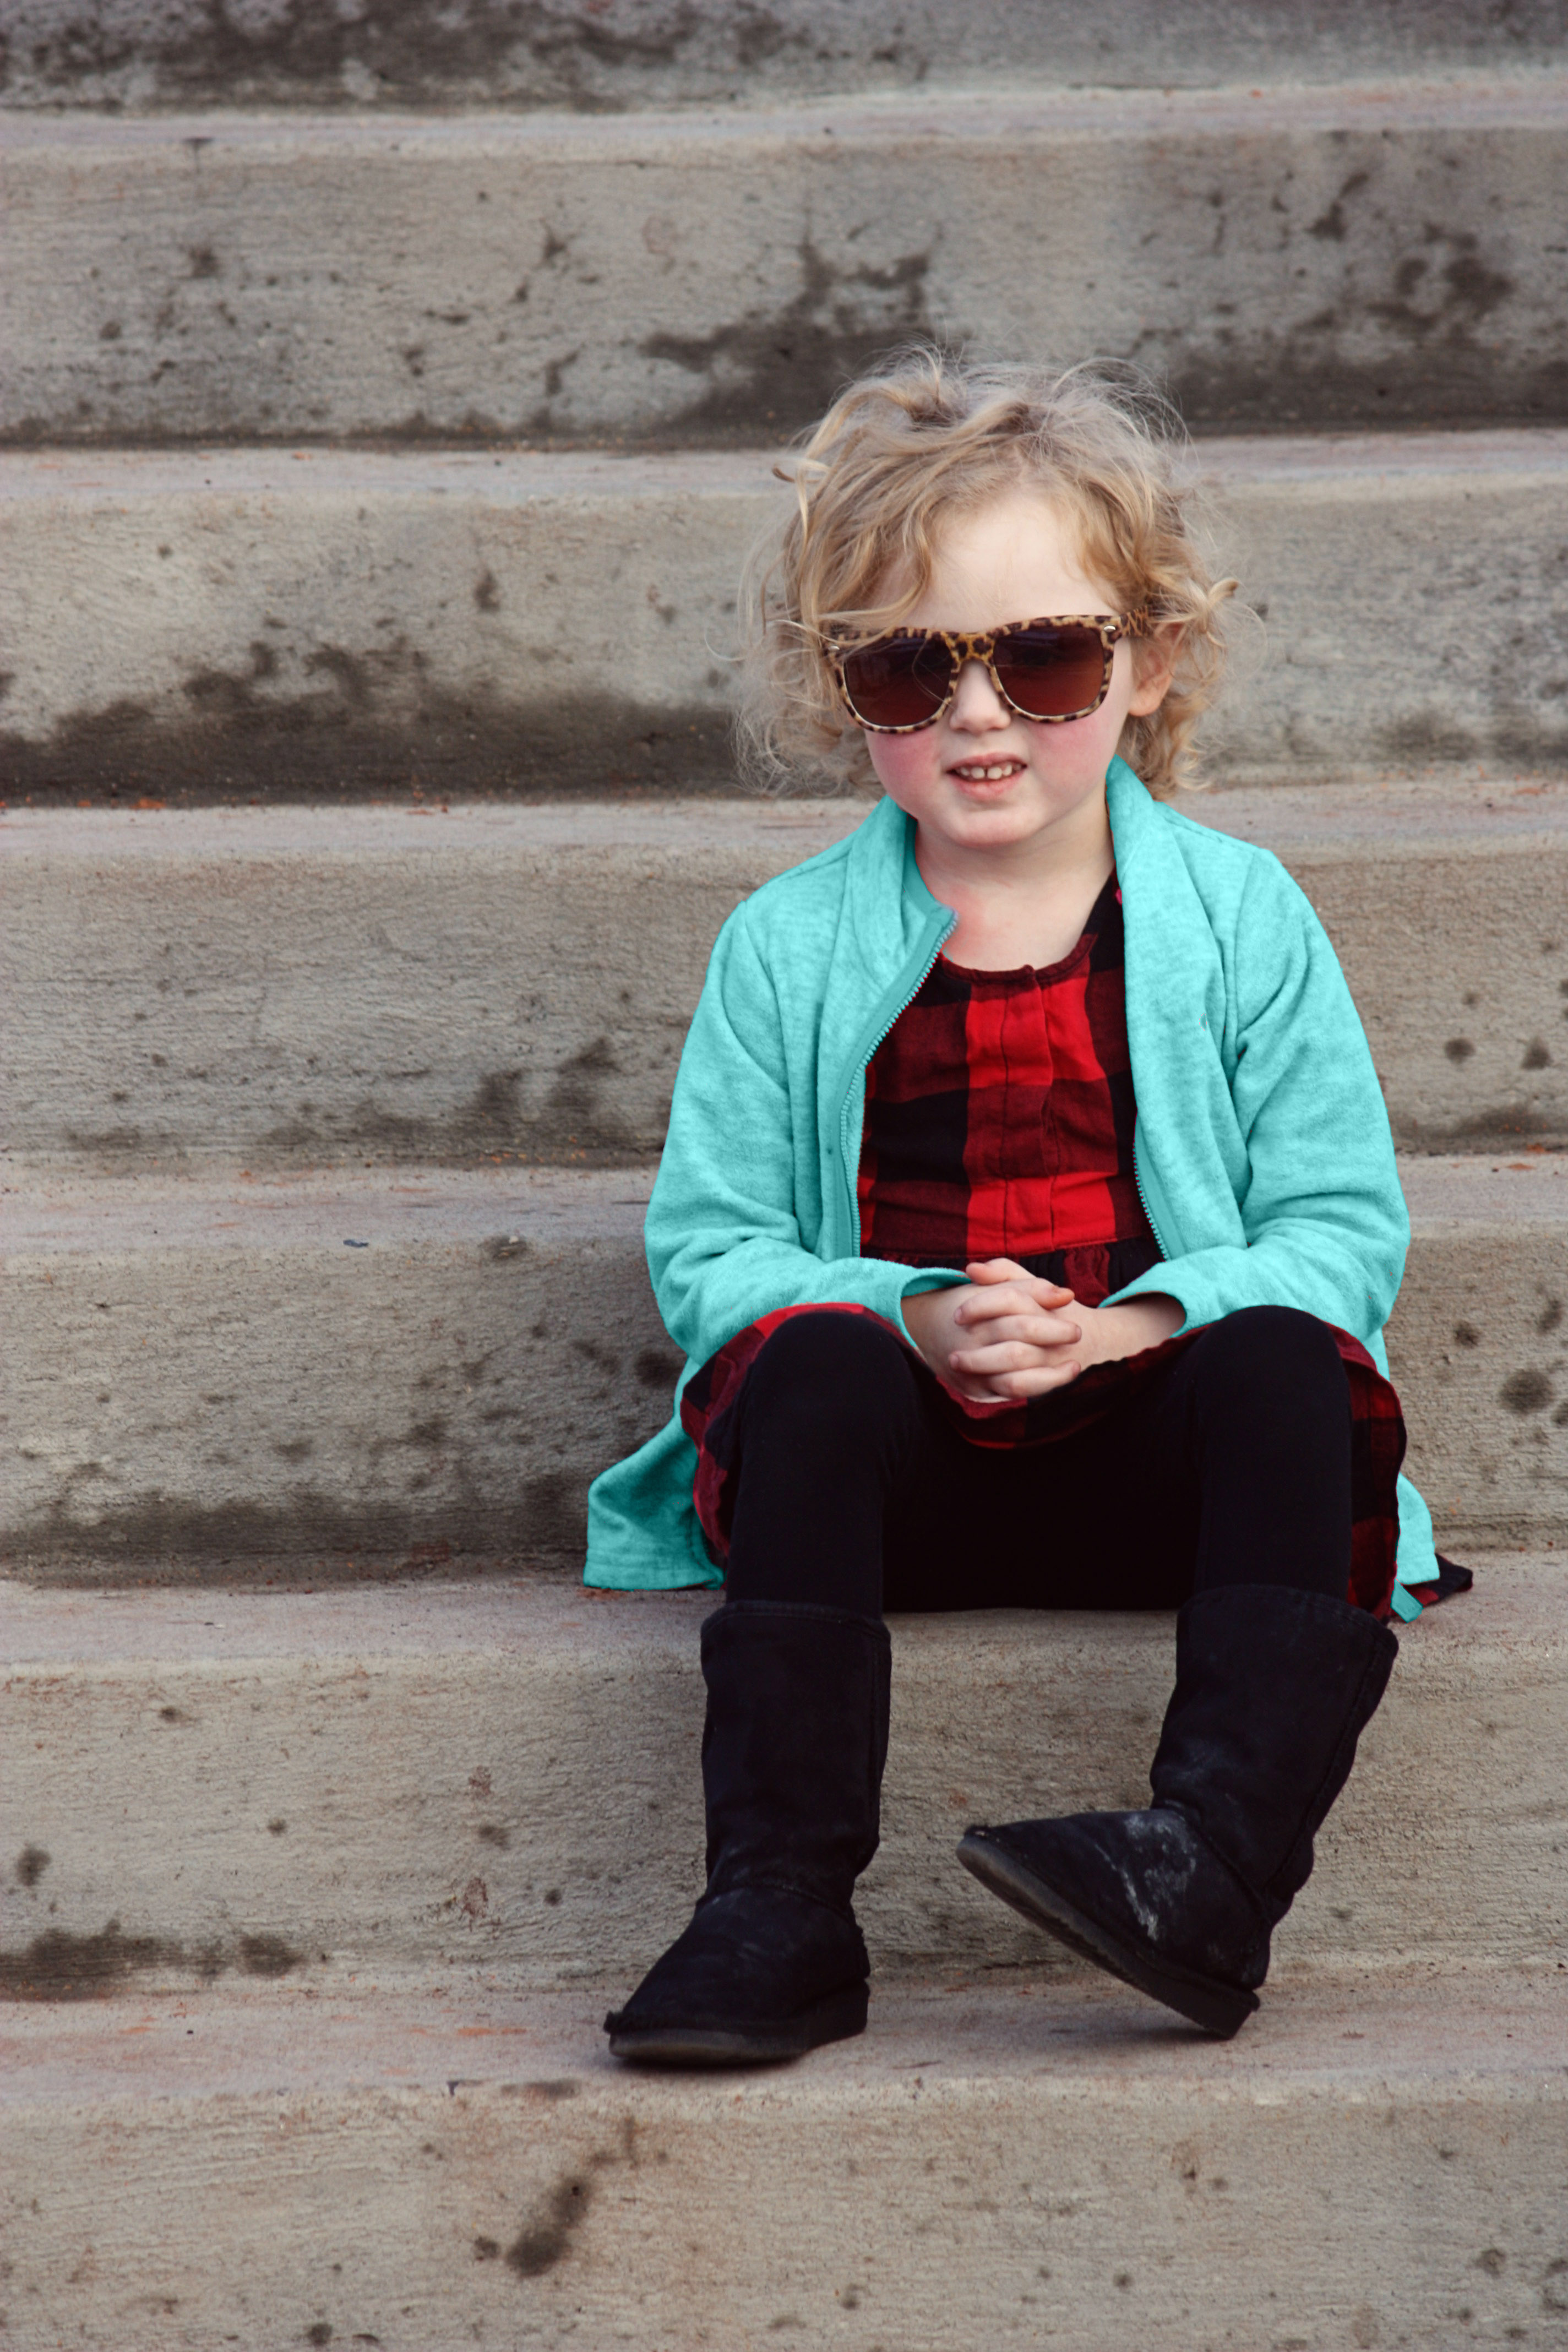
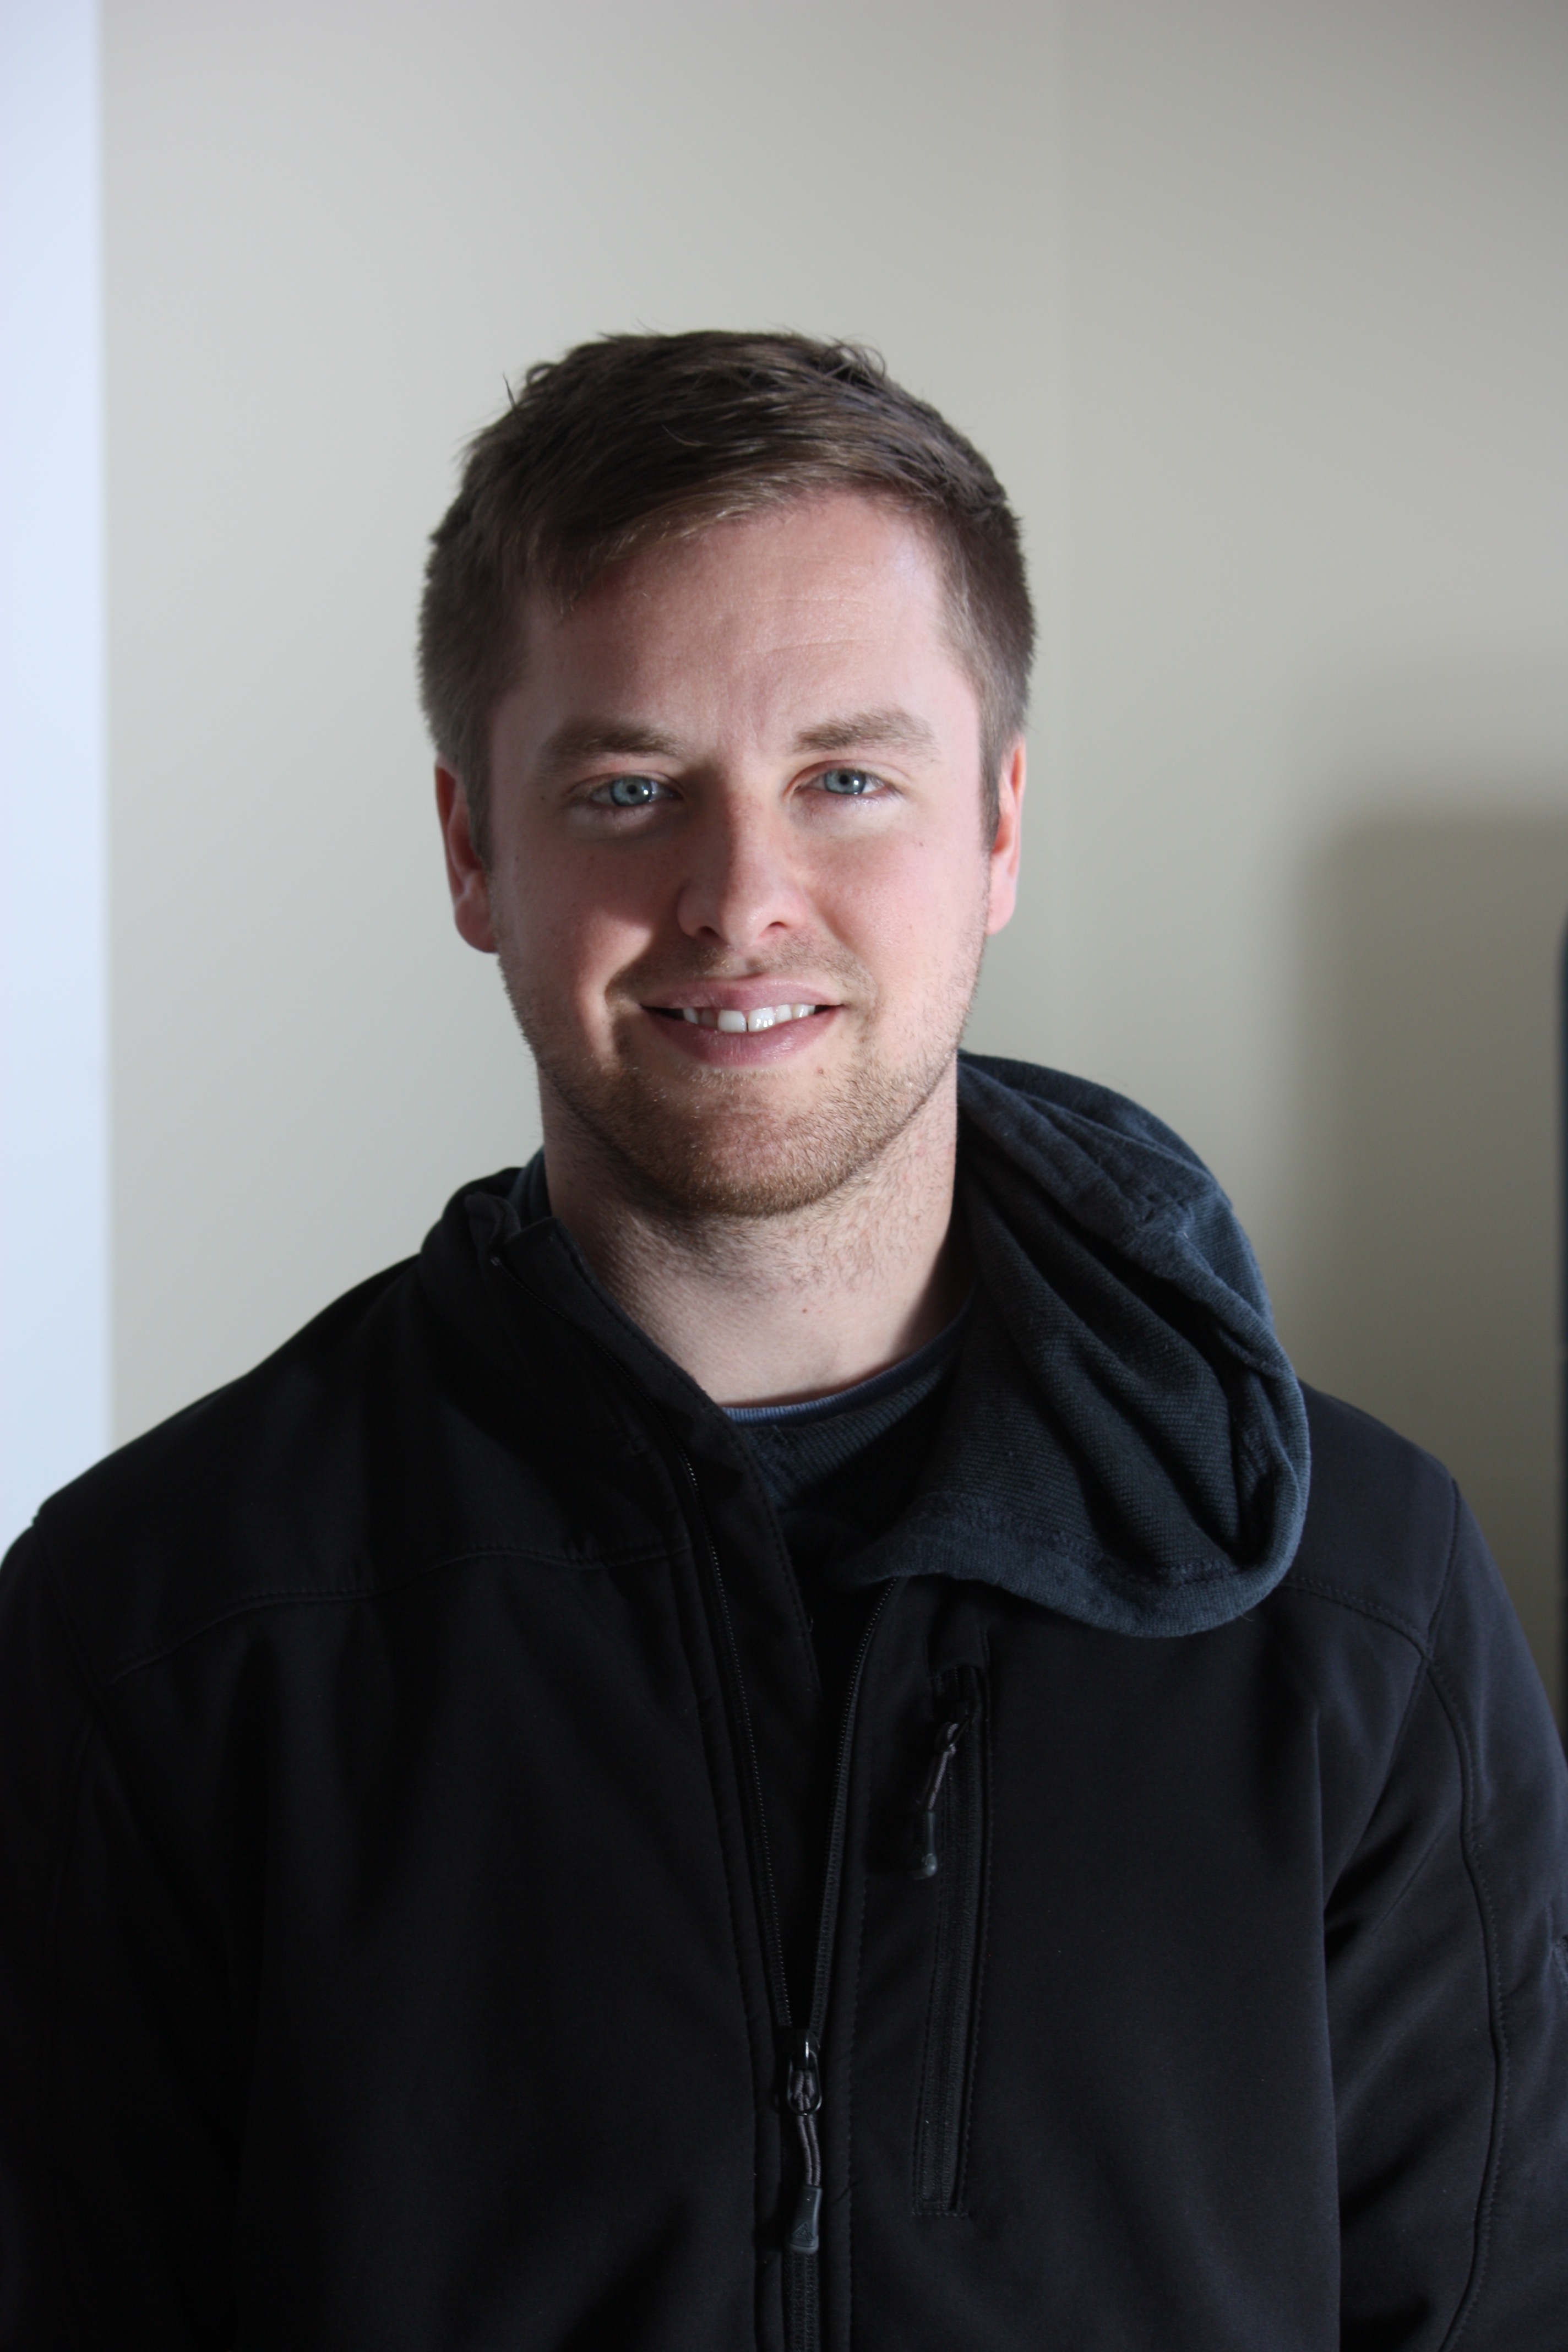
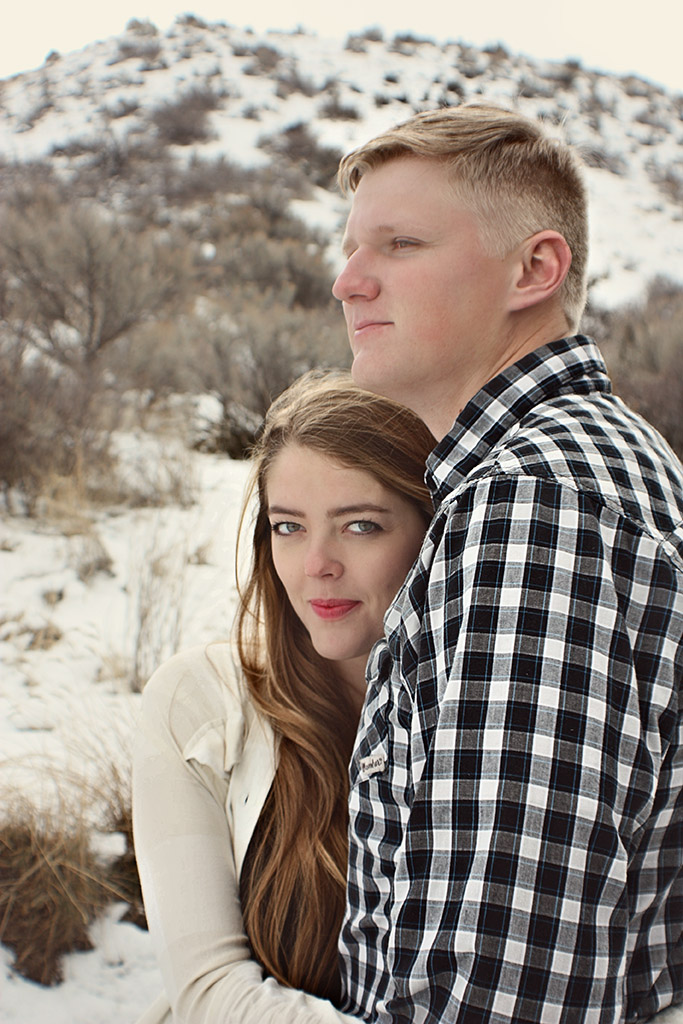
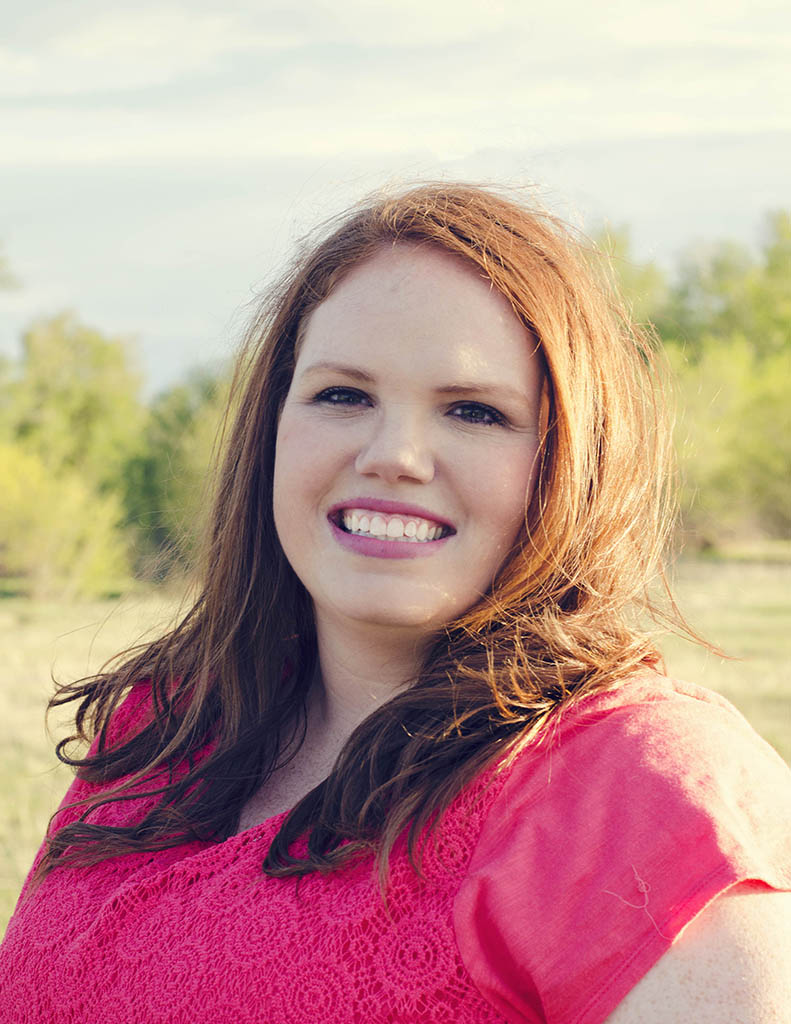
This image was brightened up and I used some actions to smooth her skin and brighten her eyes some more.

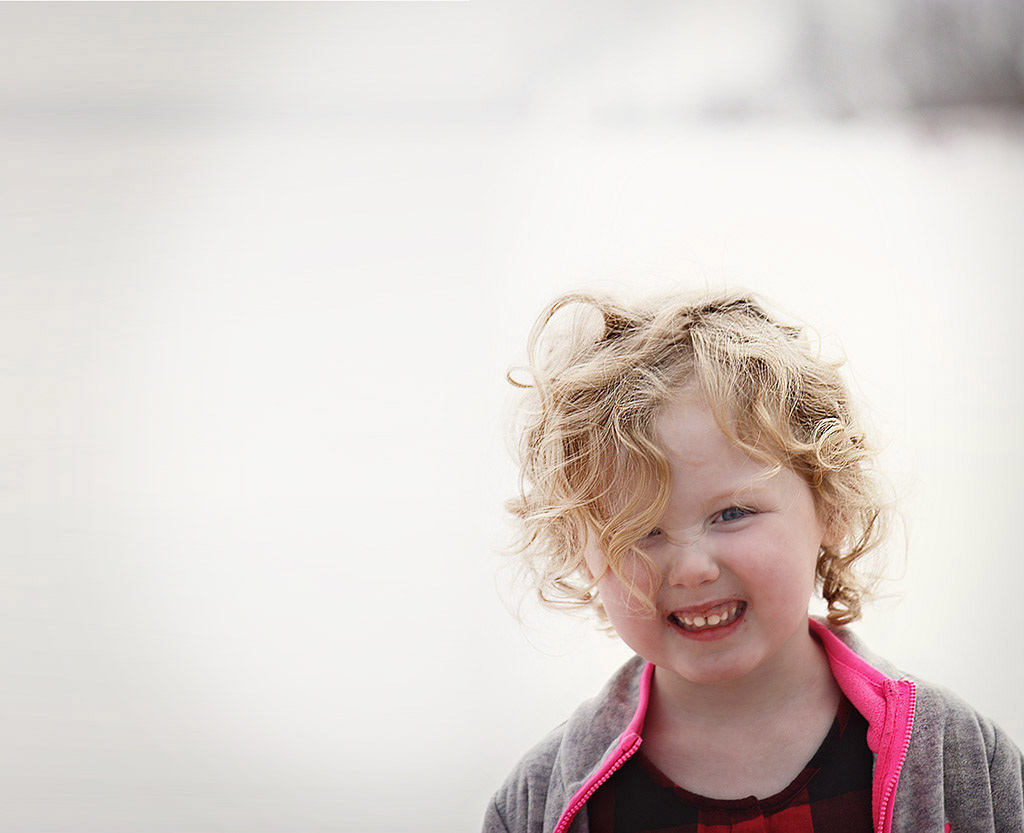
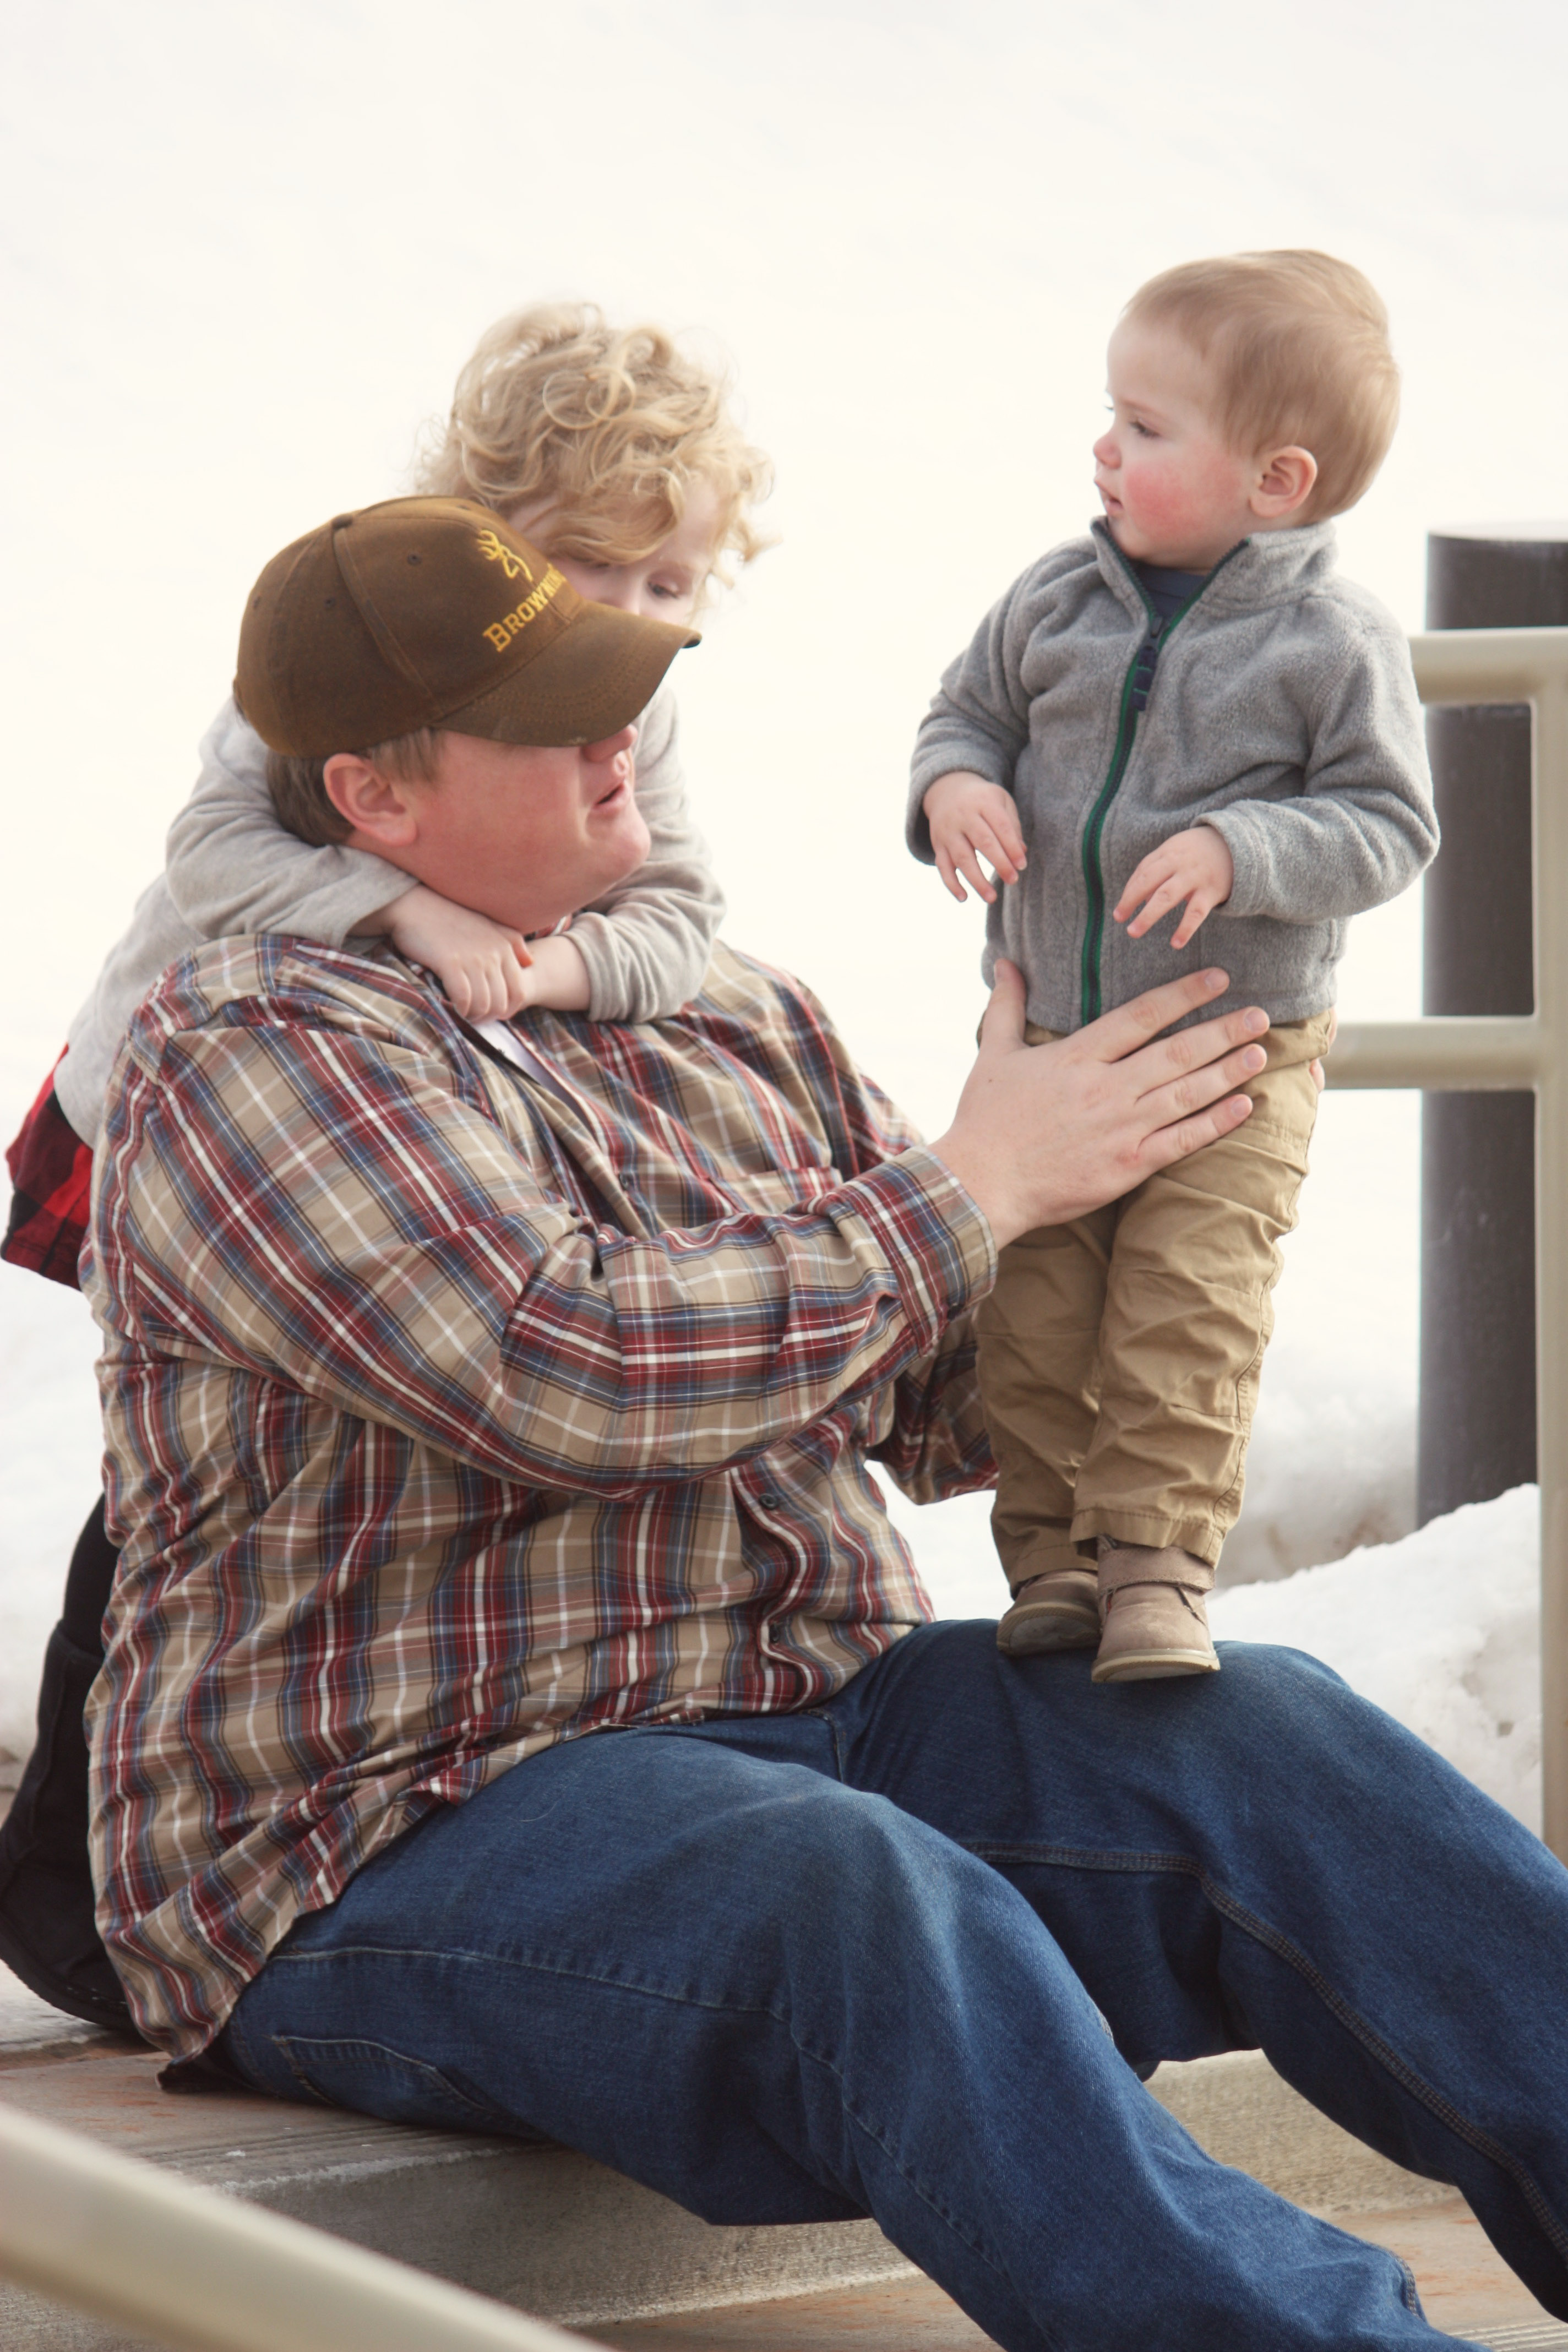
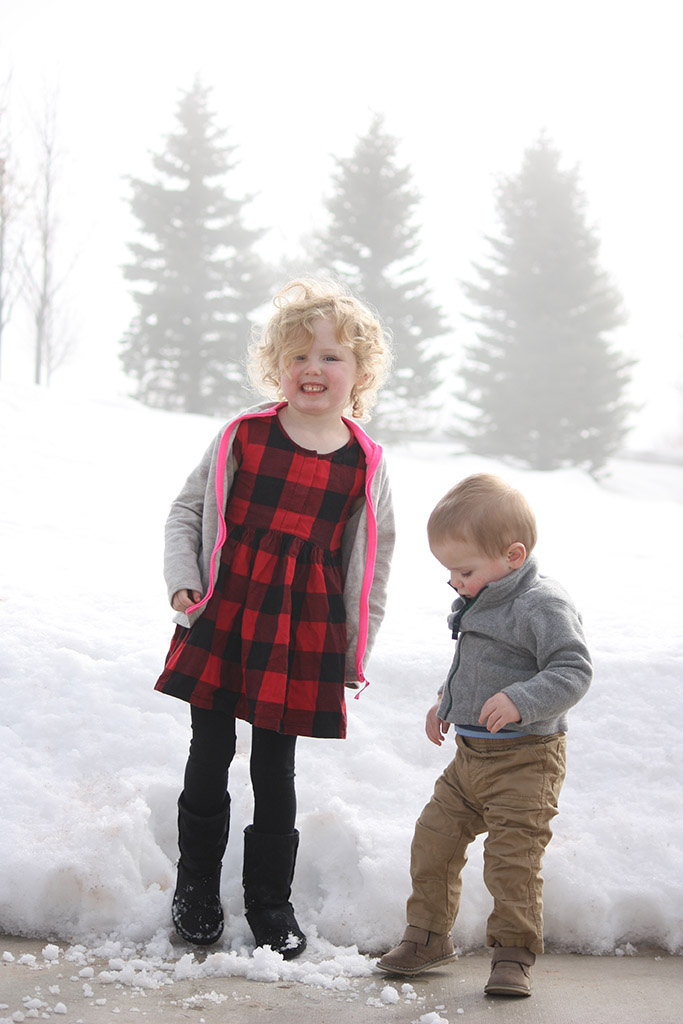
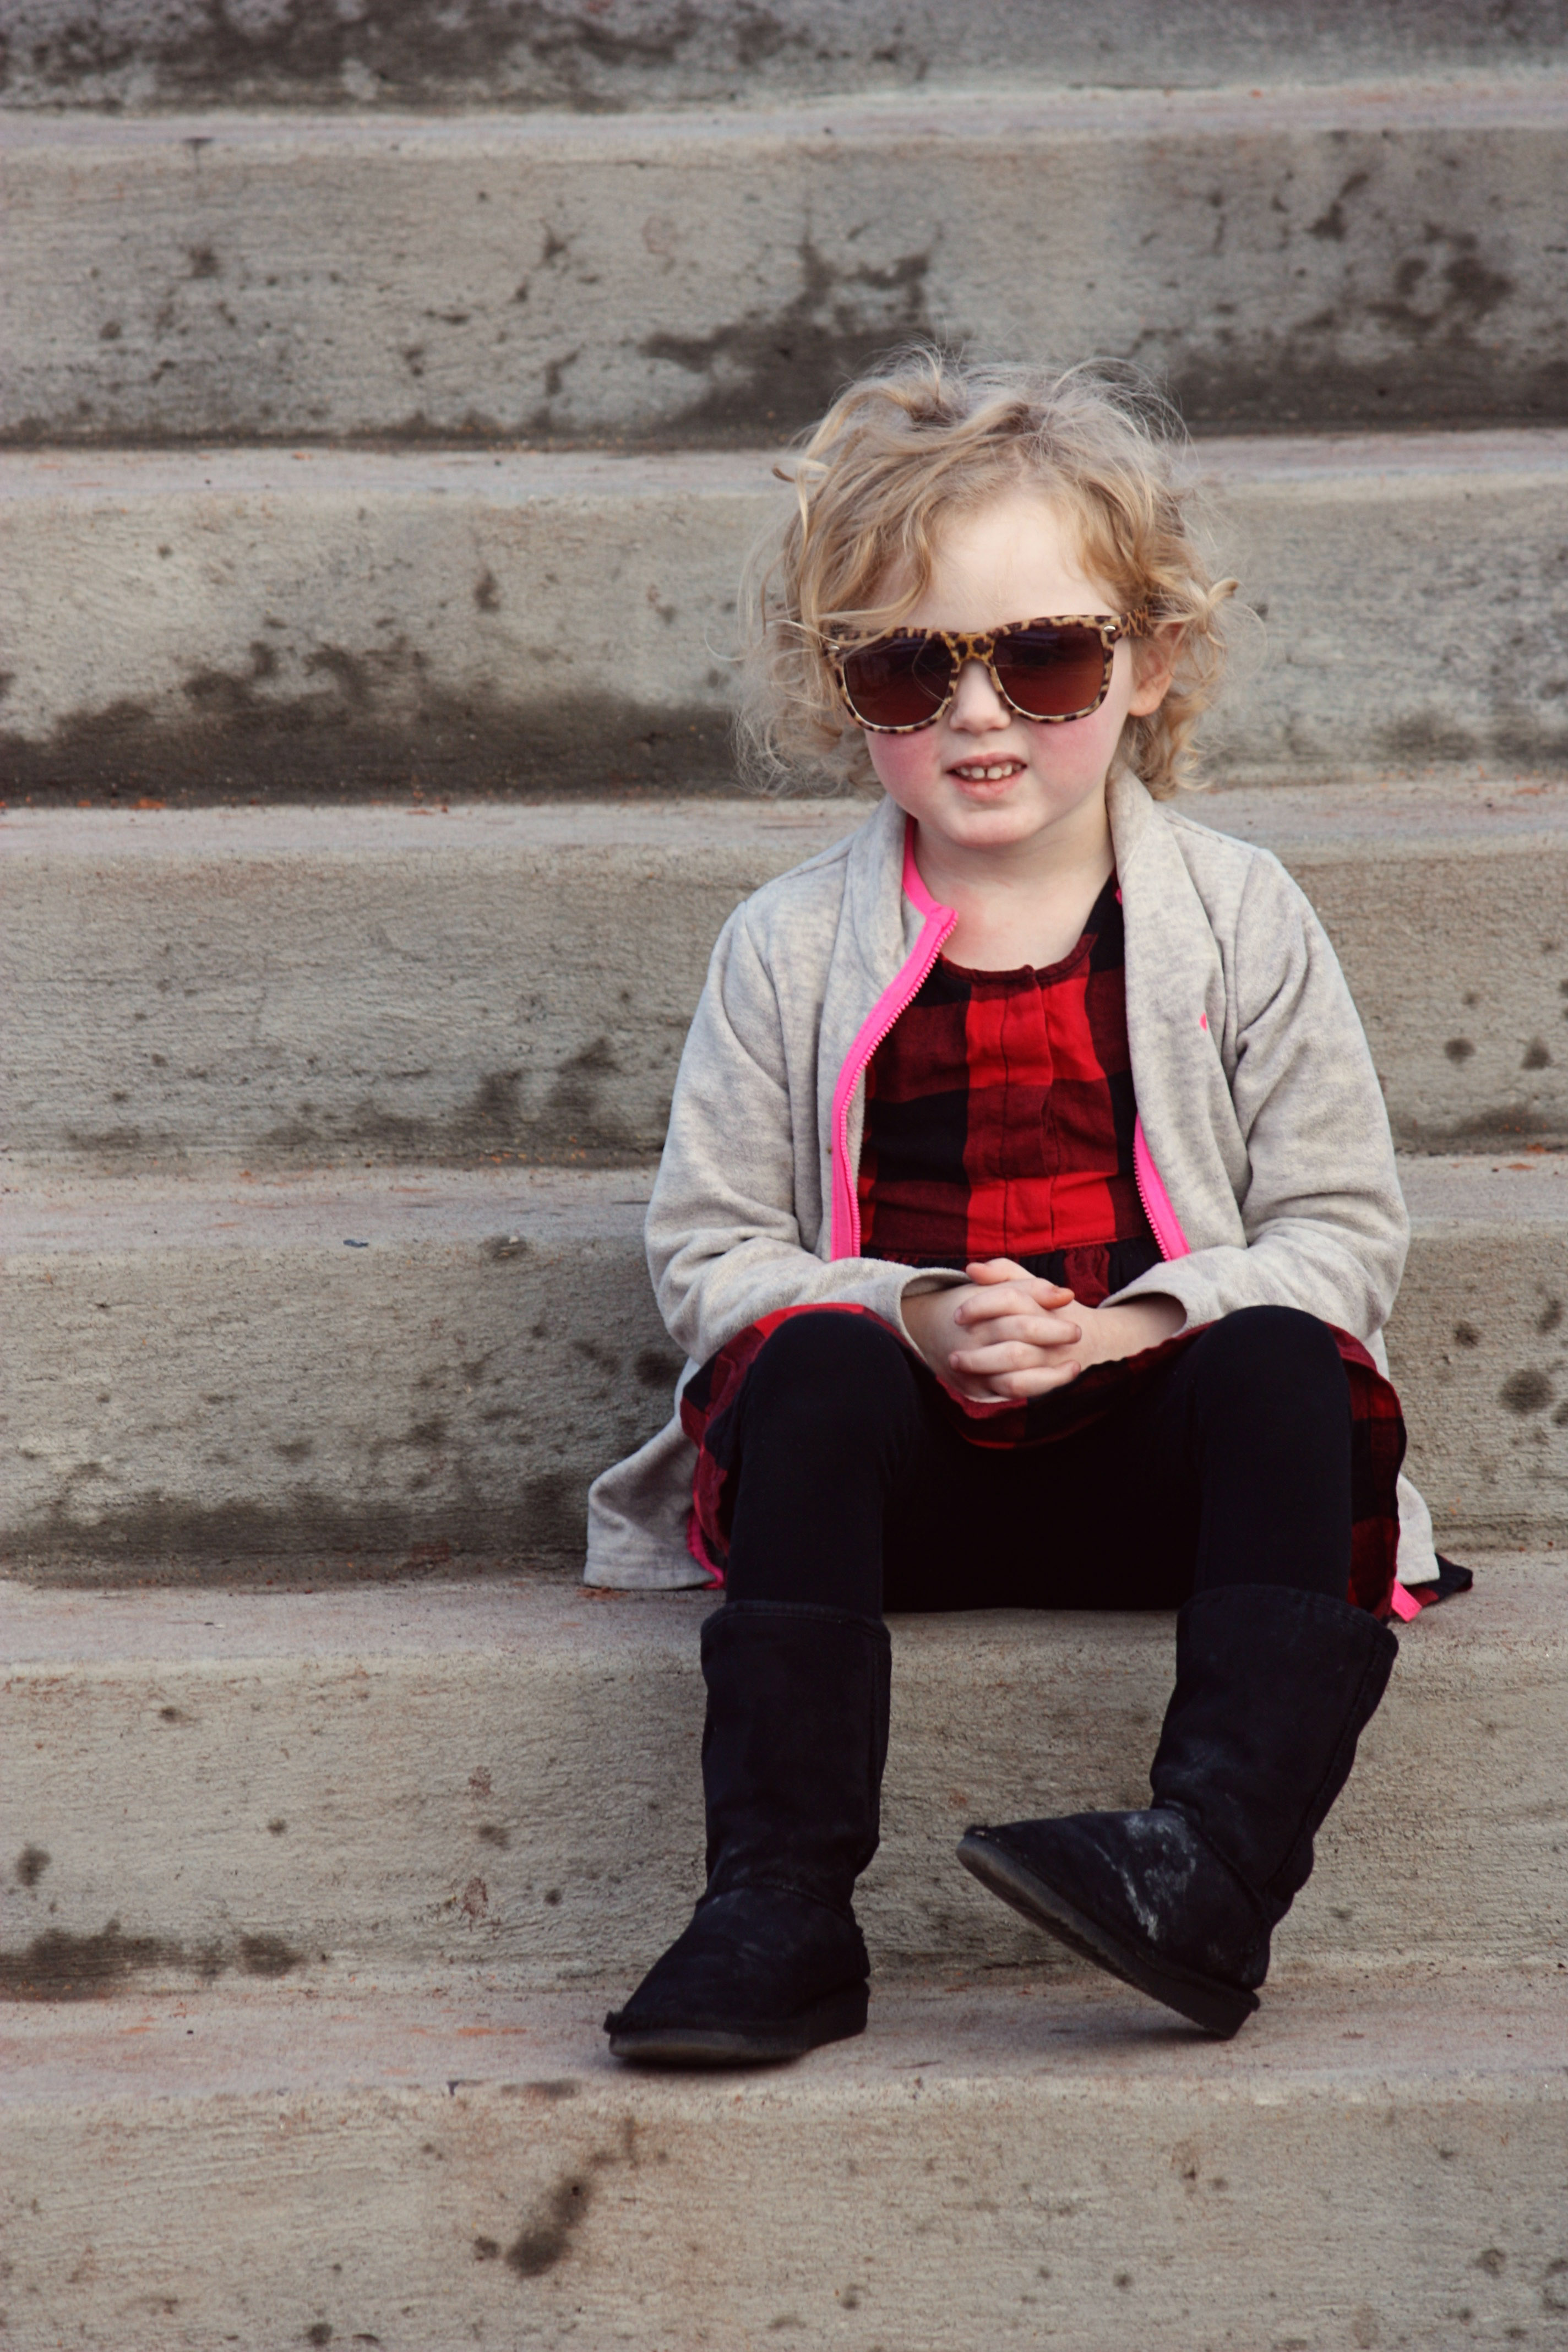
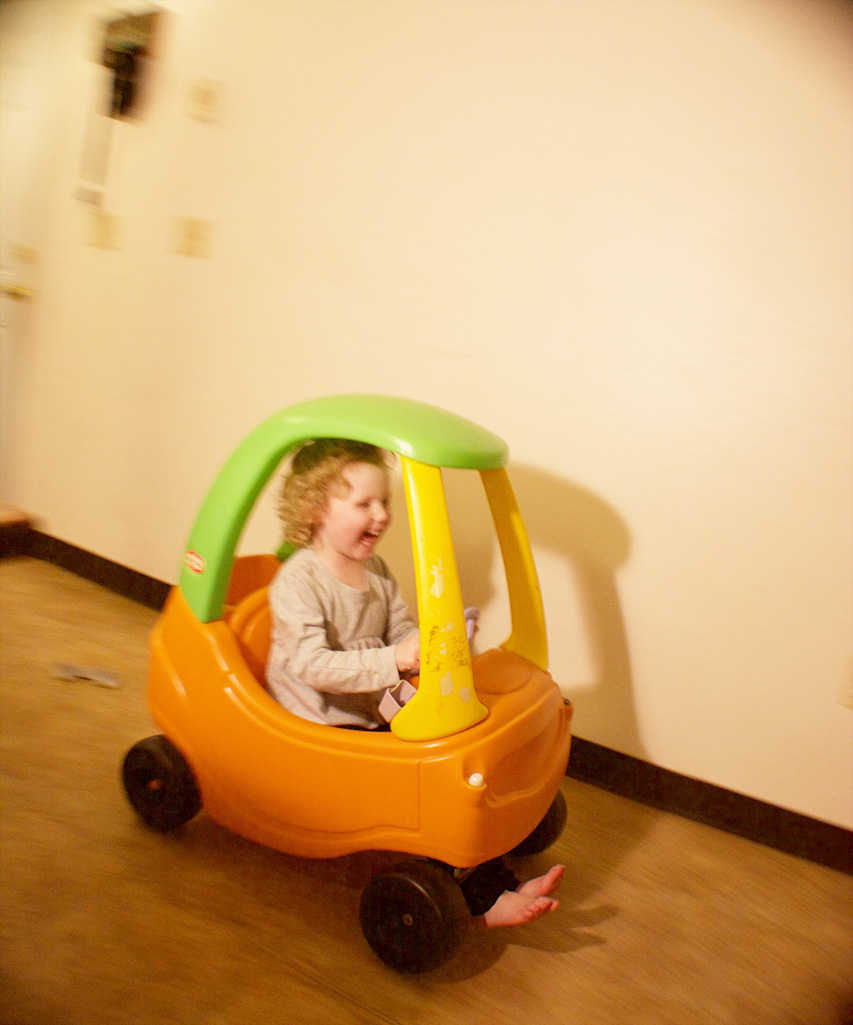
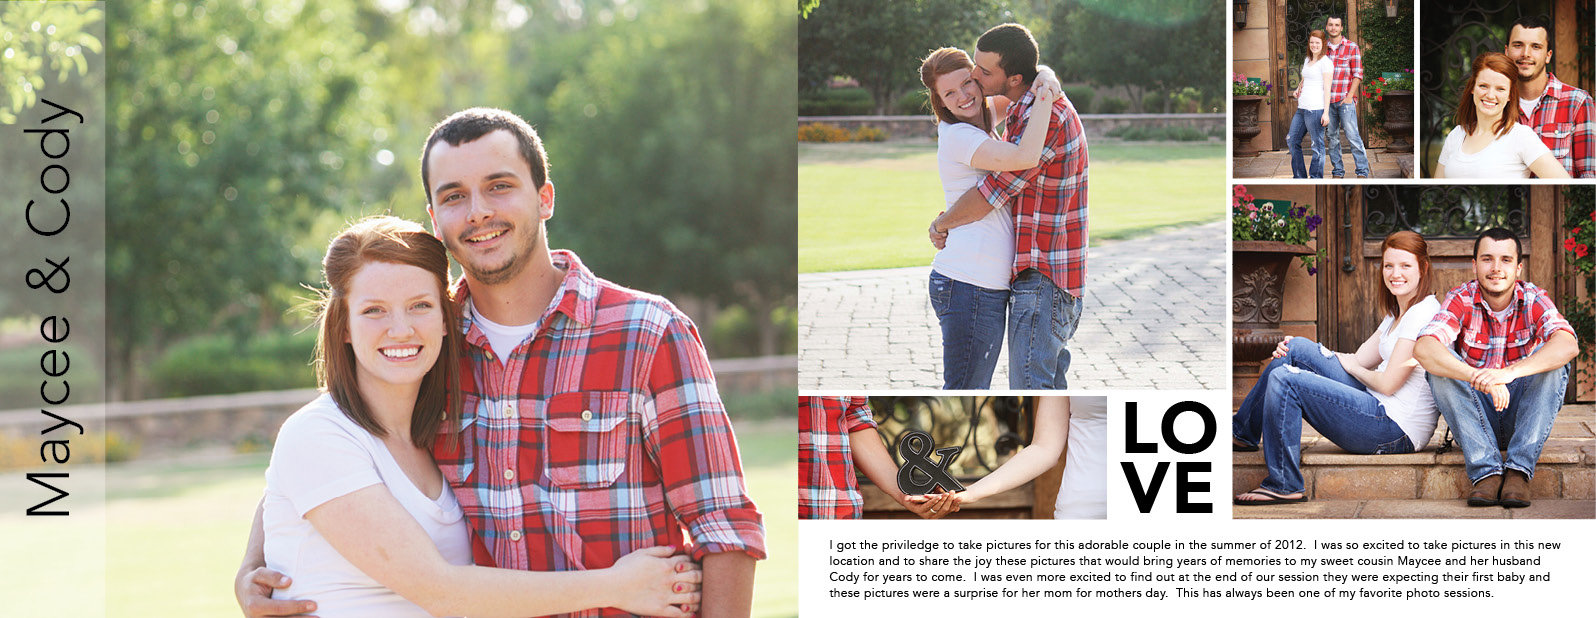
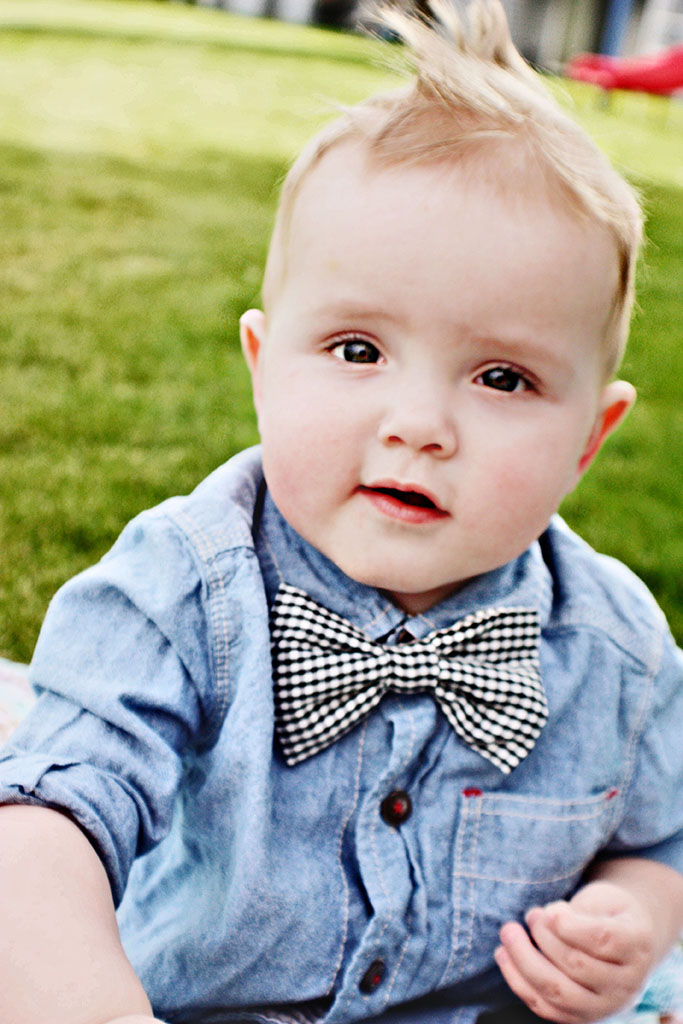
This image was brightened up and I used some actions to smooth his skin and brighten her eyes some more, I also added some saturation to brighten the background some more.

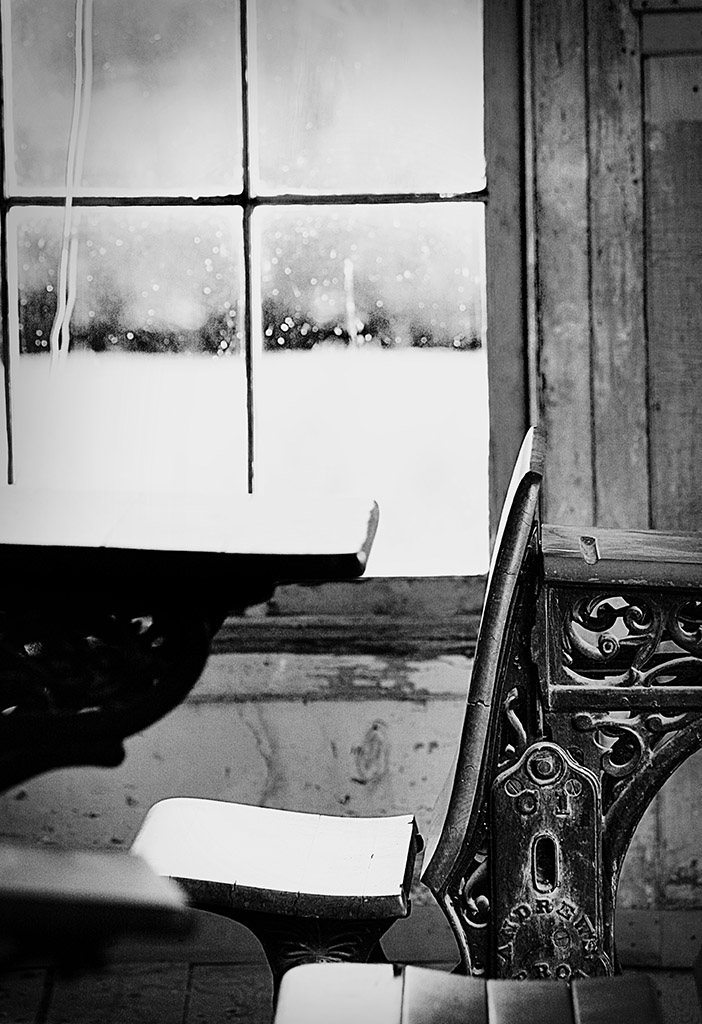
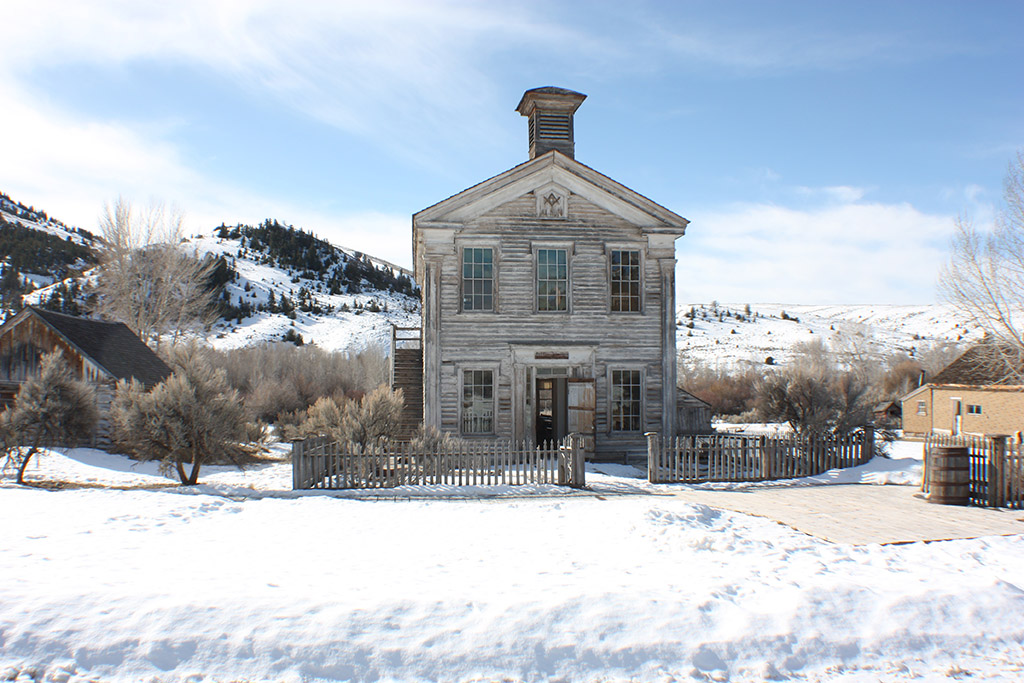
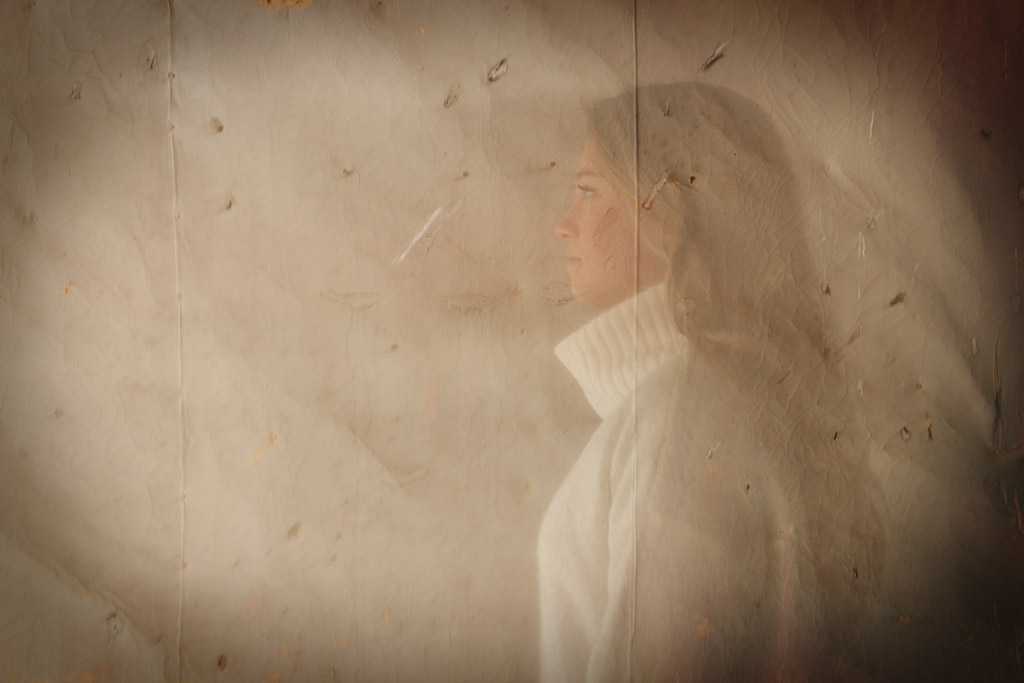
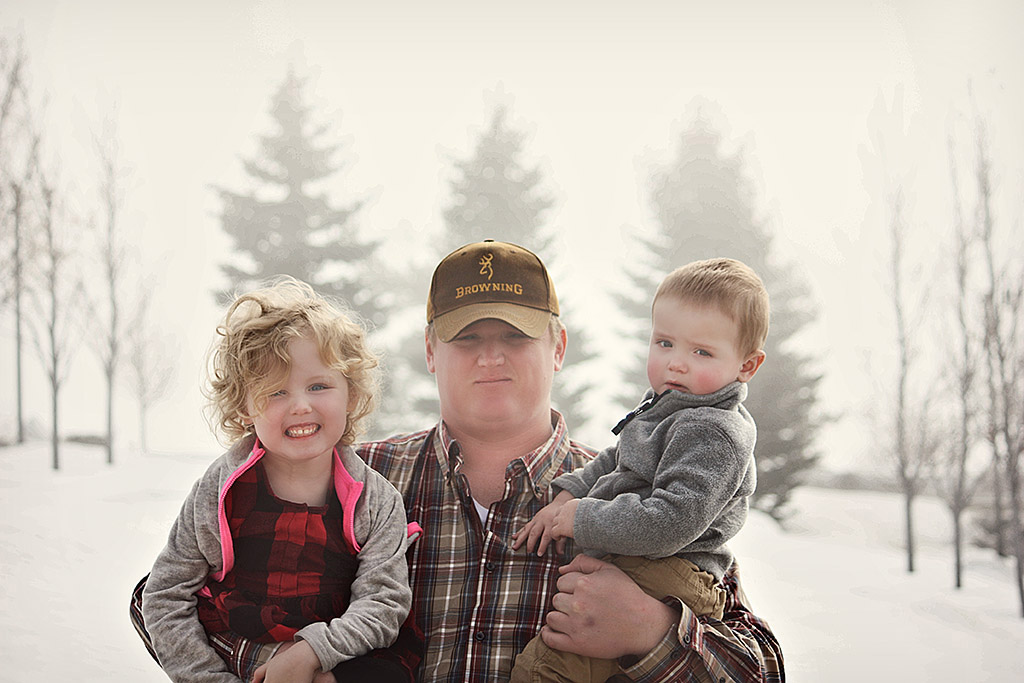
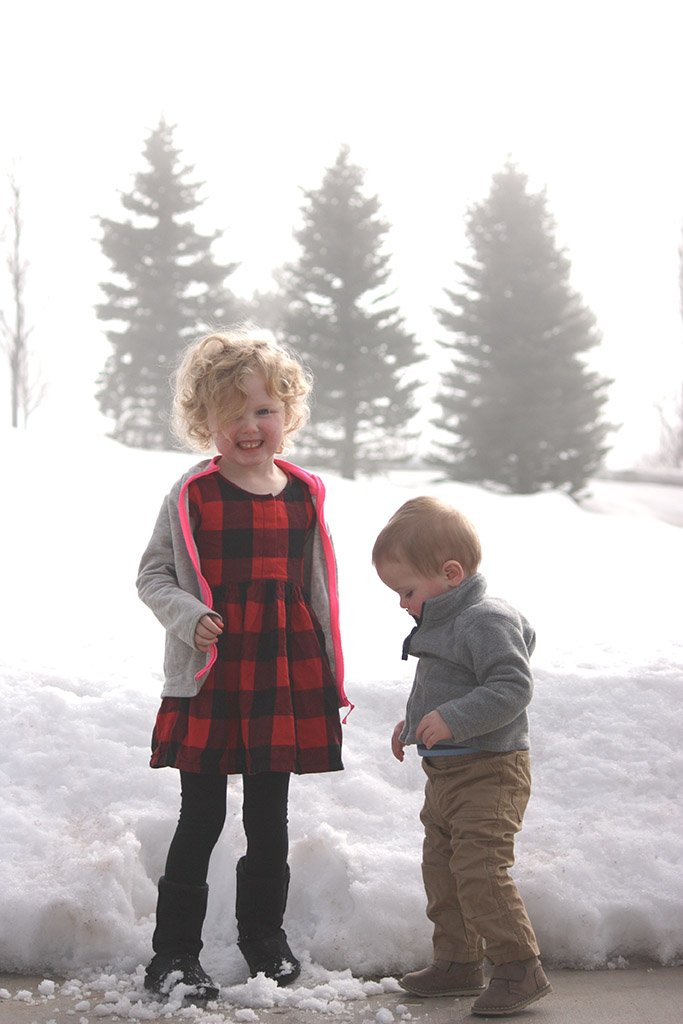
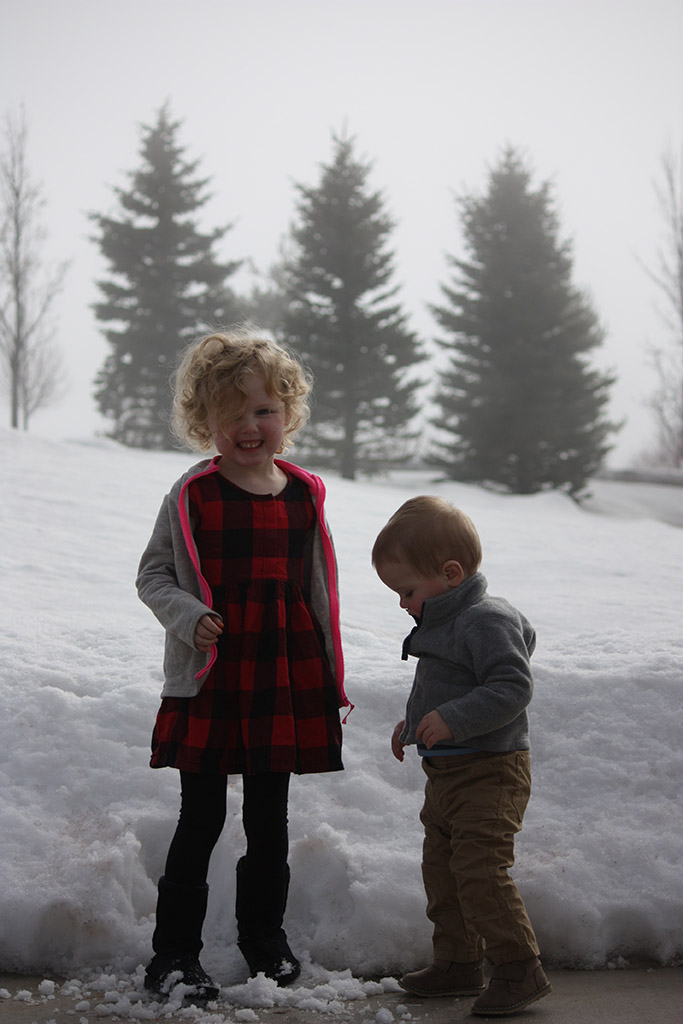
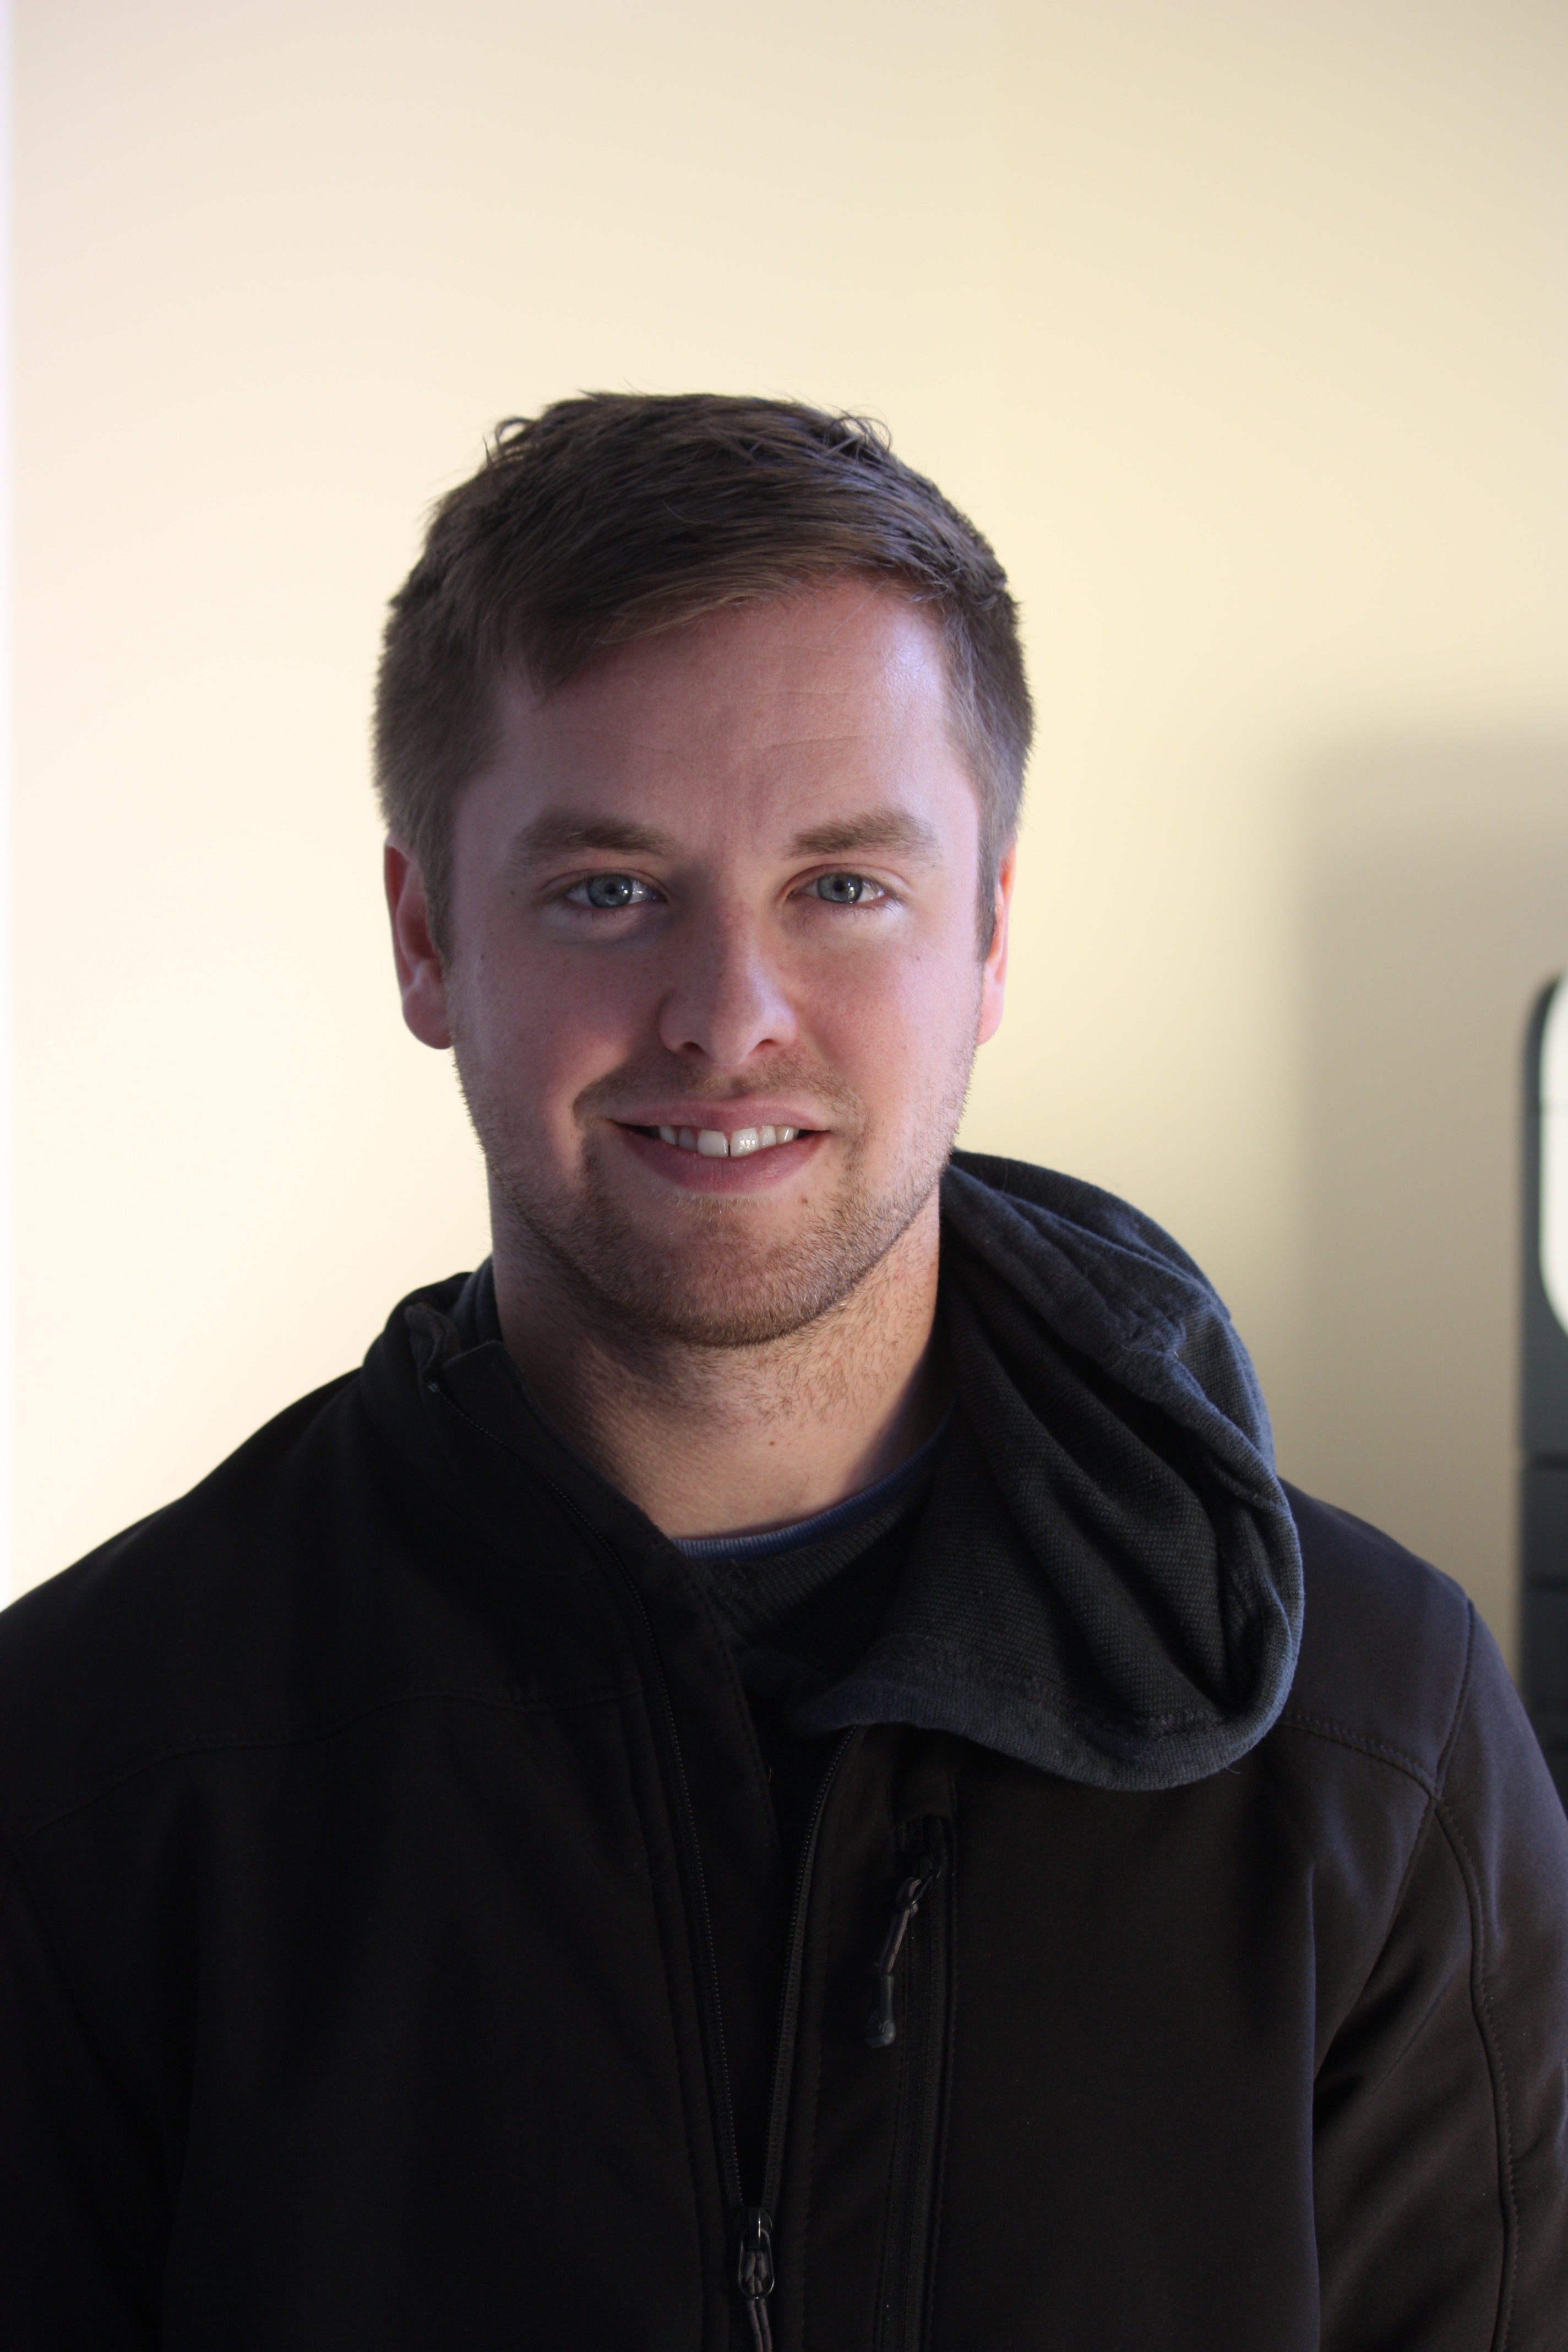
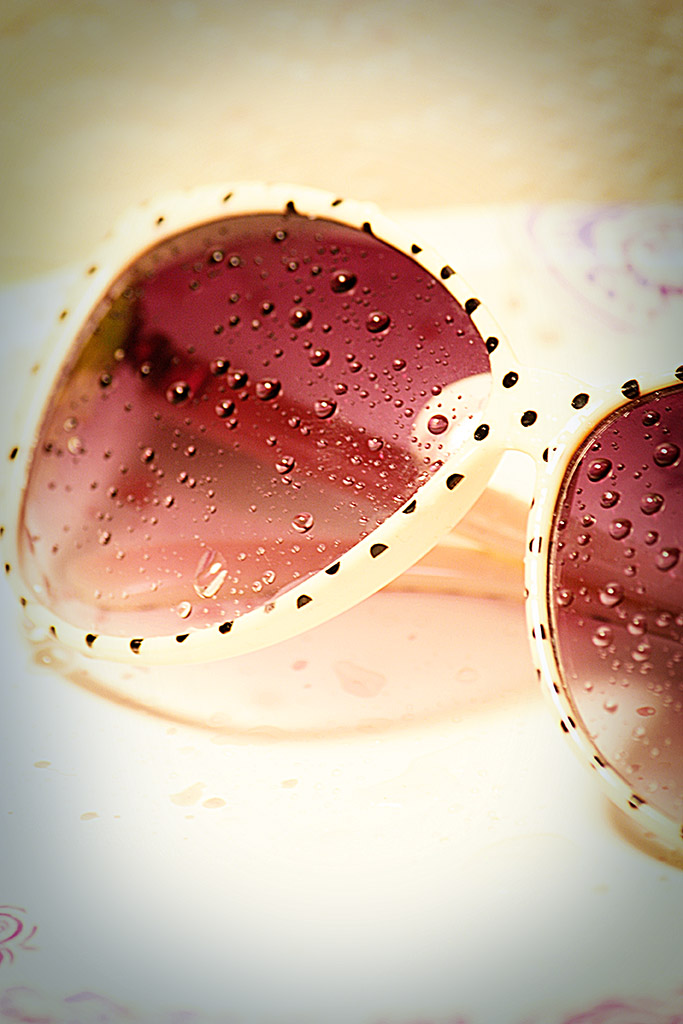
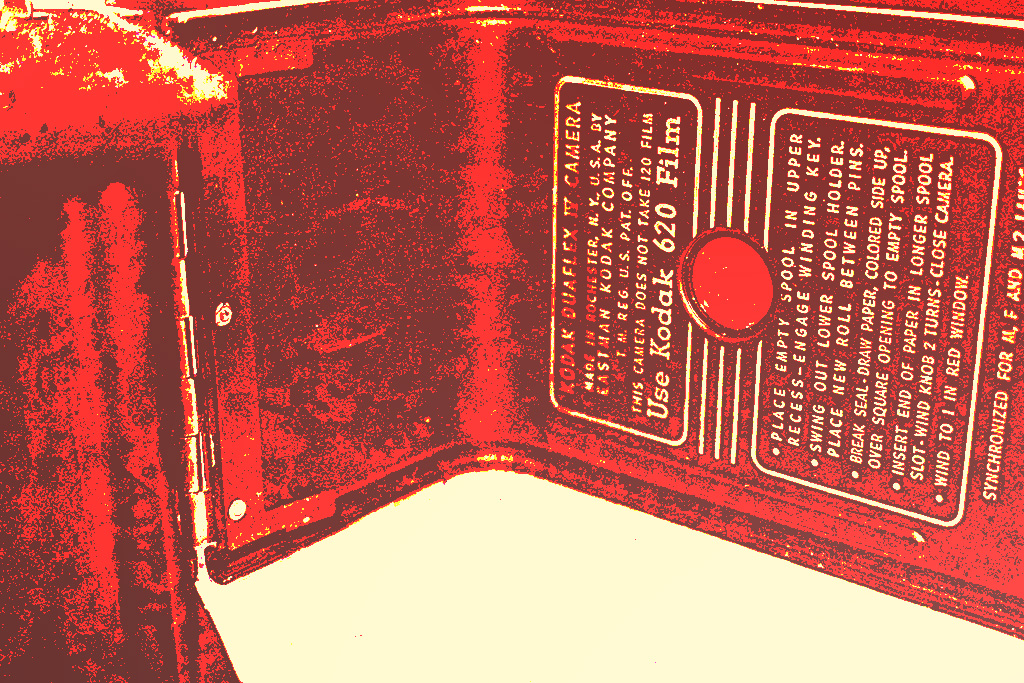
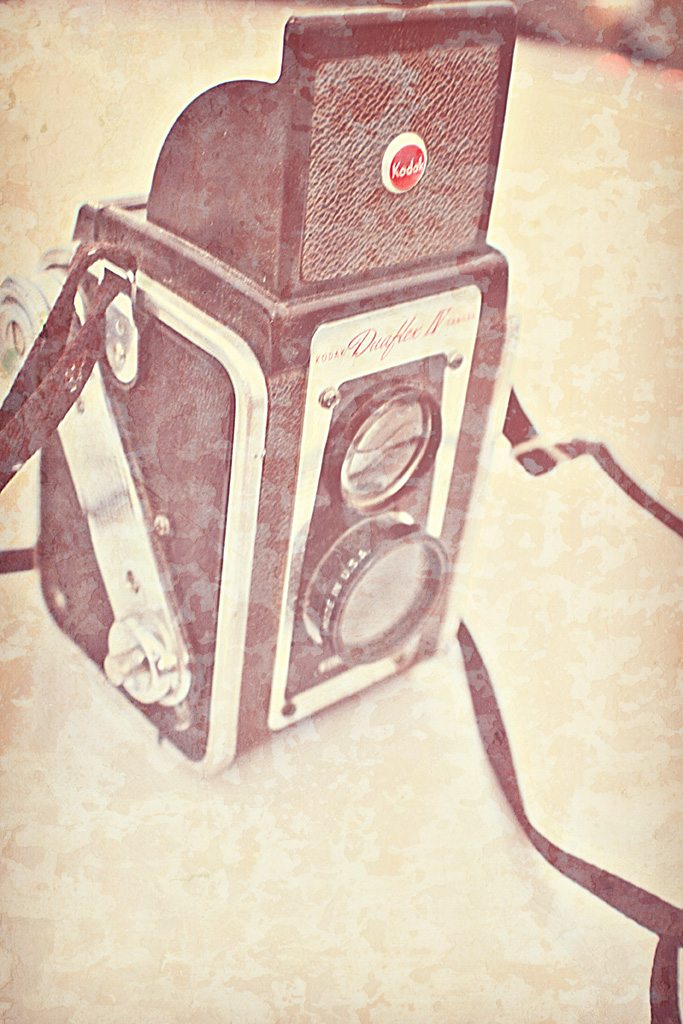
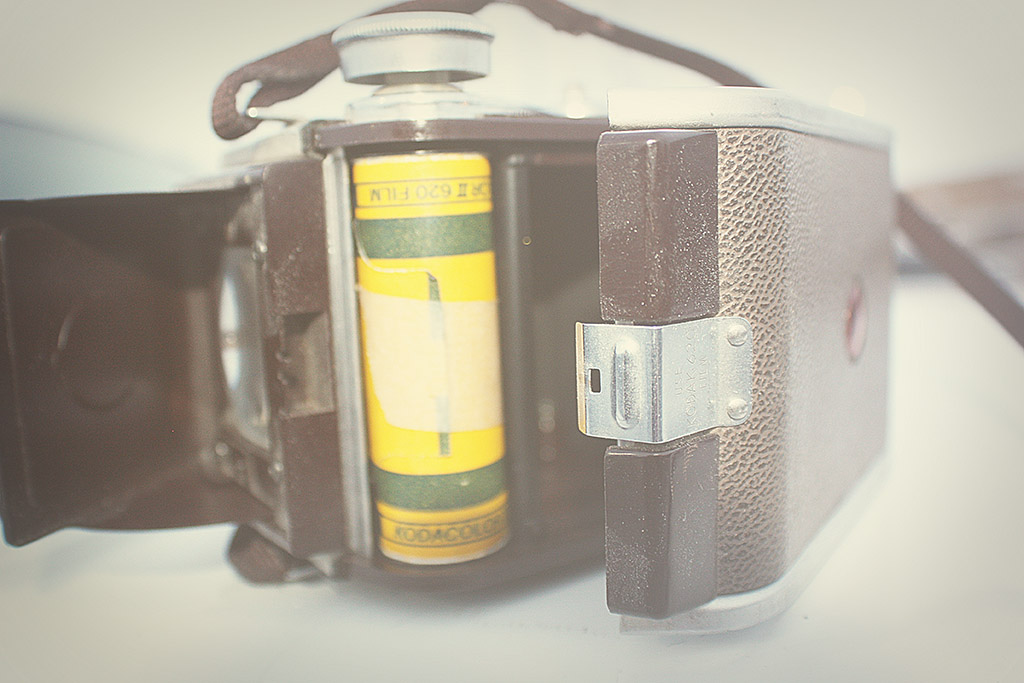
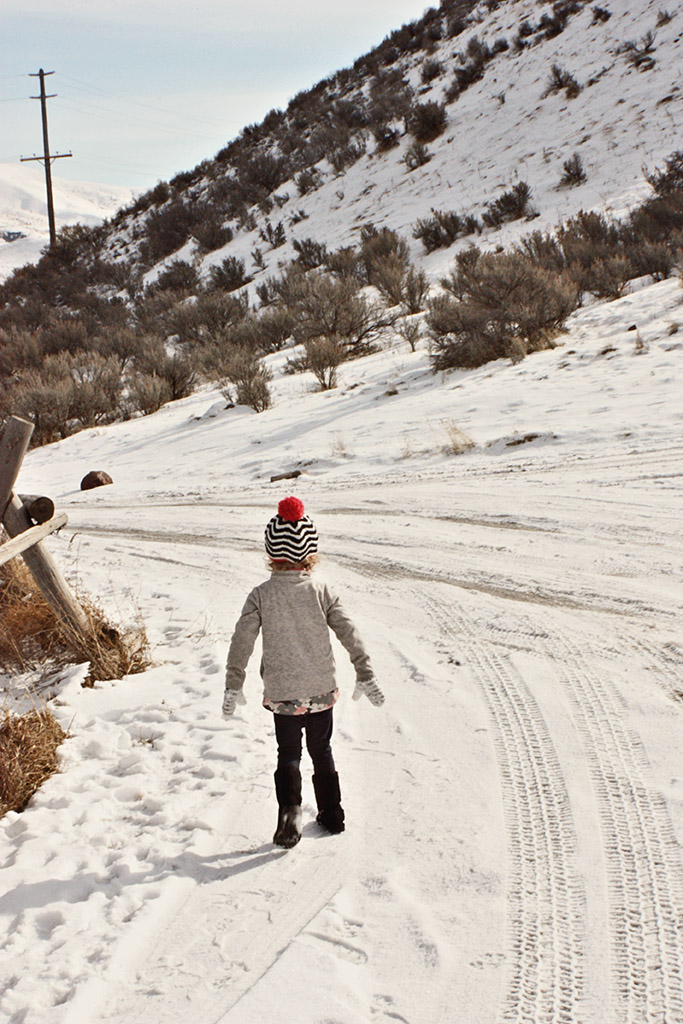
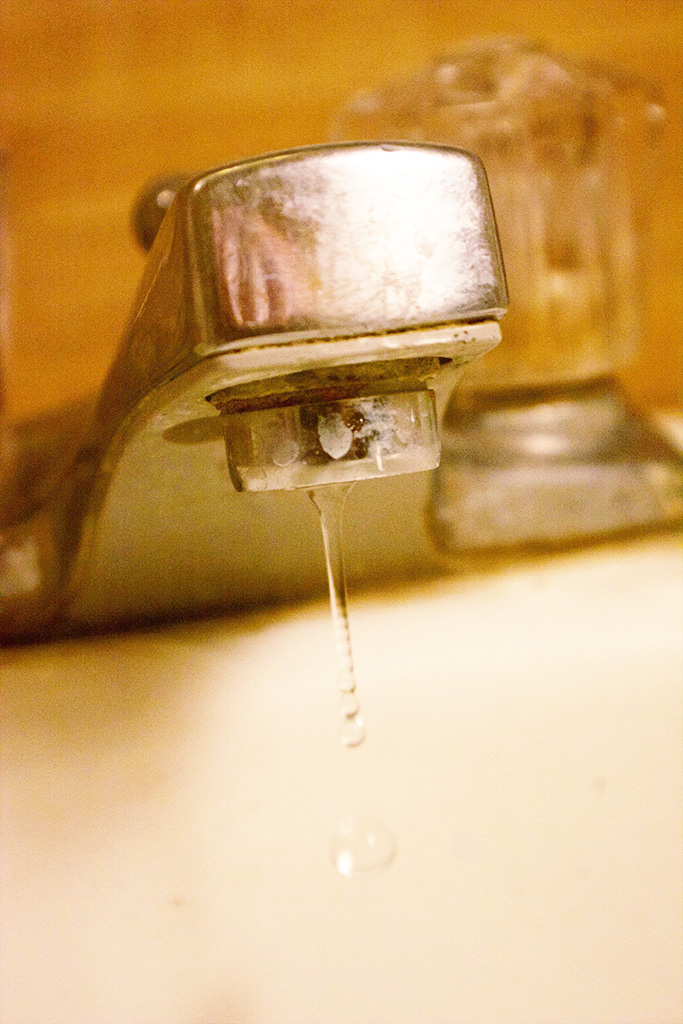
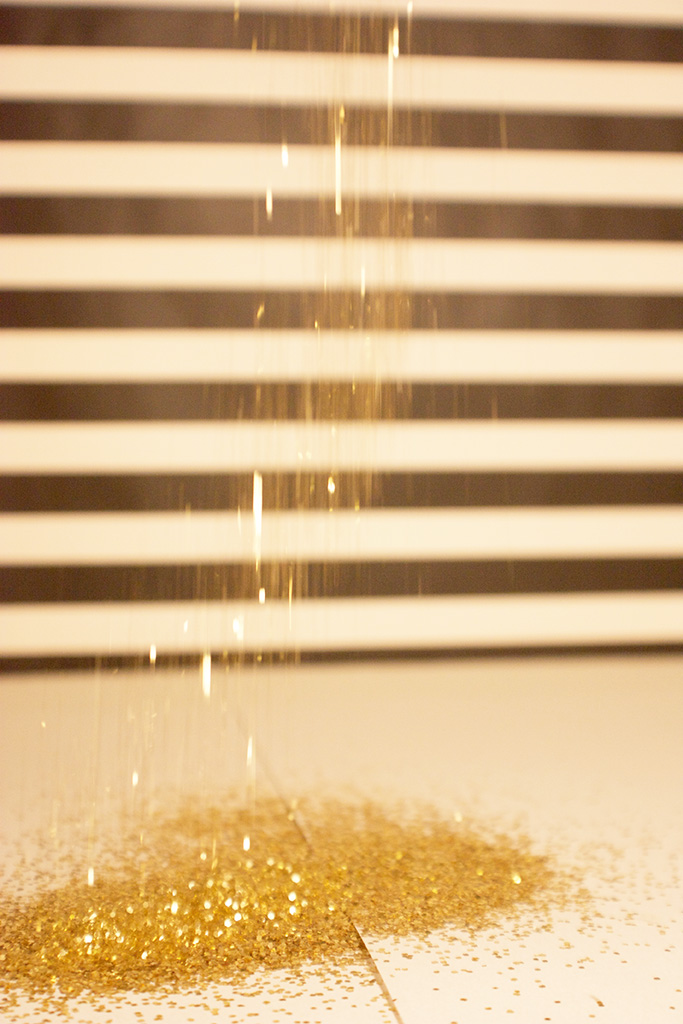
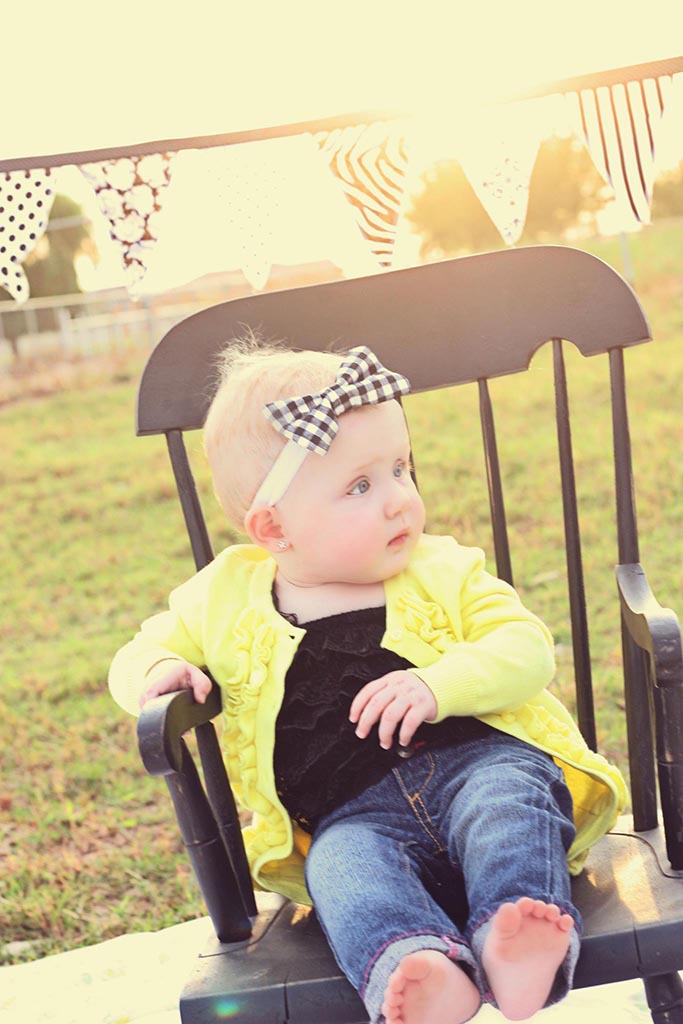
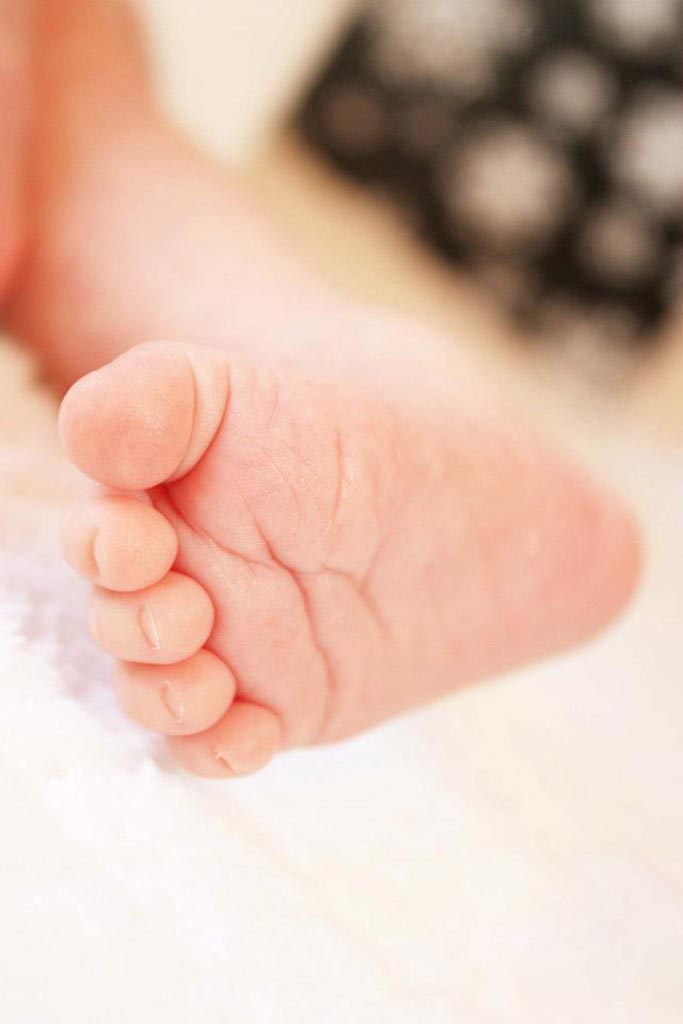
This image was brightened and I added some actions with some yellow tones over top of the image to make the image warmer and a little foggy looking.

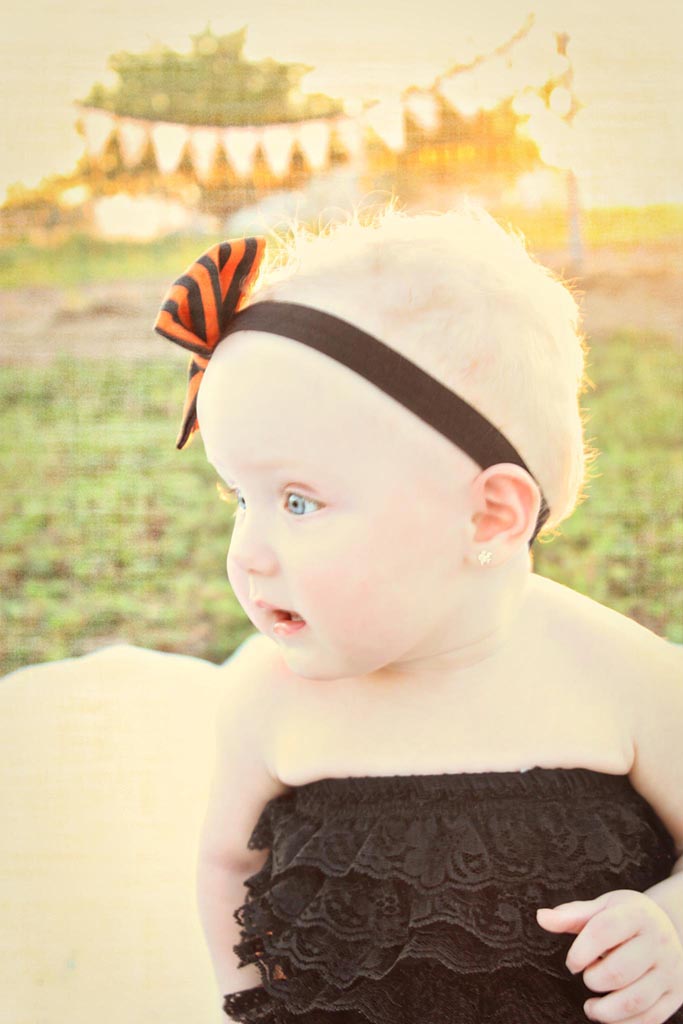
This image was brightened and I added some actions with some yellow tones over top of the image to make the image warmer and a little foggy looking, I also added a texture over top of the image and then removed it from her skin so the background looks like it has a linen texture.

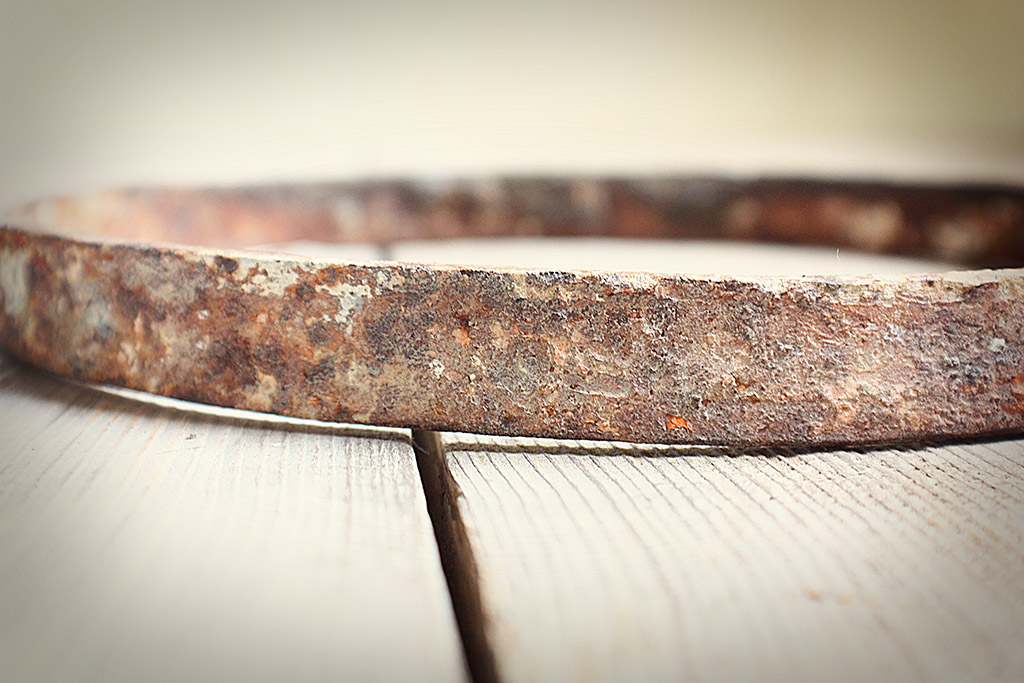
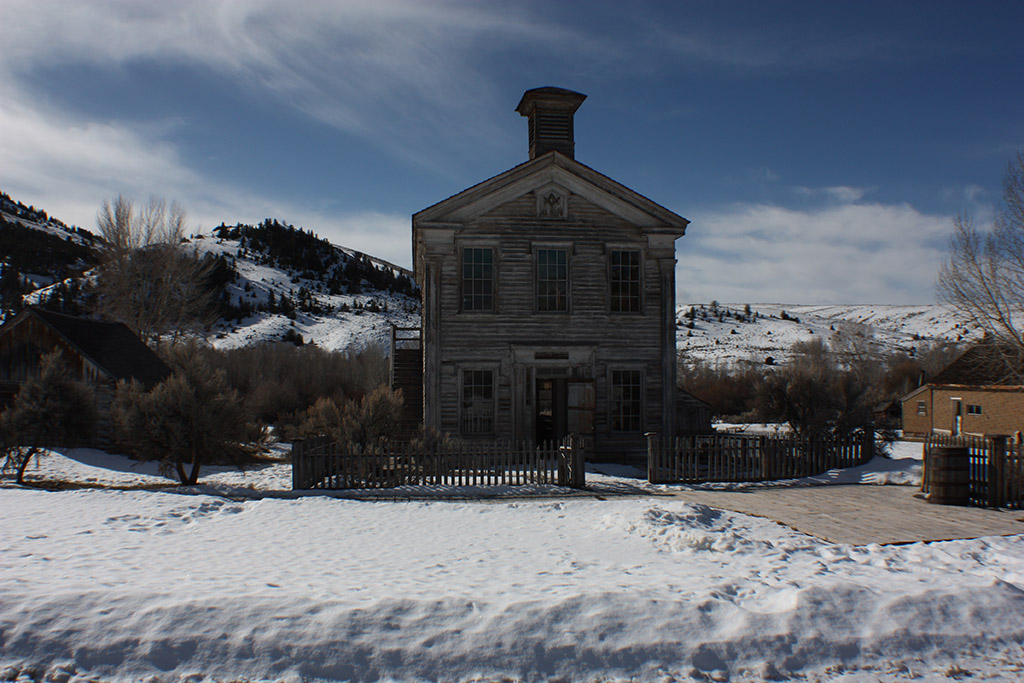
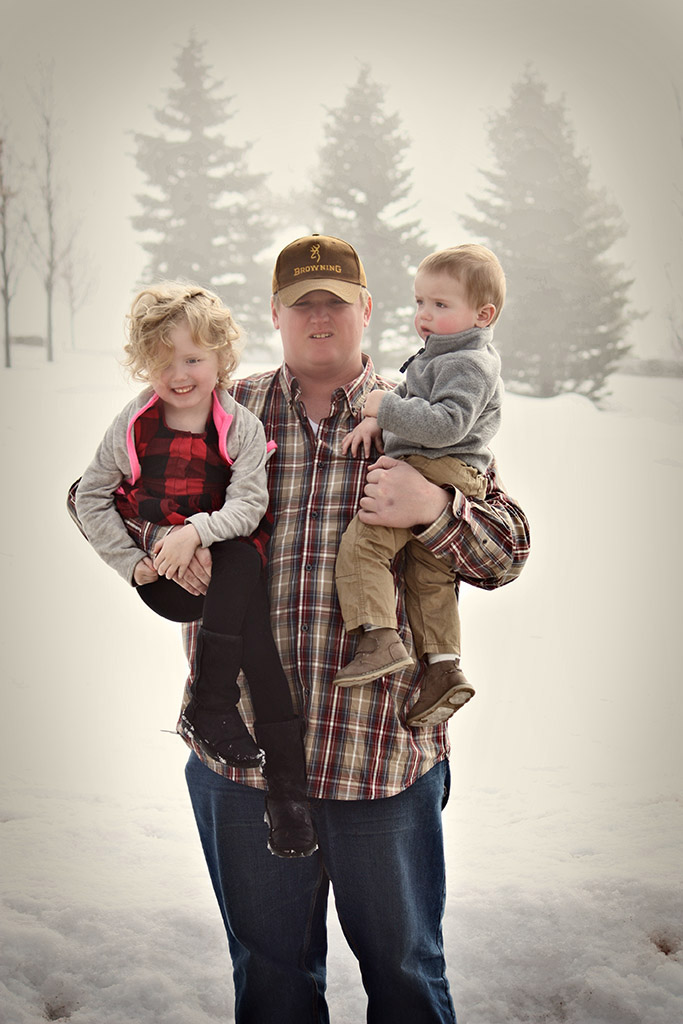
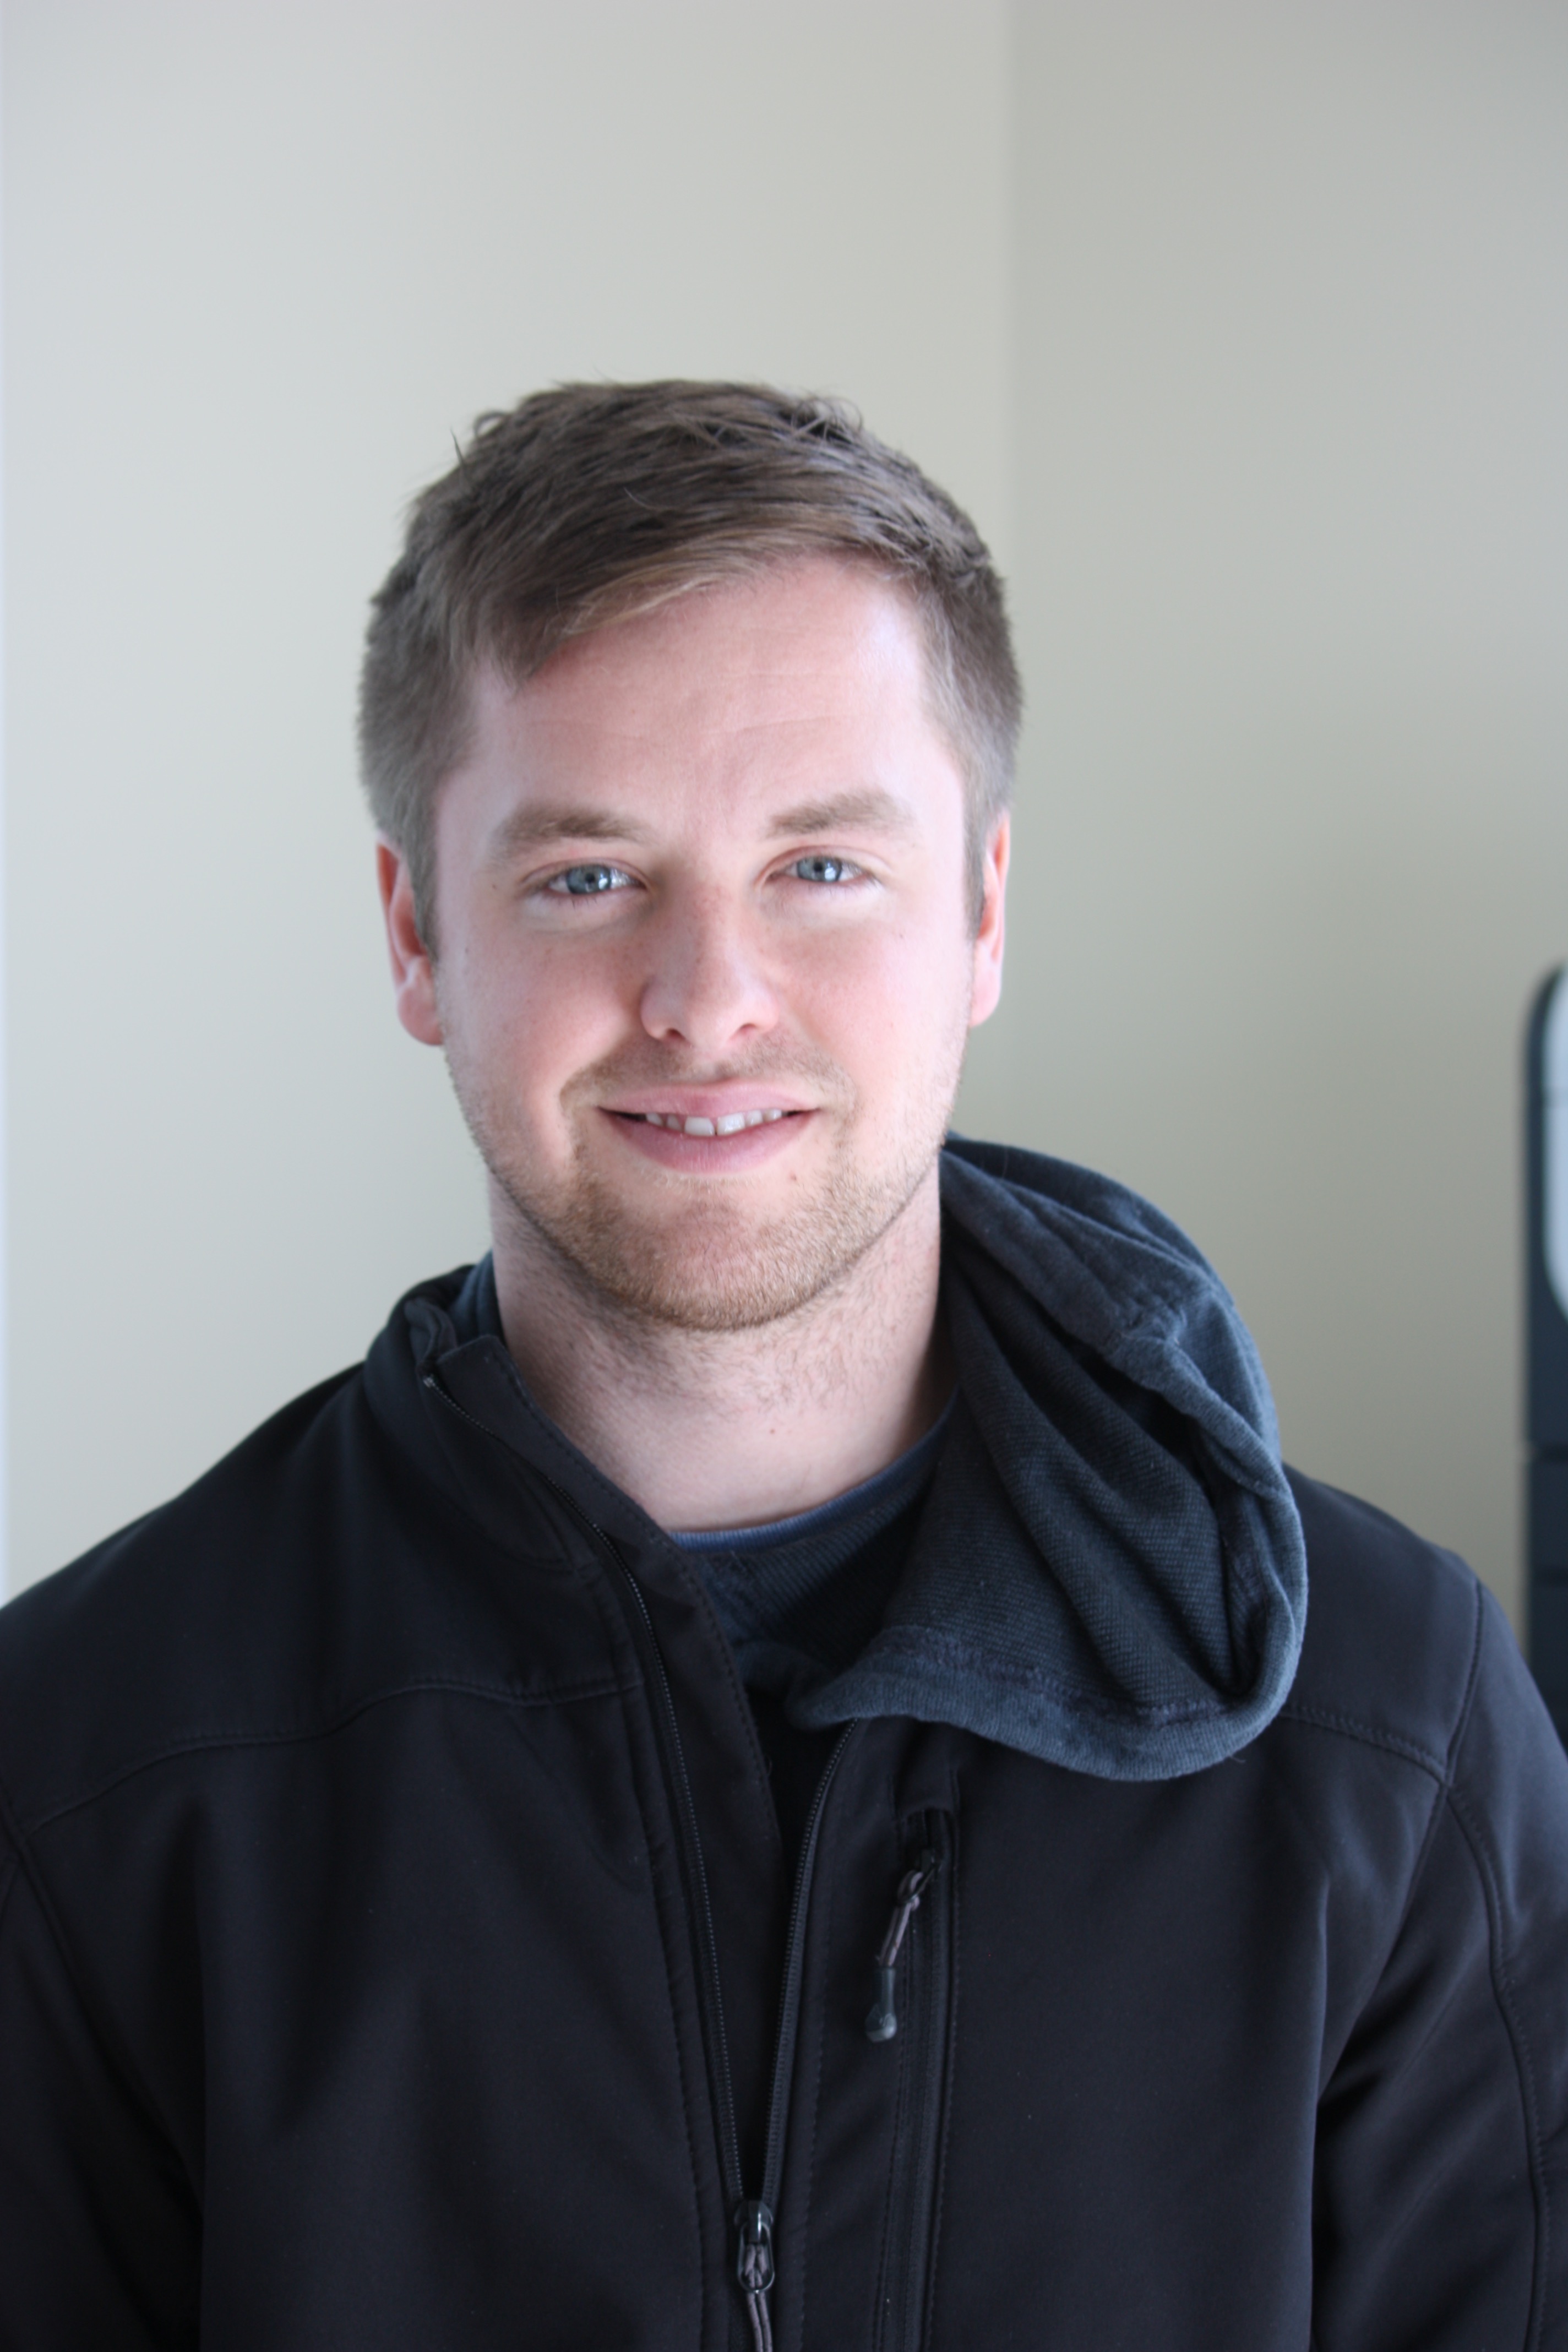
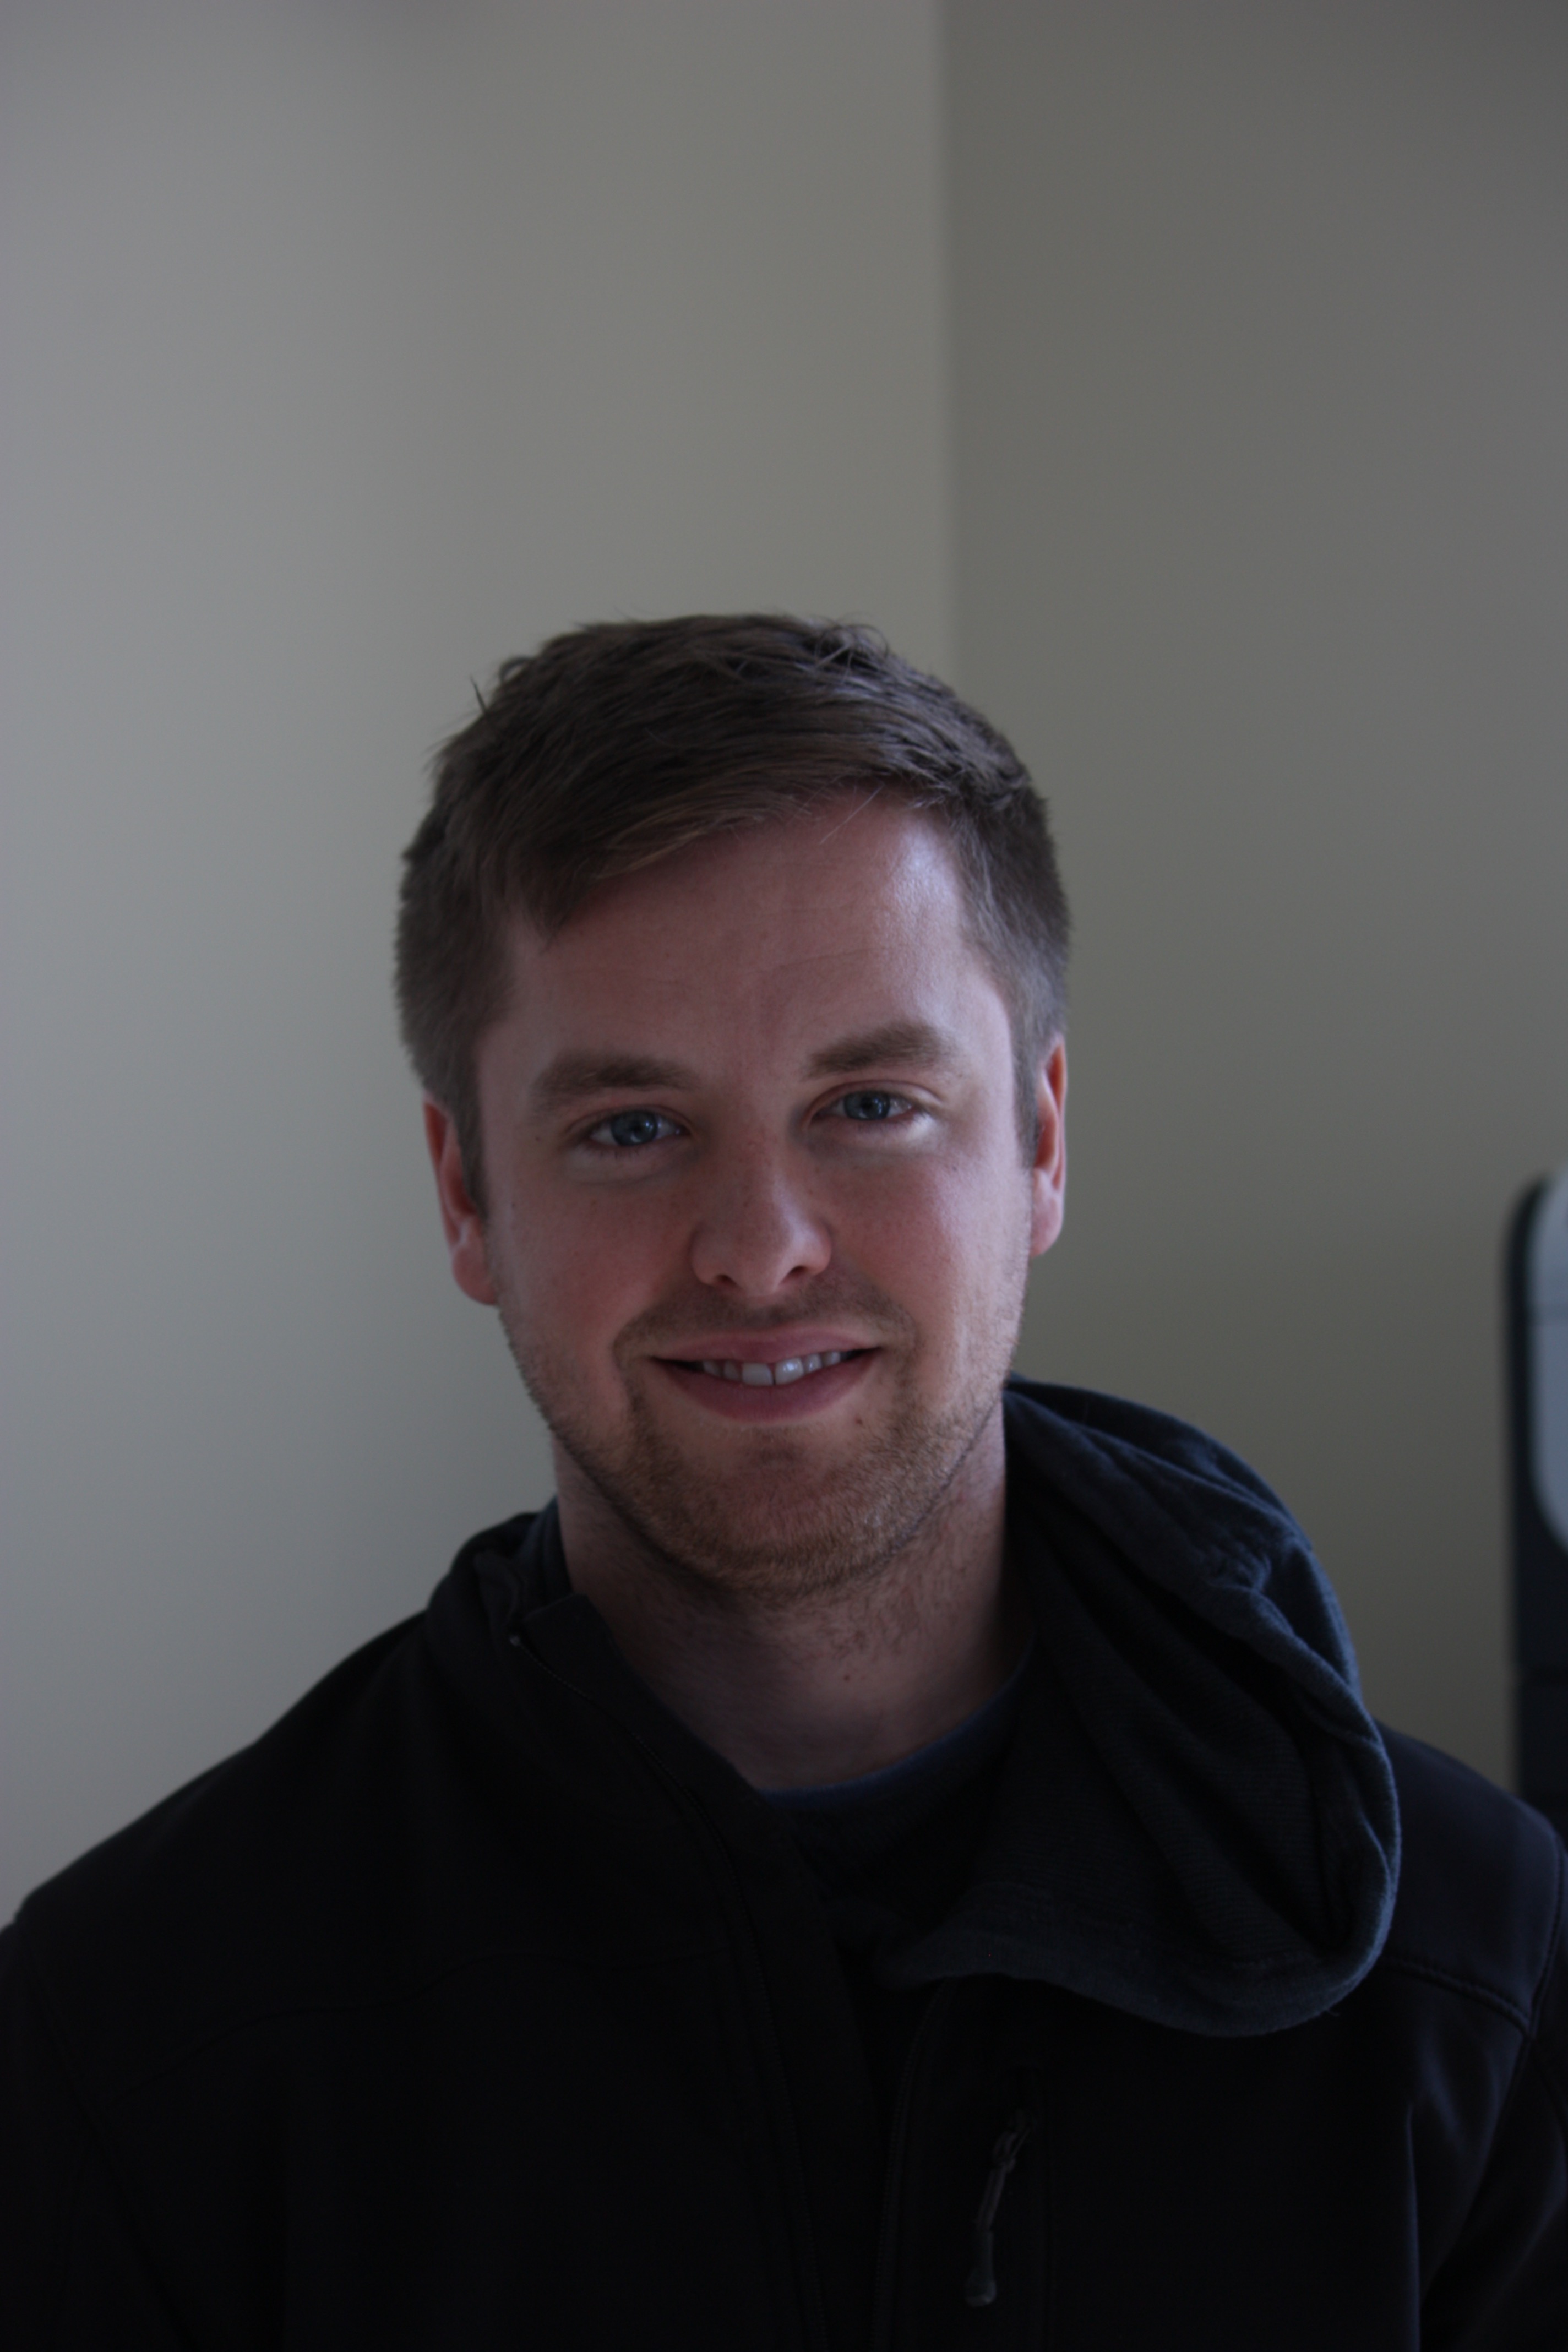
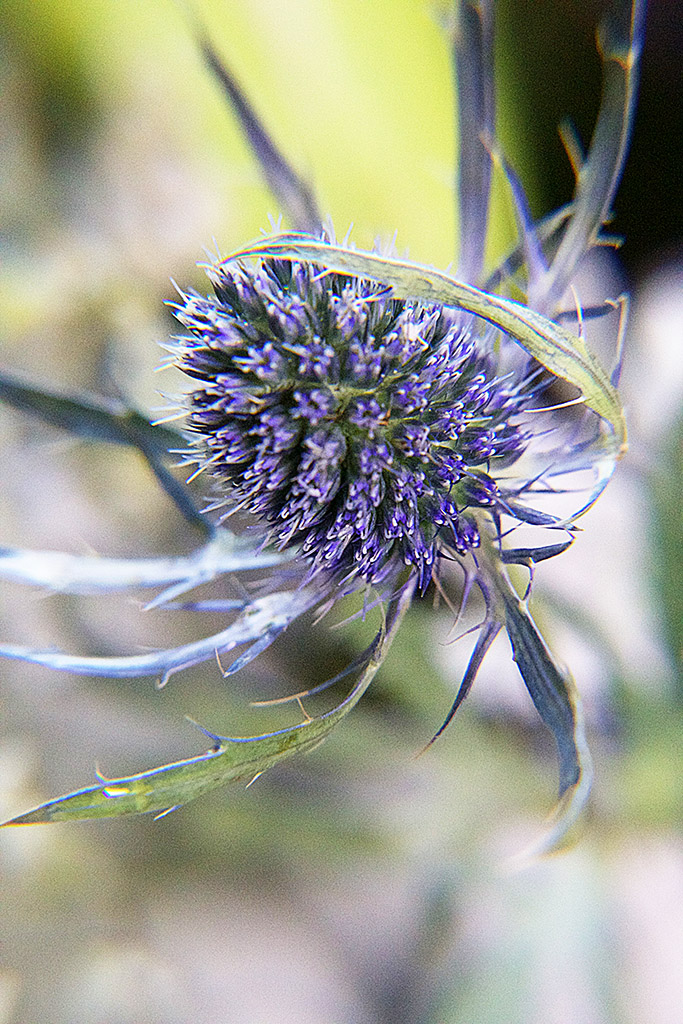
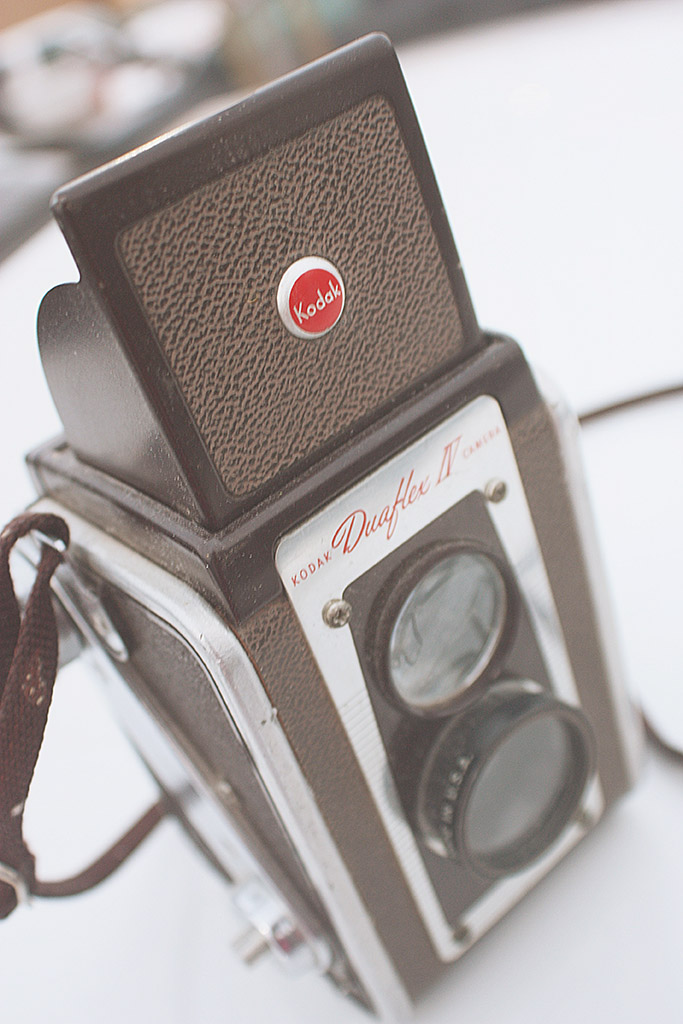
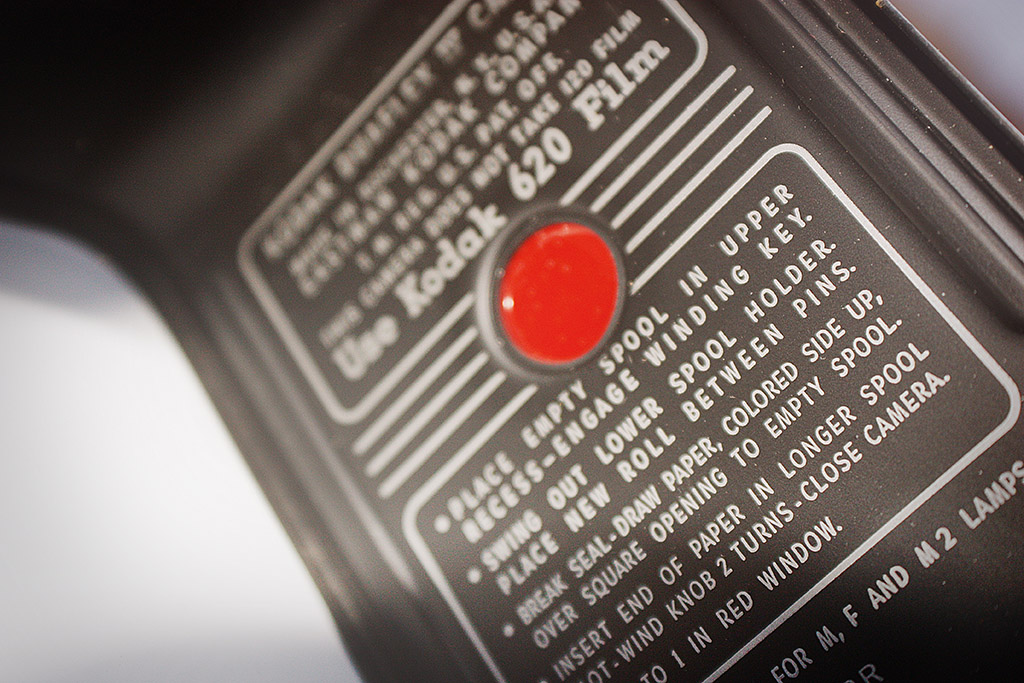
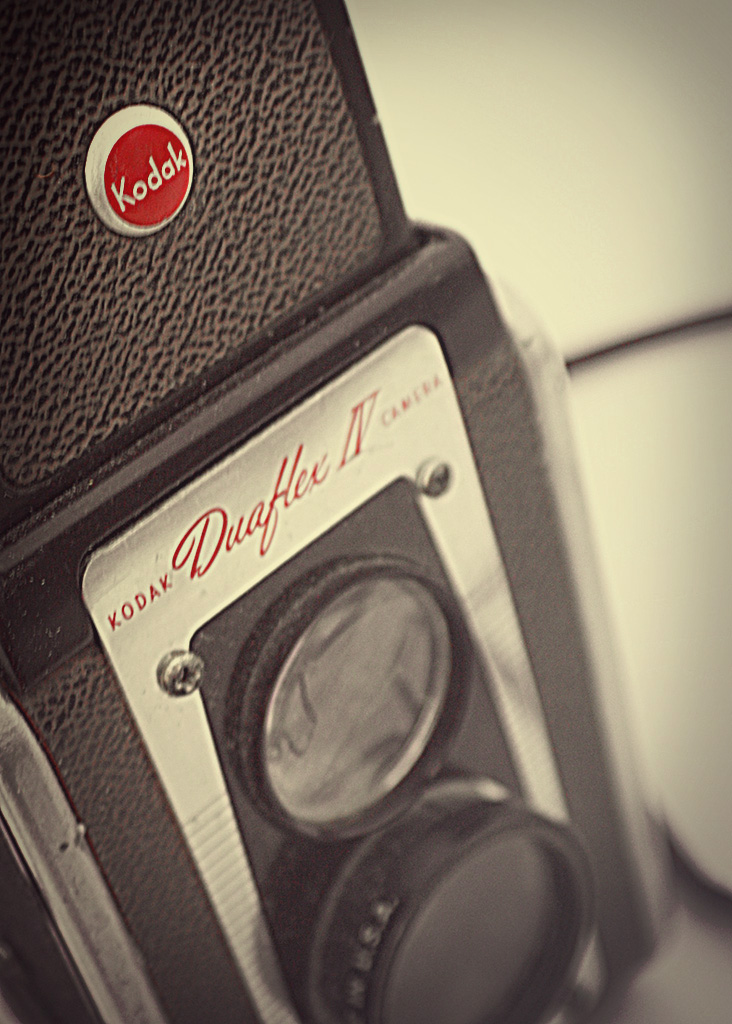
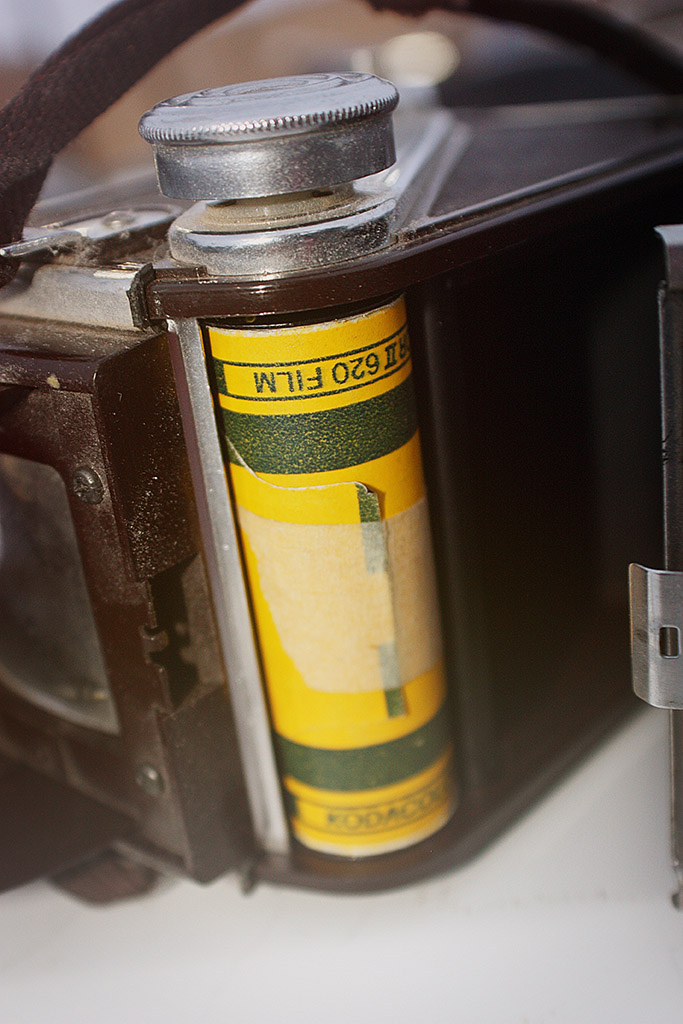
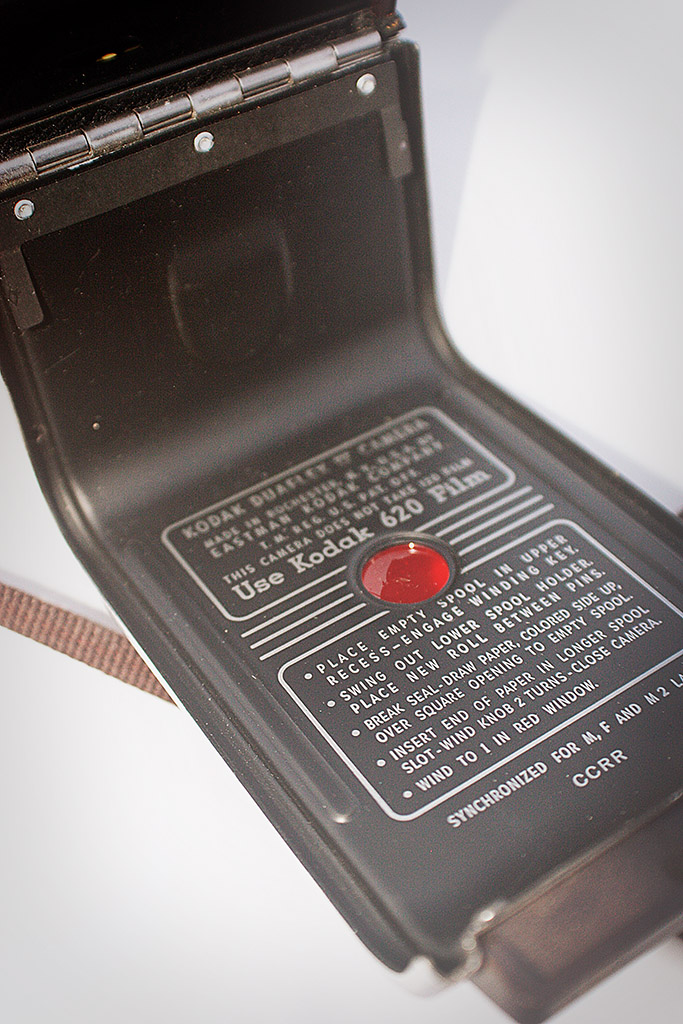
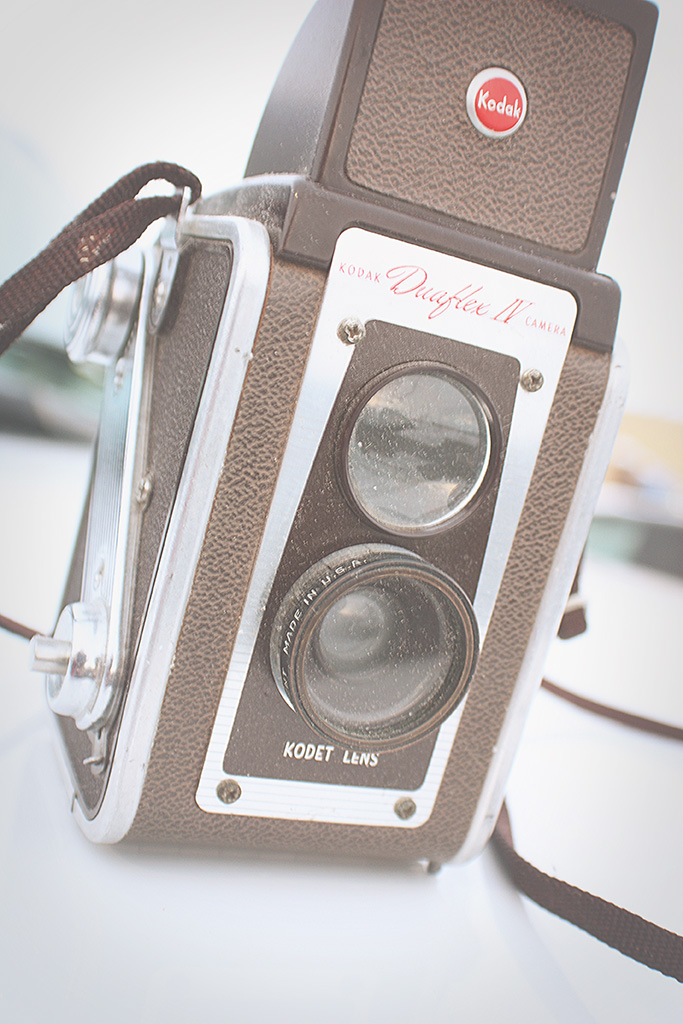
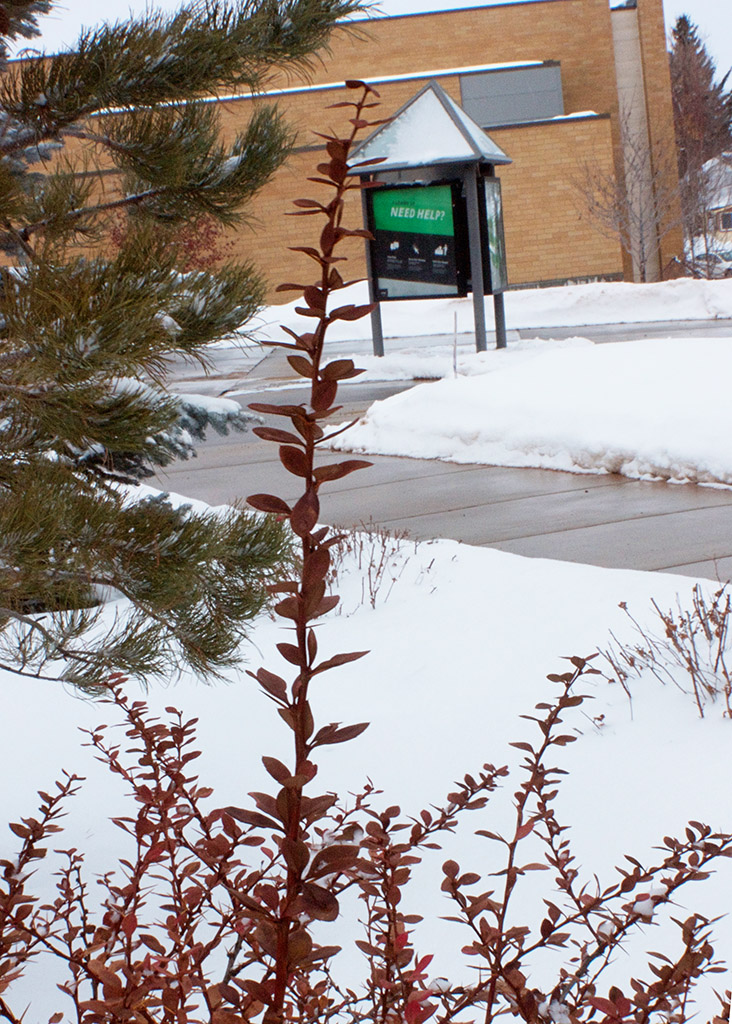
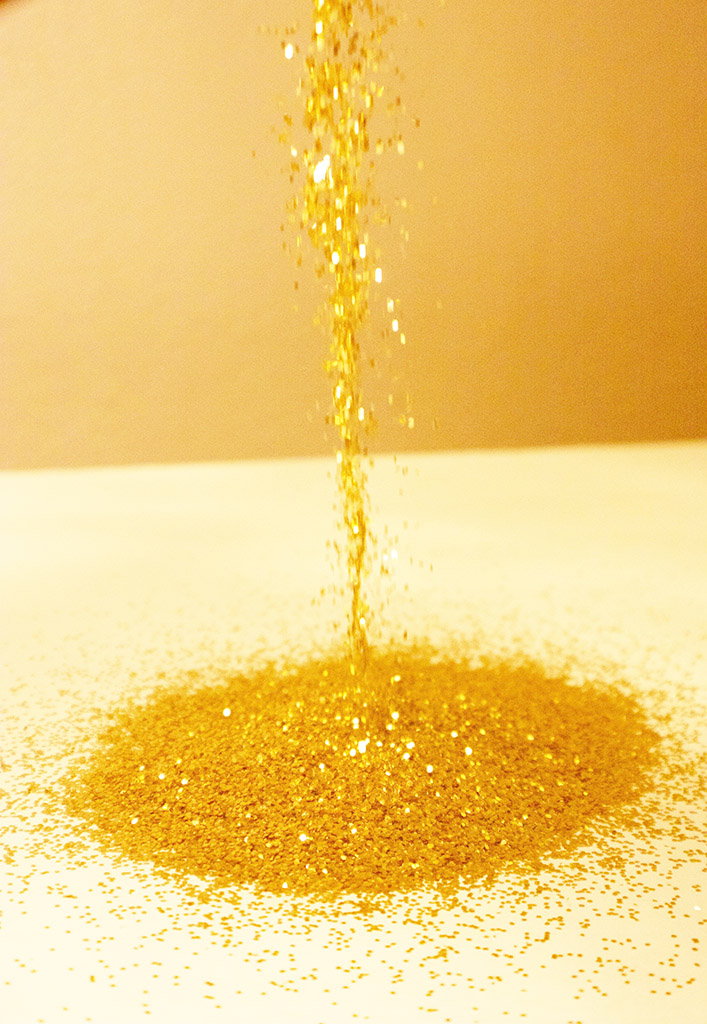
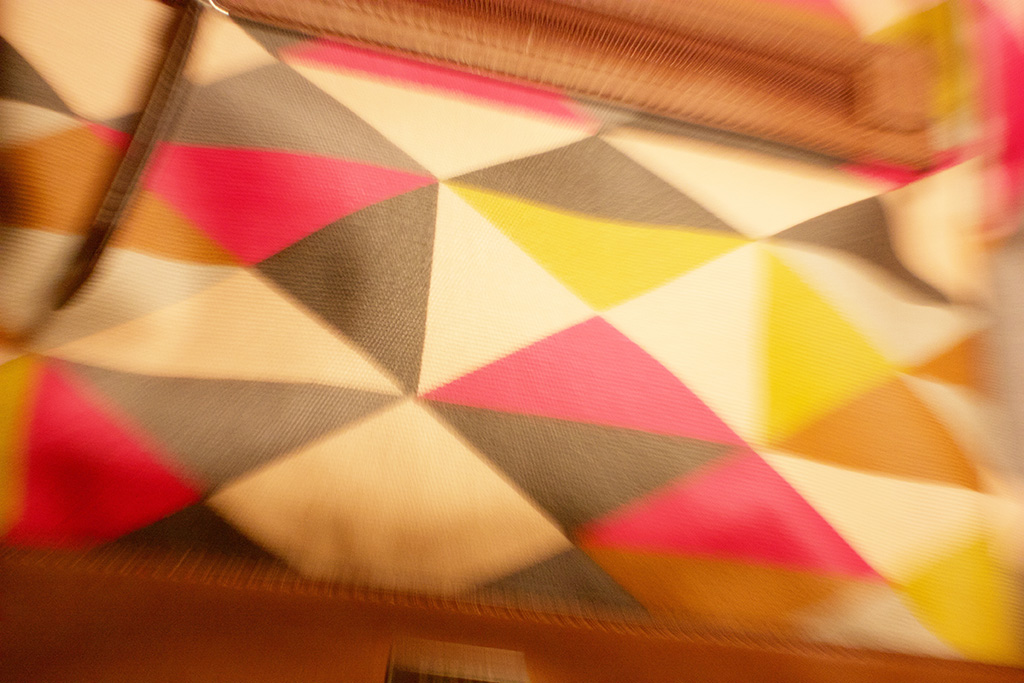
This image was brightened and some saturation added to it.

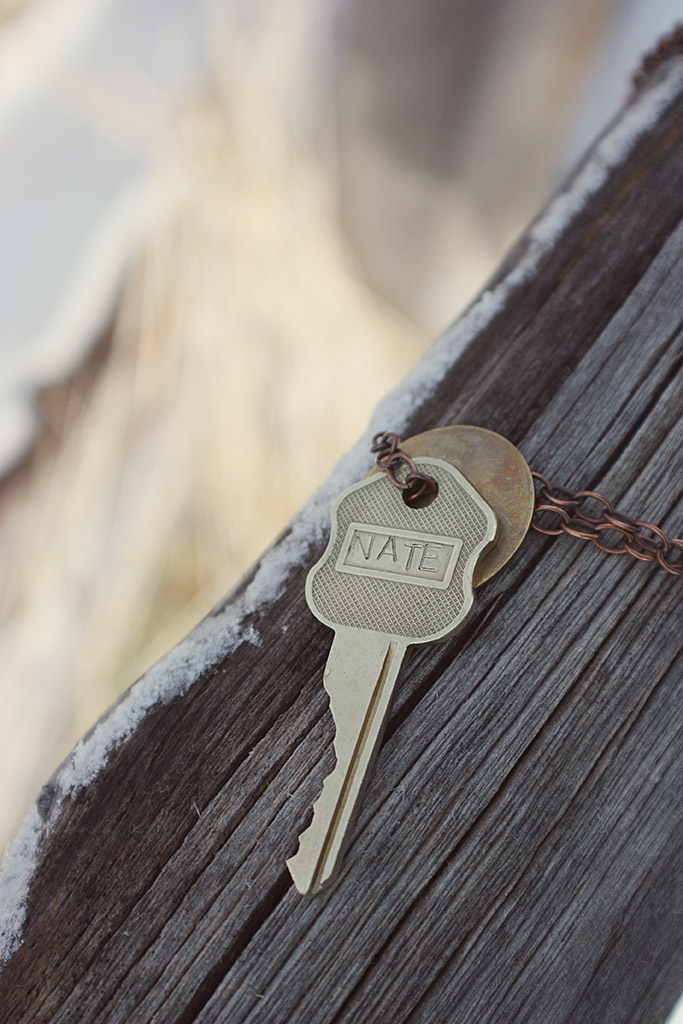
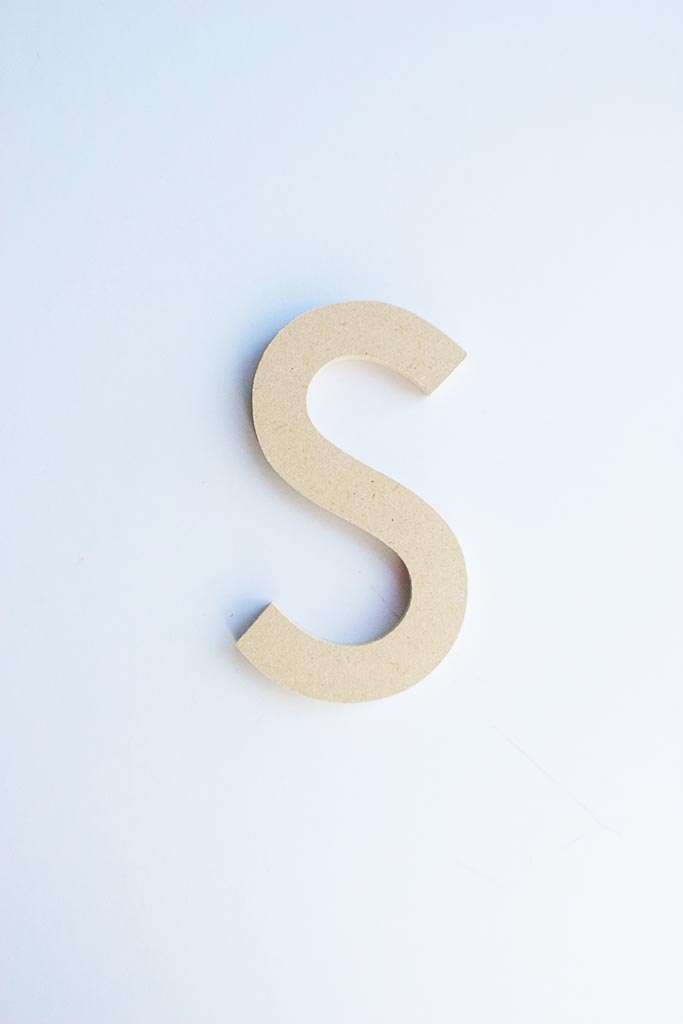
This image was brightened and cropped. I love to create things with wood and sell them, this is one of my creations and product pictures.

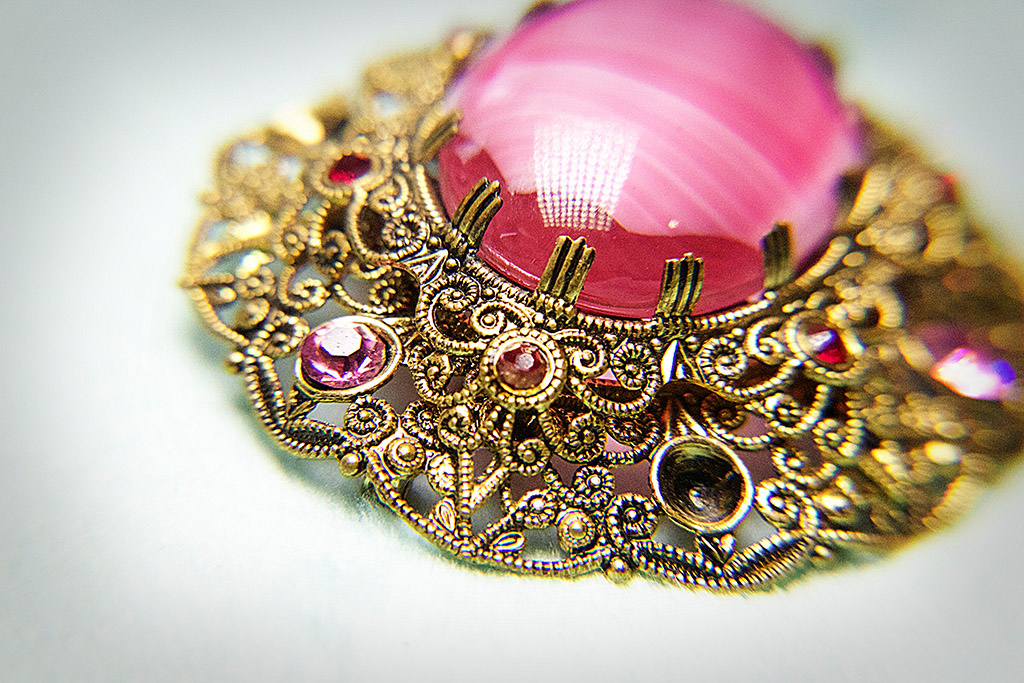
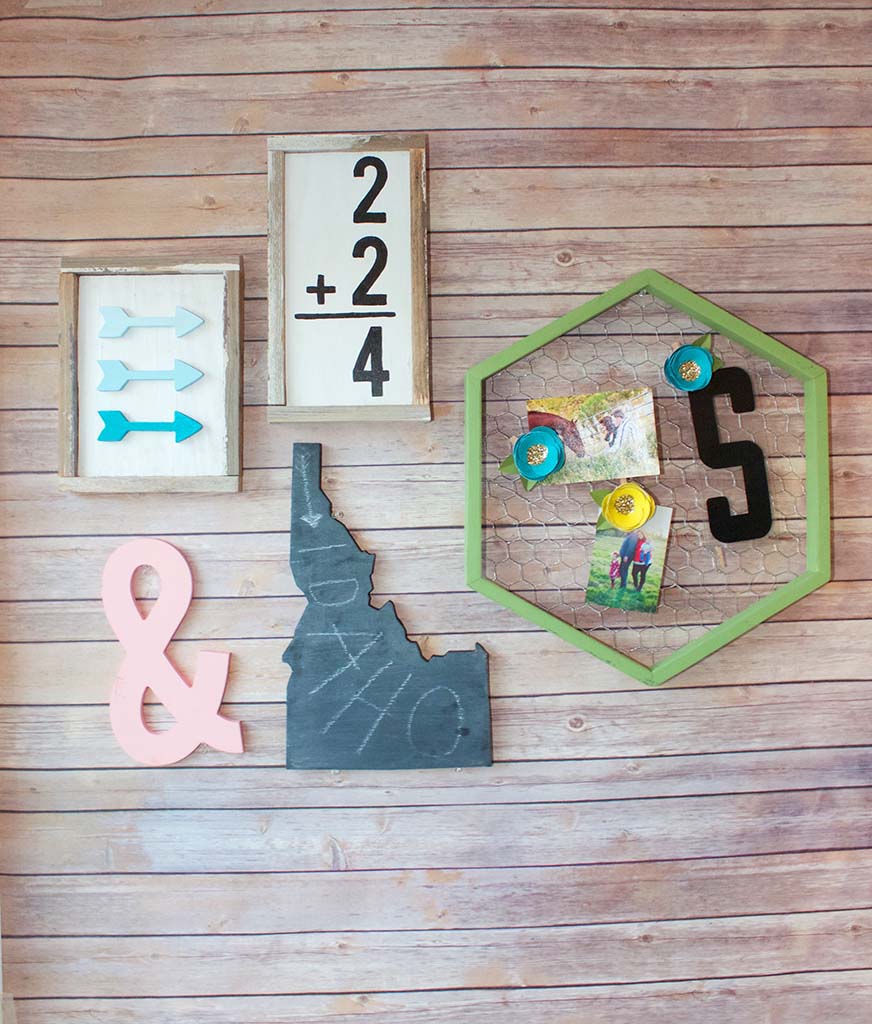
These are also all of my creations and this image was cropped, brightened and had some saturation added it it to brighten the pink ampersand.

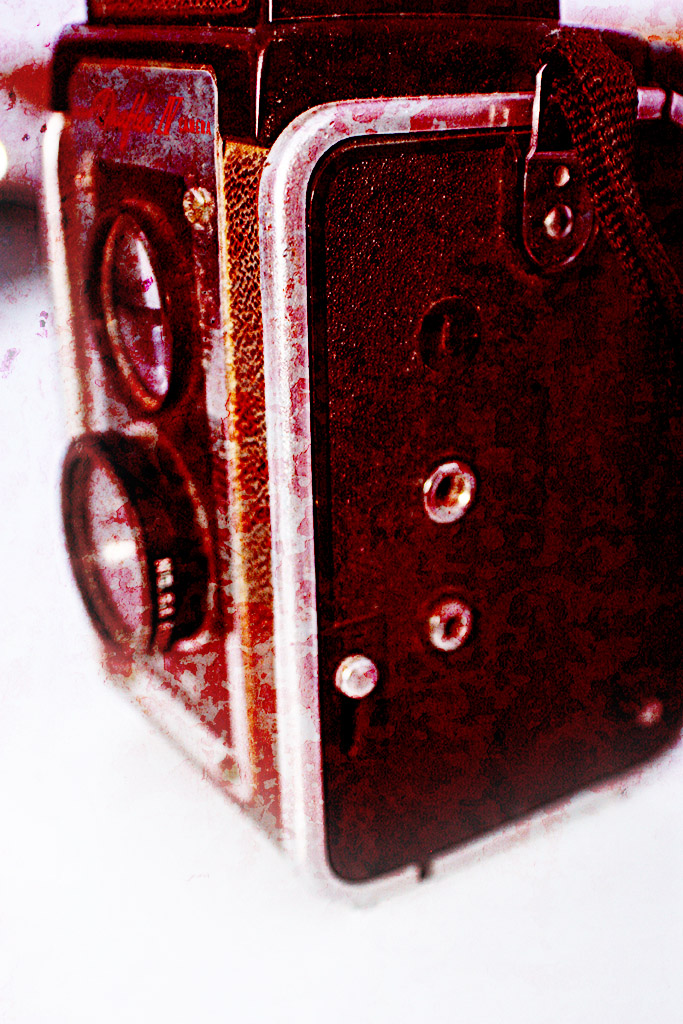
This image was first all colored black and white with an “old school” style action and then I used the art history brush to add some color back into the player and add to the focal point of the image.